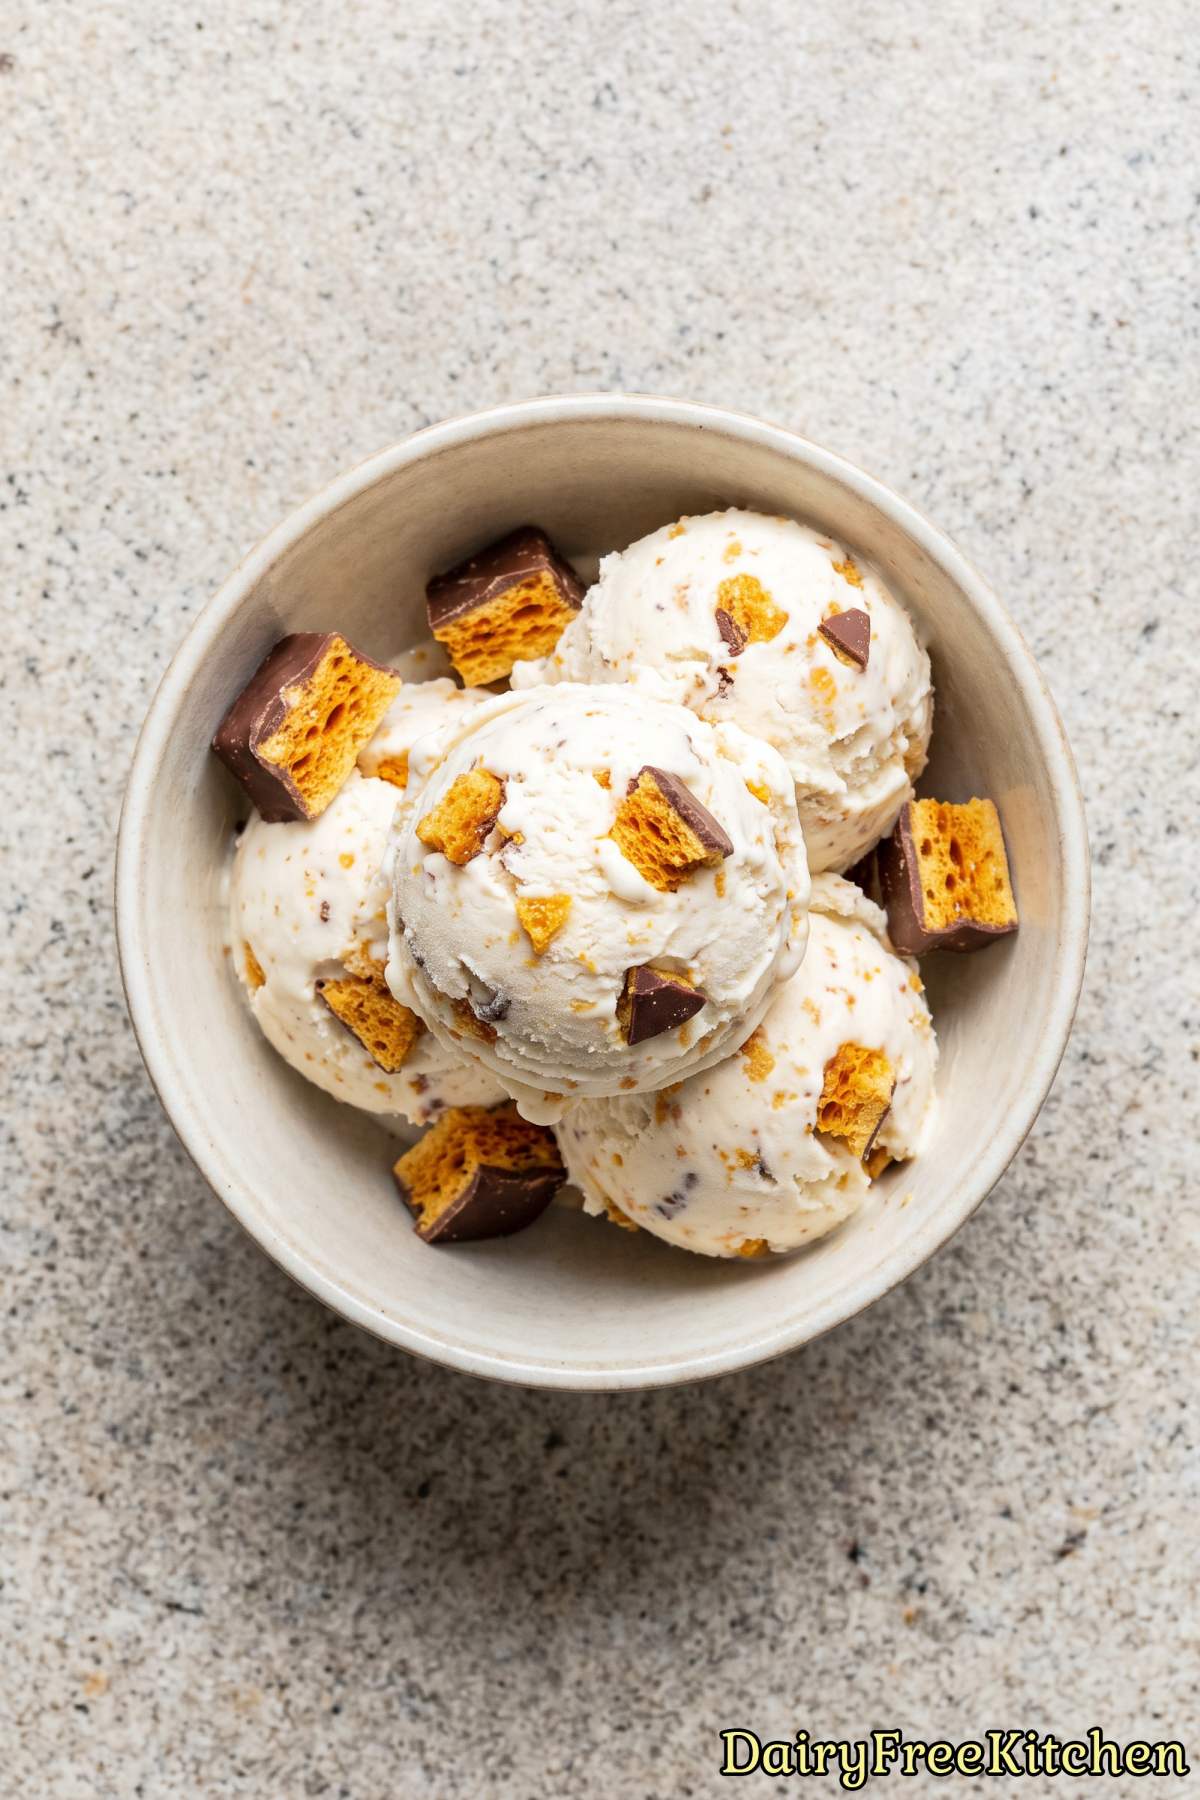
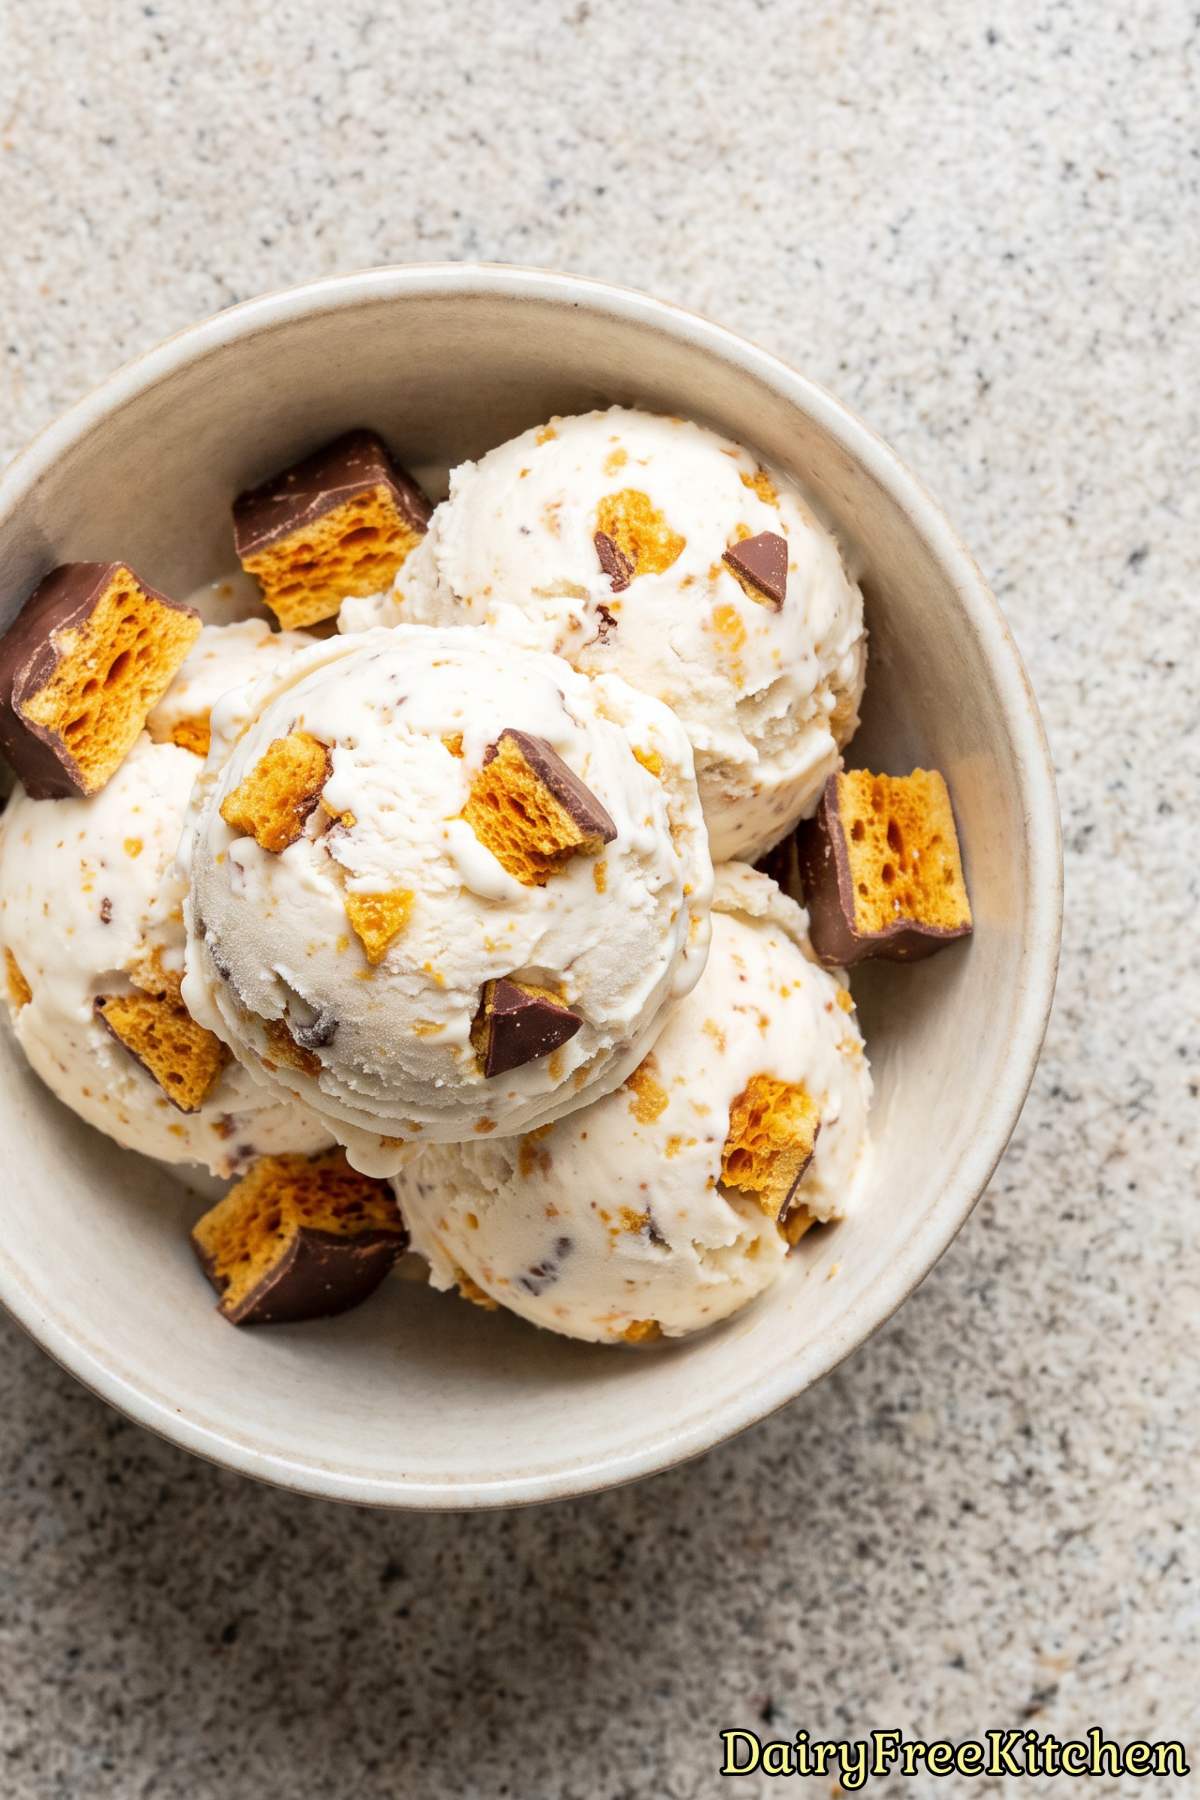
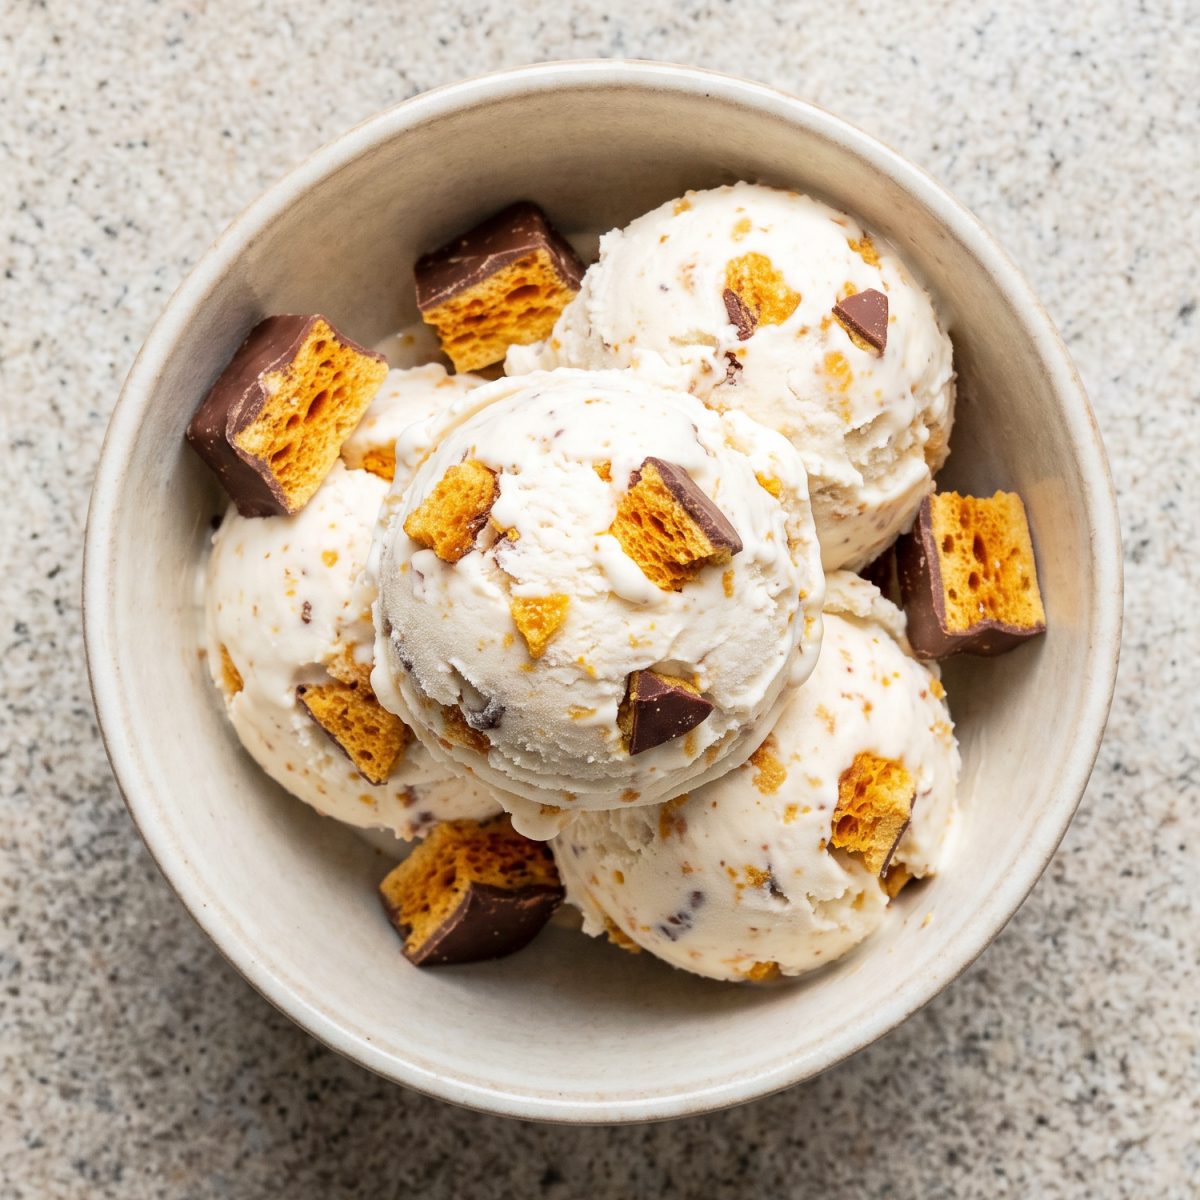
If you have ever wanted homemade ice cream with a little something extra, this one is for you. It has crunchy honeycomb pieces mixed right into a smooth and creamy base.
The best part is that this whole recipe is dairy free. I use coconut cream and oat milk instead of regular dairy, and it still comes out rich and creamy.
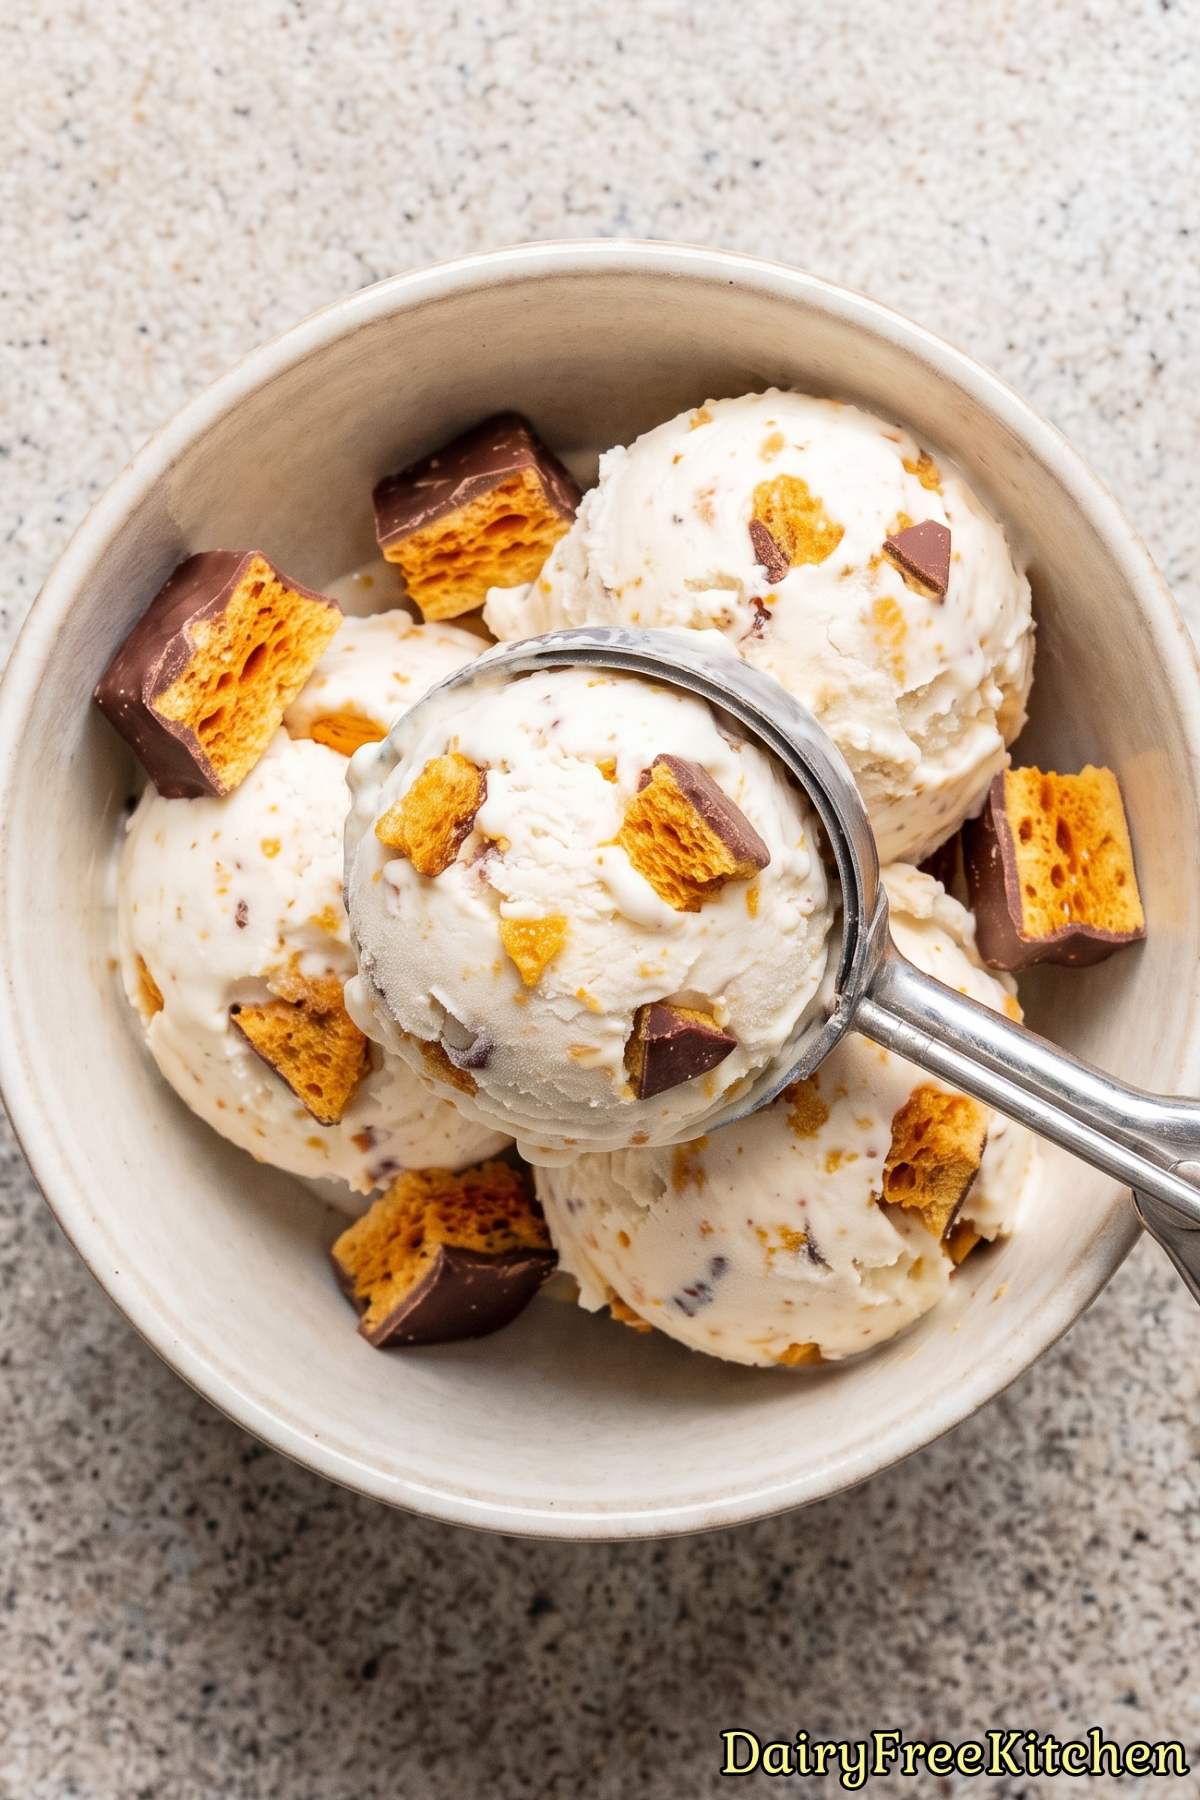
Some of the honeycomb gets dipped in dark chocolate before going into the ice cream. So you get little bites of chocolate covered crunch in every scoop.
It does take a bit of time because the base needs to chill and the ice cream needs to freeze. But the actual work is simple, and most of it is just waiting.
If you like ice cream with texture and a bit of sweetness in every bite, I think you will really enjoy this one.
Why This Recipe Is a Keeper
Rich and Creamy – Coconut cream and oat milk create a smooth, luxurious base without any dairy.
Sweet Honey Flavor – Honey or golden syrup adds a warm sweetness that makes every spoonful taste special.
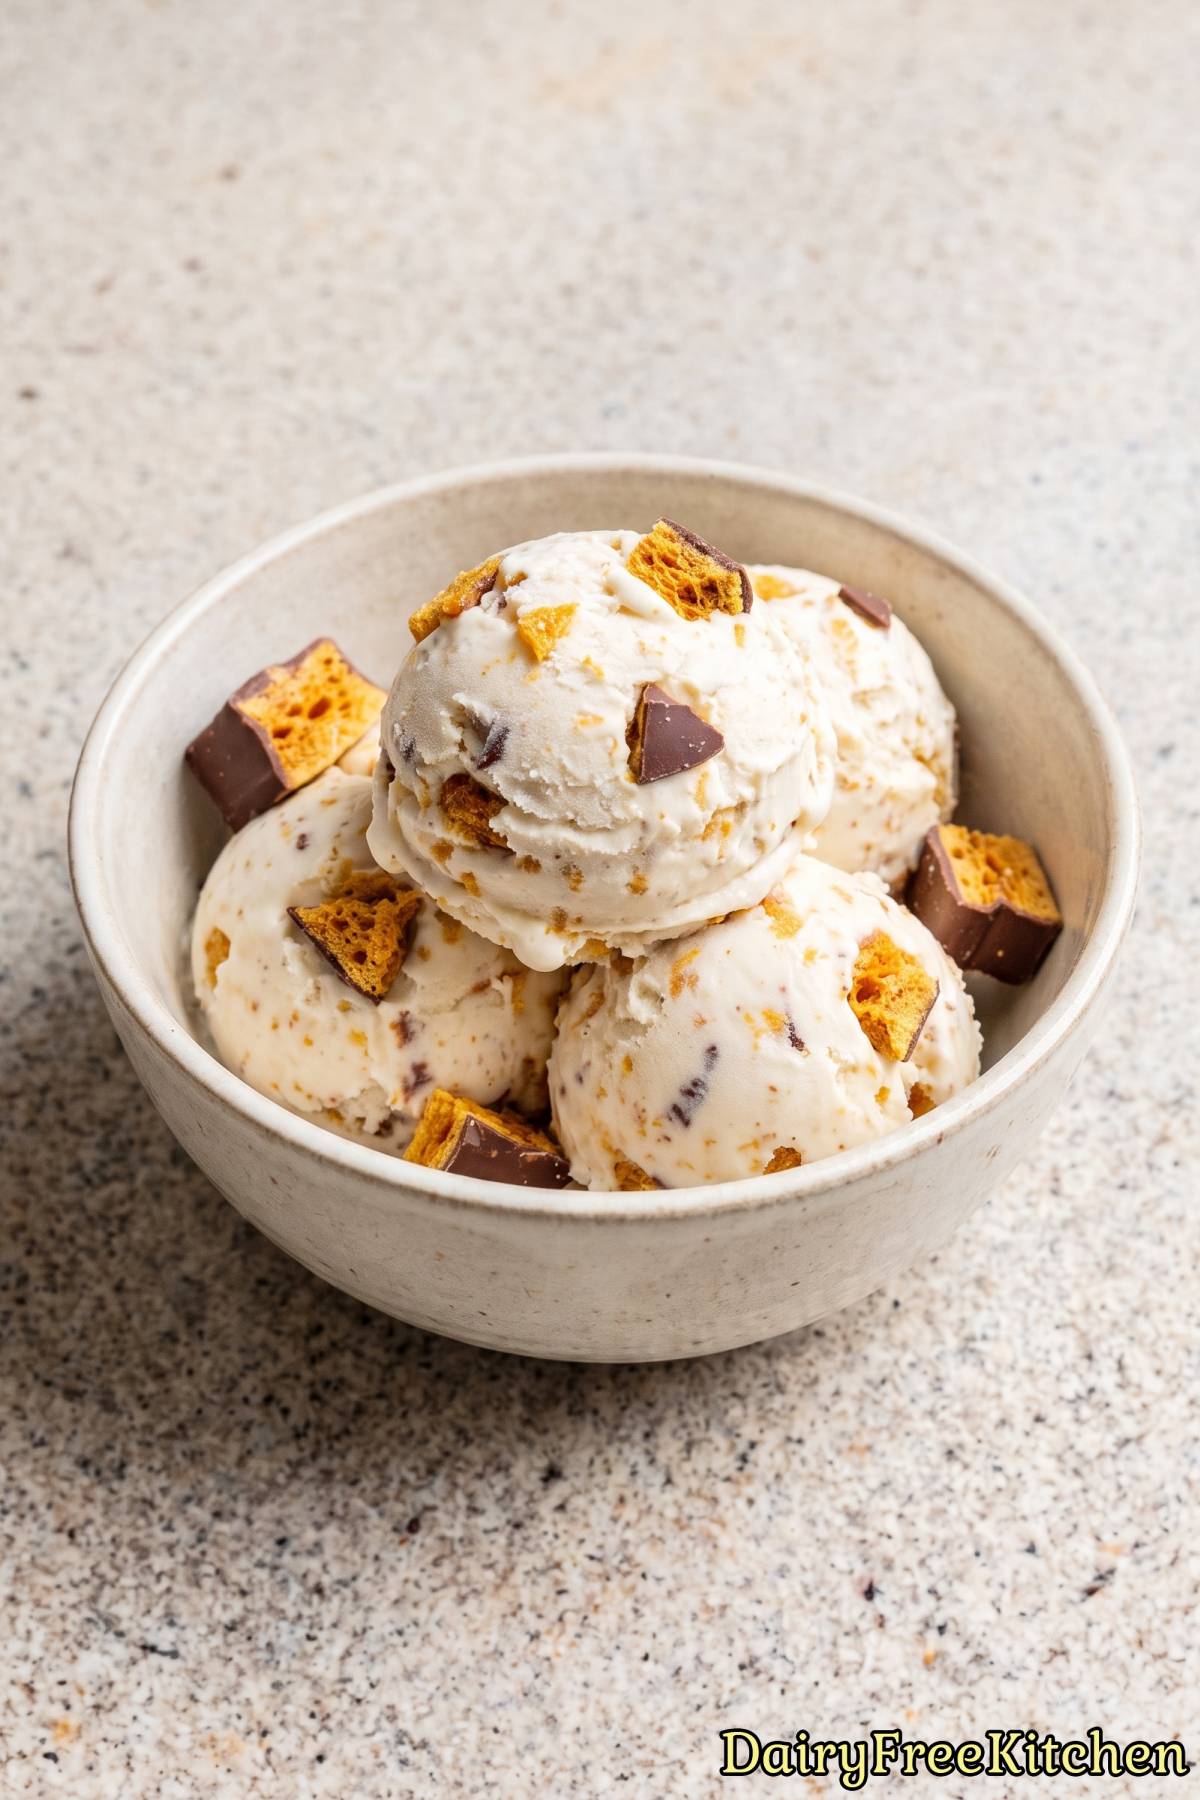
Perfect Crunch – Homemade honeycomb adds light, crisp pieces that contrast beautifully with the creamy ice cream.
Chocolate-Coated Pieces – Dairy-free dark chocolate gives some honeycomb bites a rich shell and deeper flavor.
Here’s What You’ll Need
For the Ice Cream Base
- 2 cups Full Fat Coconut Cream
- 1 cup Unsweetened Oat Milk
- 2/3 cup Granulated Sugar
- 1/4 cup Honey Or Golden Syrup
- 2 tbsp Cornstarch
- 1 tsp Vanilla Extract
- 1/2 tsp Fine Sea Salt
For the Honeycomb Crunch
- 1 cup Granulated Sugar
- 1/4 cup Corn Syrup
- 2 tbsp Water
- 1 1/2 tsp Baking Soda
- 1/4 tsp Fine Sea Salt
For the Chocolate Dip
- 5 oz Dairy Free Dark Chocolate, Chopped
- 1 tsp Coconut Oil
How to Make It
Step 1
Whisk the coconut cream, oat milk, sugar, honey or golden syrup, cornstarch, and sea salt in a saucepan until smooth.
Step 2
Cook the base over medium heat for 5 to 7 minutes, whisking constantly, until slightly thickened. Stir in the vanilla extract, then refrigerate the base for at least 4 hours.
Step 3
Combine the sugar, corn syrup, water, and sea salt in a saucepan. Cook over medium heat without stirring until the mixture turns a deep golden color.
Step 4
Remove the sugar syrup from the heat and quickly whisk in the baking soda. Pour it onto a lined baking sheet and let it cool completely until crisp.
Step 5
Break the honeycomb into small pieces. Dip half of the pieces in melted dairy free chocolate mixed with coconut oil, then let the chocolate set.
Step 6
Churn the cold ice cream base in an ice cream maker until thick and creamy.
Step 7
Fold the honeycomb pieces and chocolate-coated honeycomb into the churned ice cream.
Step 8
Transfer the ice cream to a freezer-safe container, cover with parchment paper, and freeze for 4 hours.
Recipe Tips
Use Smooth Coconut Cream
Mix the coconut cream well before measuring it, especially if the thick cream and liquid have separated in the container. This gives the ice cream base an even texture and prevents small coconut lumps.
I recommend using coconut cream with a high fat content rather than regular coconut milk. The extra fat makes the finished ice cream creamier and helps it stay softer in the freezer.
Cook the Base Until It Coats a Spoon
Whisk the base constantly as it heats so the cornstarch stays smooth. It is ready when it lightly coats the back of a spoon instead of running off like plain milk.
Keep the heat at medium and avoid a strong boil. Too much heat can make the cornstarch texture uneven and may cause the coconut cream to separate.
Chill the Base Completely
You will get the best results if the base is fully cold before it goes into the ice cream maker. Four hours is the minimum, but chilling it overnight gives the fats more time to firm up.
Place a piece of parchment directly on the surface while it chills. This prevents a thick layer from forming on top and keeps the base smooth for churning.
What to Make Next
- Dairy Free Blueberry Muffin Crumble Ice Cream
- Dairy Free Chocolate Hazelnut Wafer Crunch Ice Cream
- Dairy Free Cinnamon Roll Swirl Ice Cream
- Dairy Free Maple Pancake Crunch Ice Cream
- Dairy Free Strawberry Shortcake Crunch Ice Cream
Popular Questions
Can I use golden syrup instead of honey in the ice cream base?
Yes, golden syrup works very well and gives the ice cream a gentle caramel-like sweetness. It is also a good choice if you want the recipe to be fully plant based.
Use the same amount listed for honey. The finished ice cream may have a slightly different flavor, but it will still be creamy and delicious.

Dairy Free Honeycomb Crunch Ice Cream
Equipment
- ice cream maker
- candy thermometer
- baking sheet
Ingredients
- 2 cups Full Fat Coconut Cream
- 1 cup Unsweetened Oat Milk
- 2/3 cup Granulated Sugar
- 1/4 cup Honey Or Golden Syrup
- 2 tbsp Cornstarch
- 1 tsp Vanilla Extract
- 1/2 tsp Fine Sea Salt
- 1 cup Granulated Sugar
- 1/4 cup Corn Syrup
- 2 tbsp Water
- 1 1/2 tsp Baking Soda
- 1/4 tsp Fine Sea Salt
- 5 oz Dairy Free Dark Chocolate, Chopped
- 1 tsp Coconut Oil
Instructions
- Whisk the coconut cream, oat milk, sugar, honey or golden syrup, cornstarch, and sea salt in a saucepan until smooth.
- Cook the base over medium heat for 5 to 7 minutes, whisking constantly, until slightly thickened. Stir in the vanilla extract, then refrigerate the base for at least 4 hours.
- Combine the sugar, corn syrup, water, and sea salt in a saucepan. Cook over medium heat without stirring until the mixture turns a deep golden color.
- Remove the sugar syrup from the heat and quickly whisk in the baking soda. Pour it onto a lined baking sheet and let it cool completely until crisp.
- Break the honeycomb into small pieces. Dip half of the pieces in melted dairy free chocolate mixed with coconut oil, then let the chocolate set.
- Churn the cold ice cream base in an ice cream maker until thick and creamy.
- Fold the honeycomb pieces and chocolate-coated honeycomb into the churned ice cream.
- Transfer the ice cream to a freezer-safe container, cover with parchment paper, and freeze for 4 hours.