Pumpkin pie is a classic holiday dessert, but standard versions are loaded with heavy cream and evaporated milk. That can make it tough to enjoy if you need to avoid milk products.
If you cannot eat dairy like me, holiday gatherings can sometimes feel a bit tricky when dessert arrives at the table.
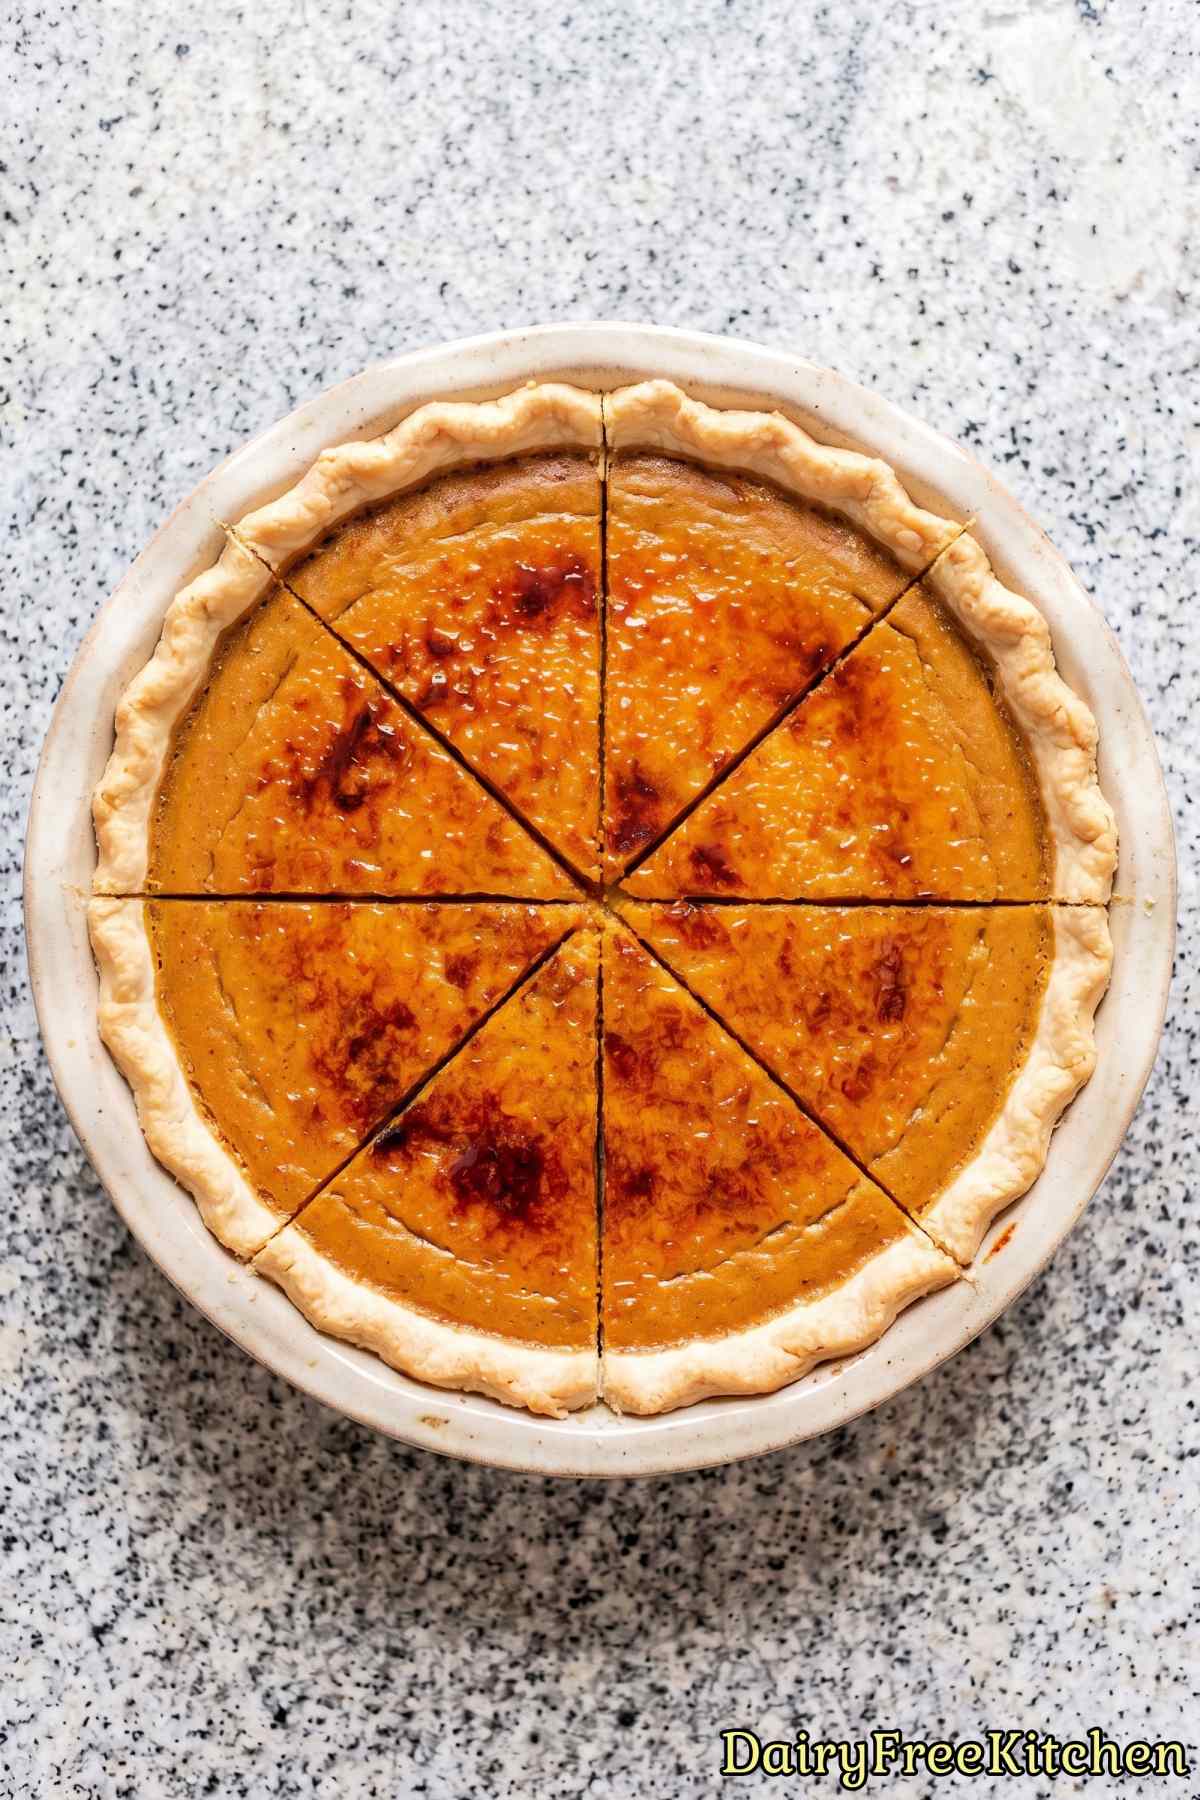
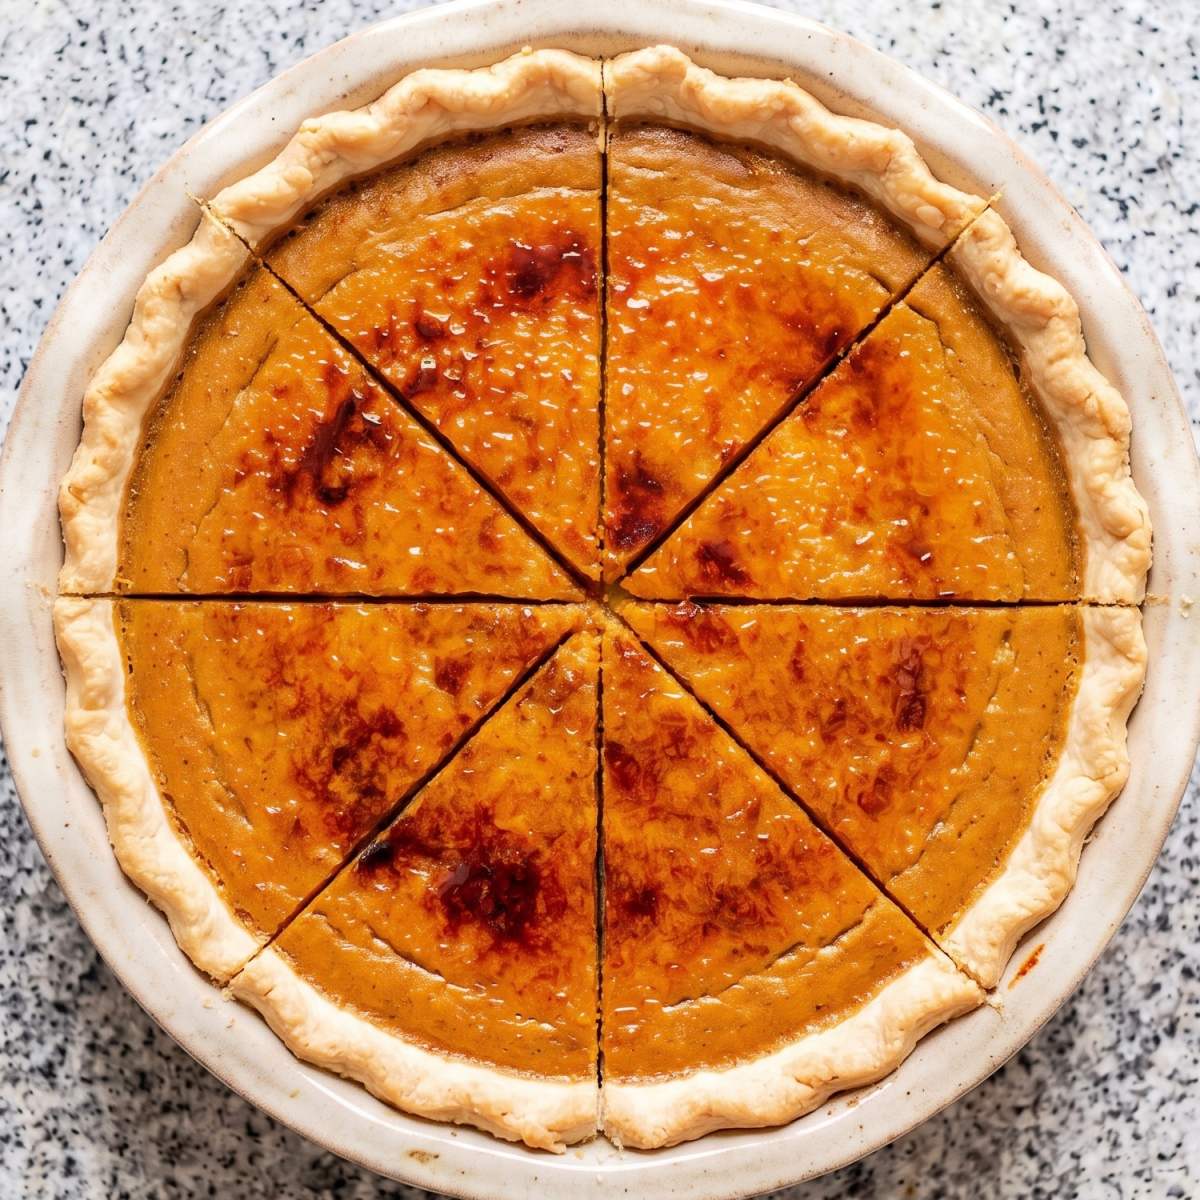
That is why I made this dairy free bruleed pumpkin pie. It honestly tastes just as rich and creamy as the traditional version.
Instead of standard cream, I use canned coconut milk to give the filling that smooth, silky texture everyone loves.
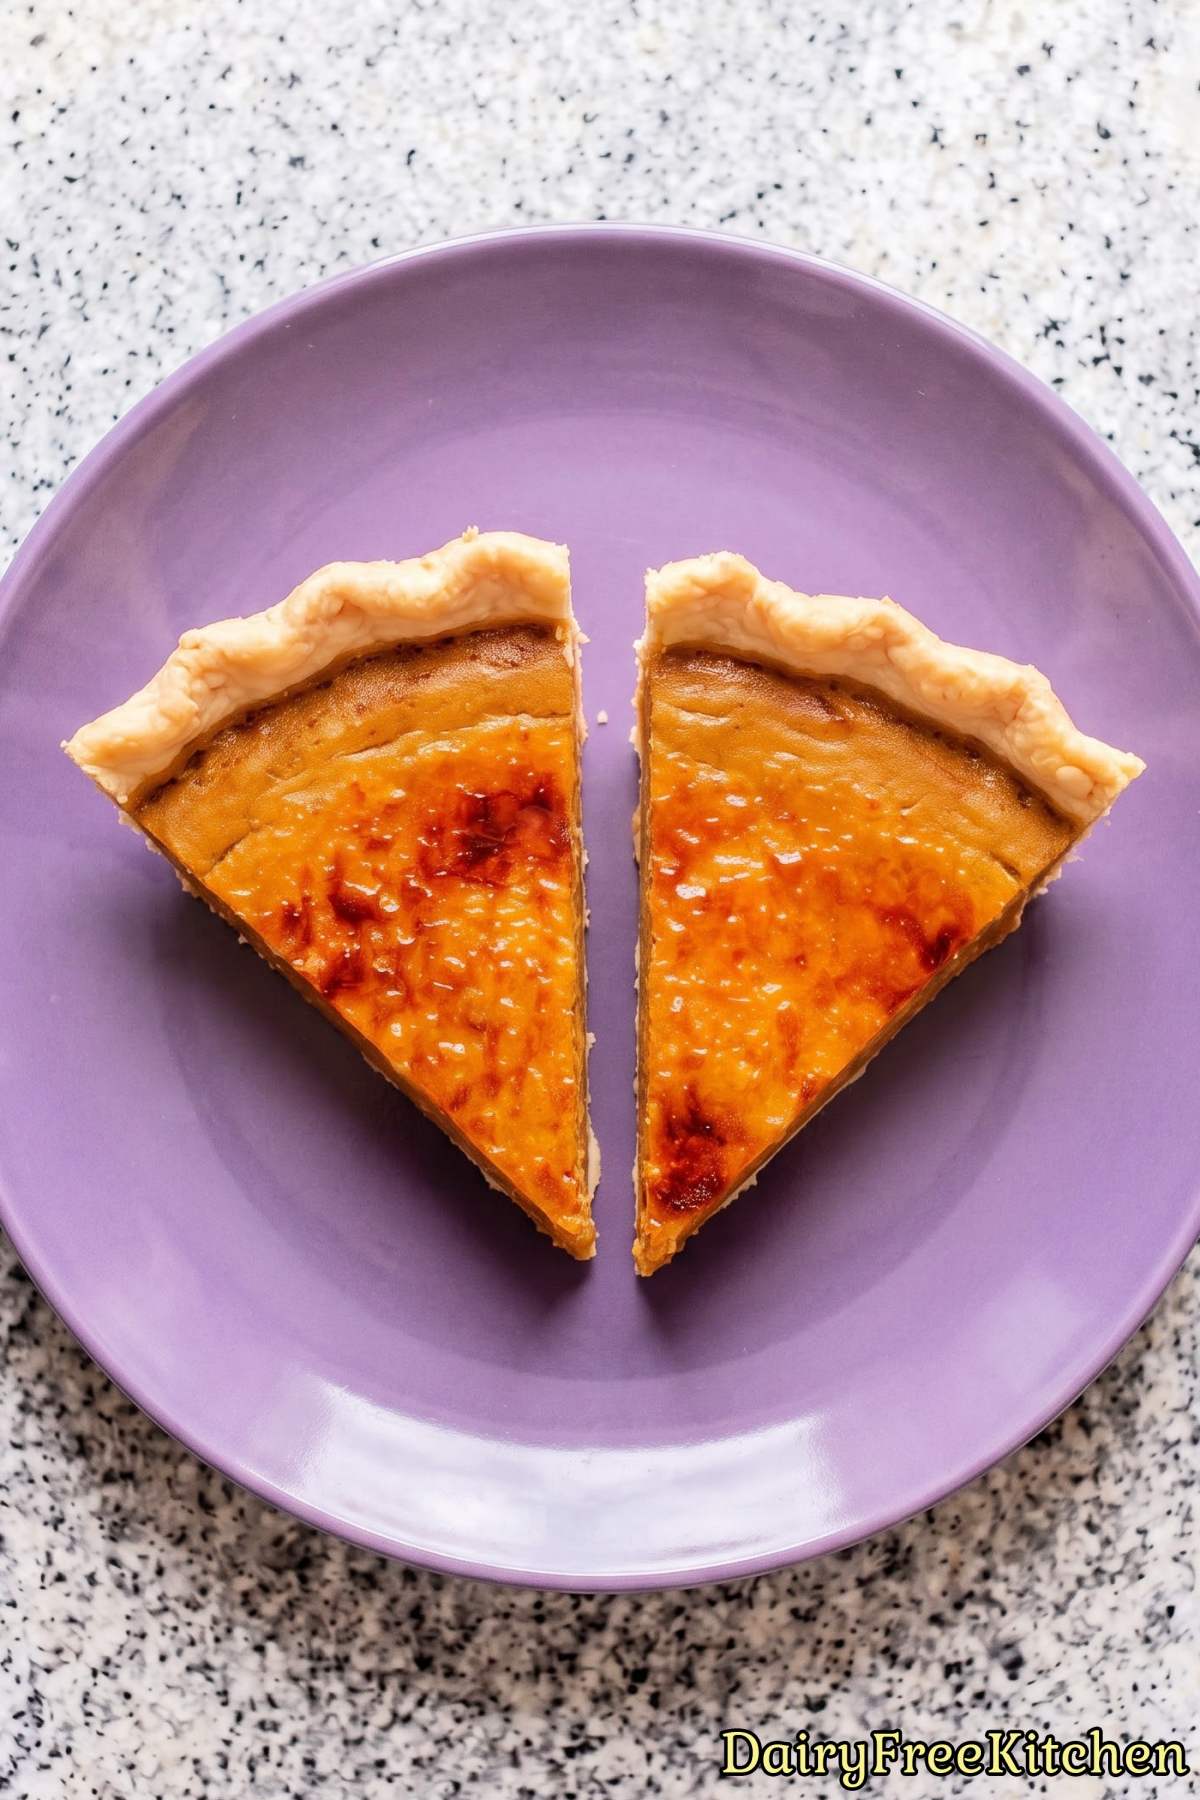
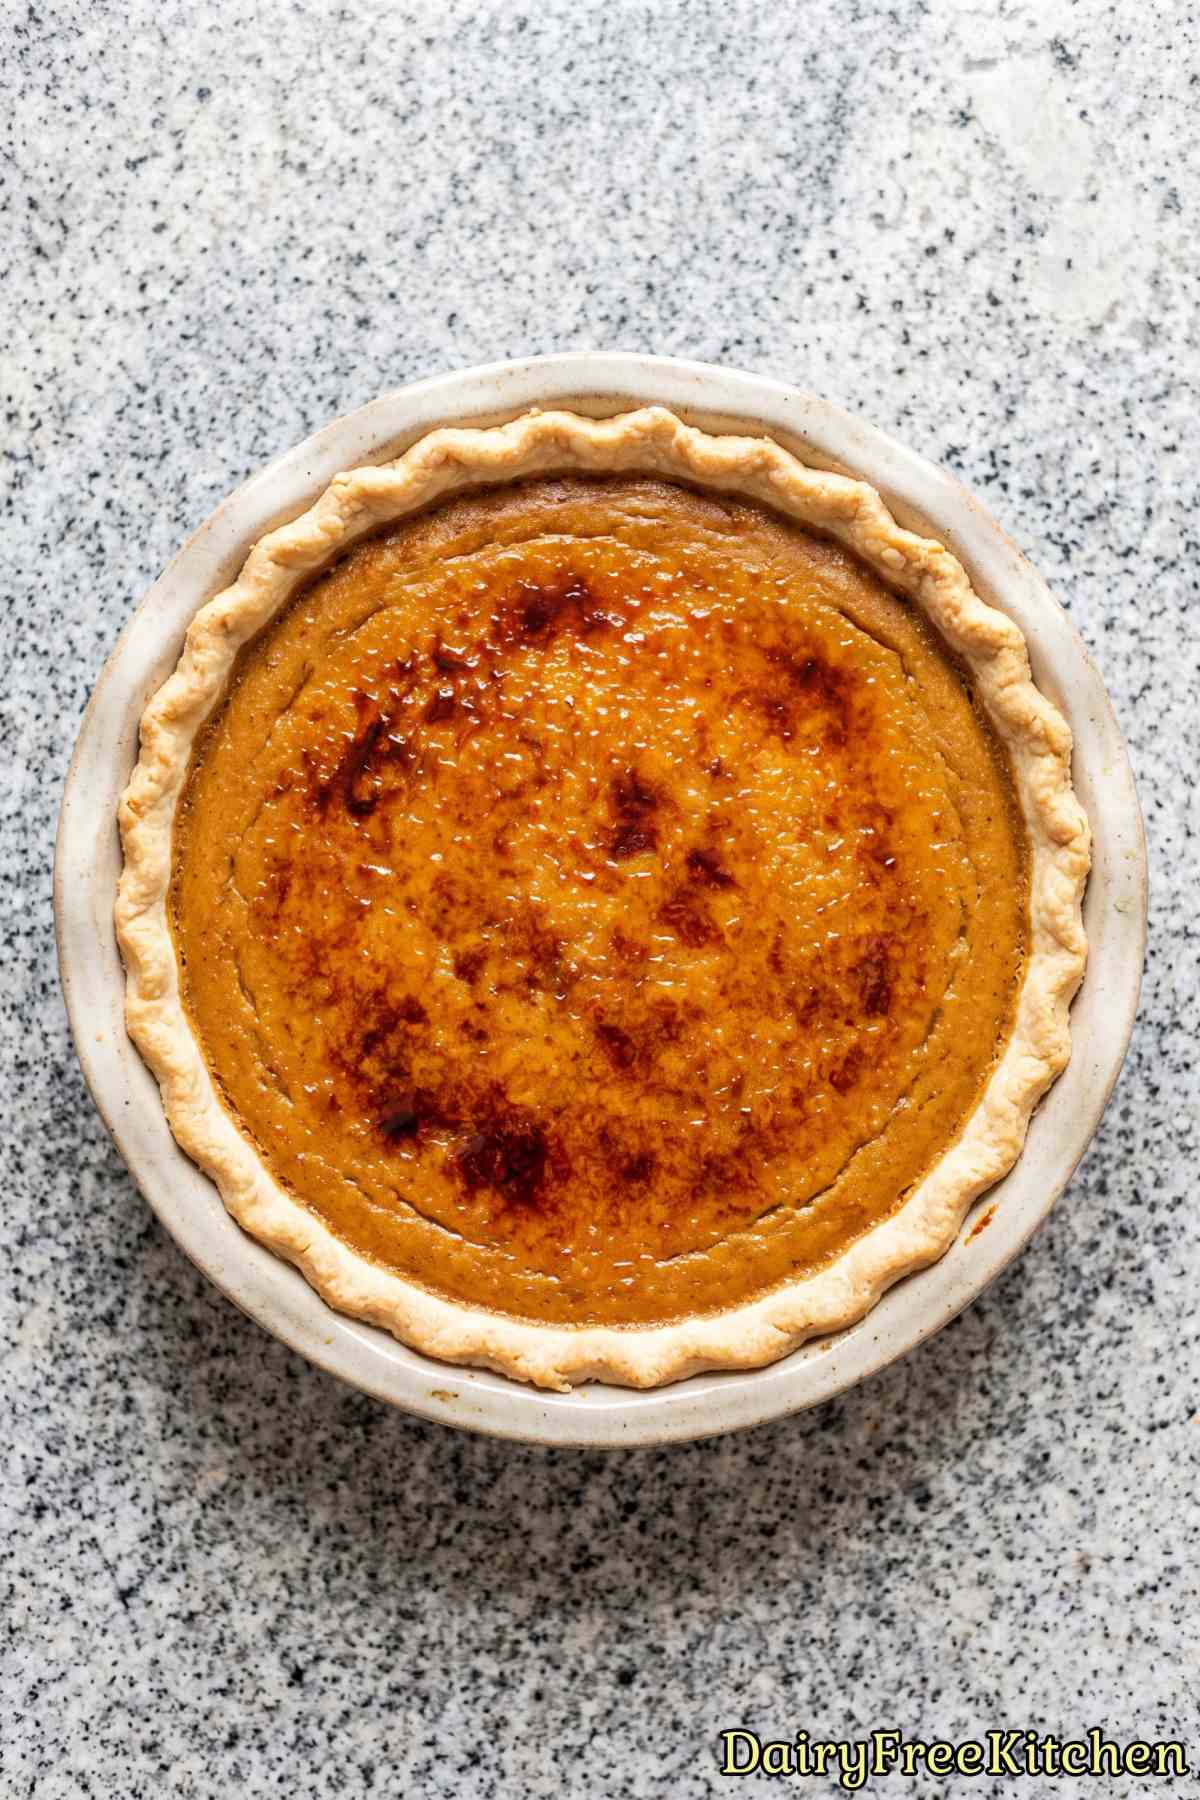
The crisp caramelized sugar layer on top adds a fun crunch that makes every single slice feel a little extra special.
Why This Recipe Is a Keeper
Crisp Brulee Shell – The torched sugar top creates an amazing crackly crunch that makes every single bite exciting.
Rich Coconut Base – Full-fat coconut milk gives you an ultra-creamy custard texture without needing any real dairy milk.
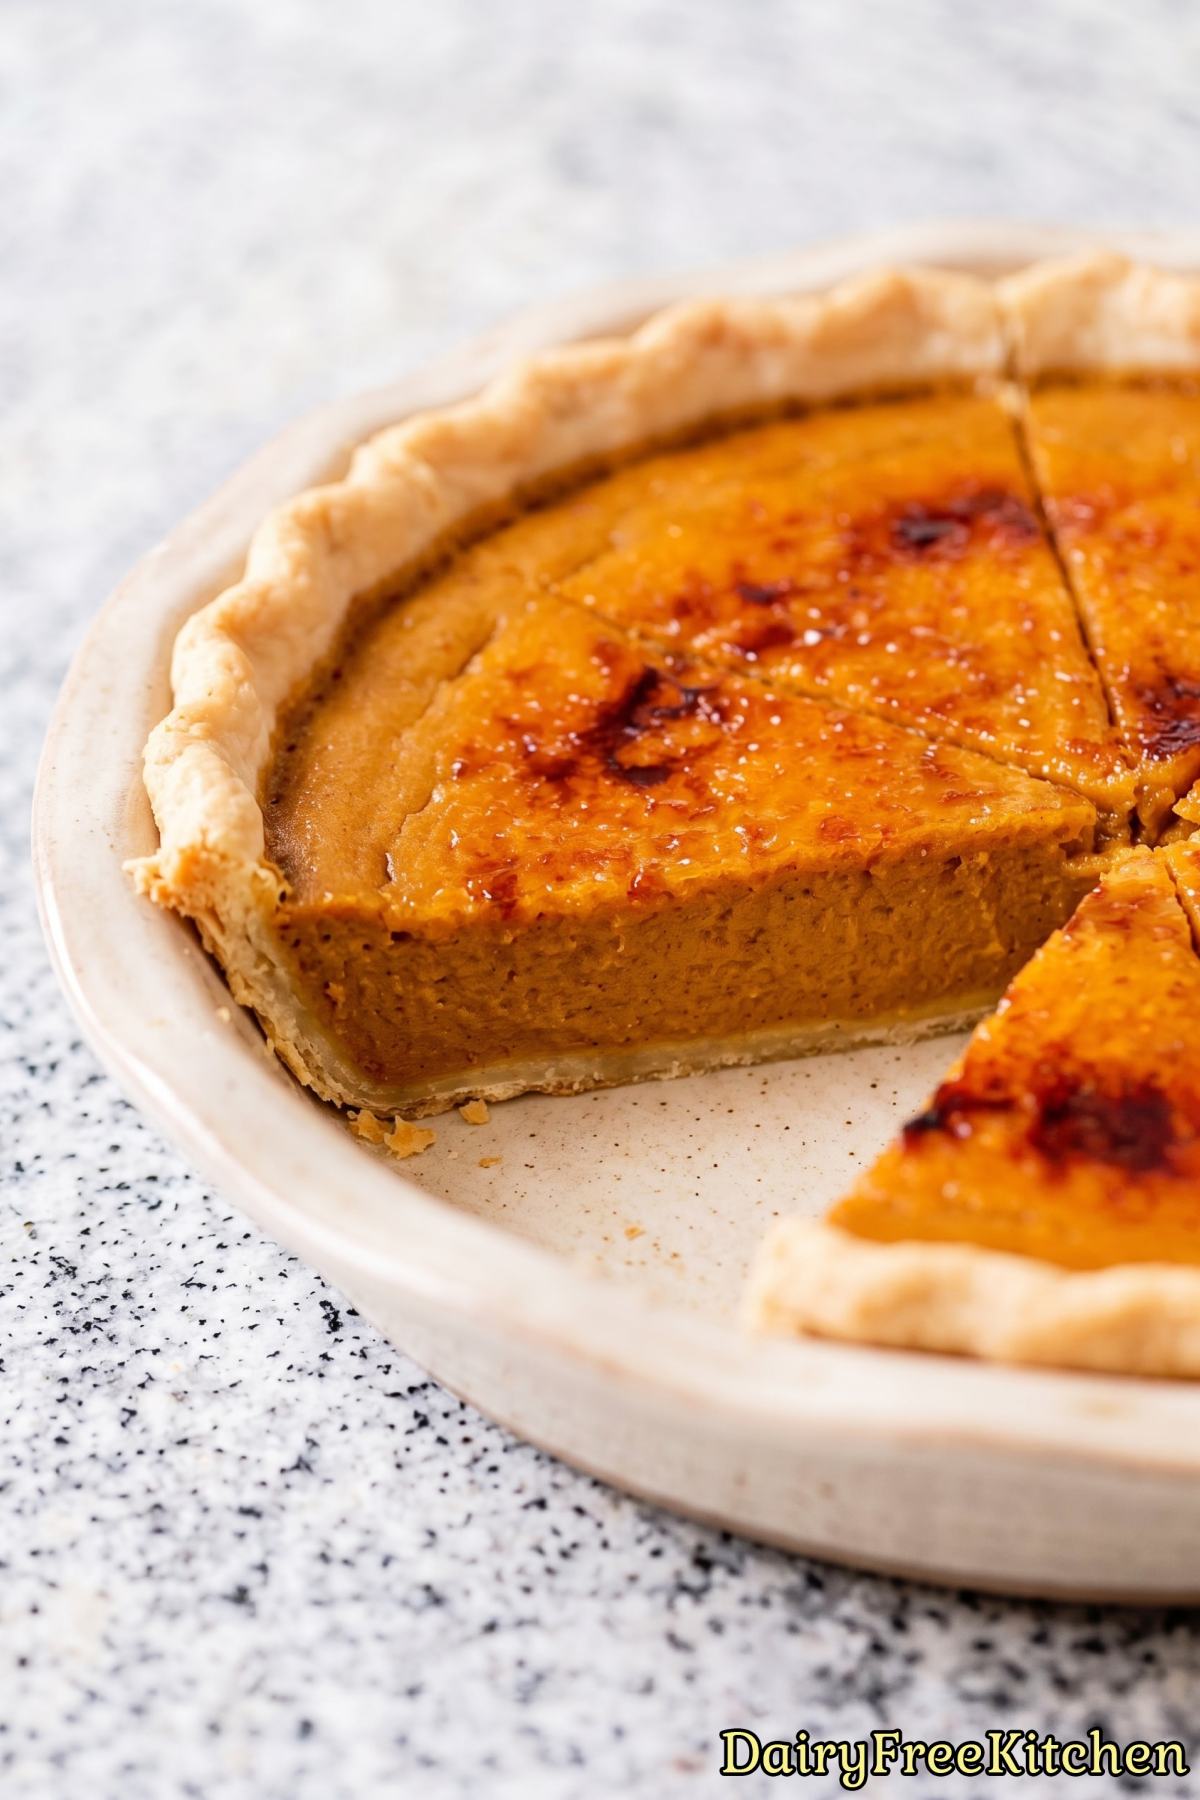
Cozy Warm Spices – Cinnamon, ginger, nutmeg, and cloves combine to give you the ultimate comforting holiday flavor in every slice.
Naturally Sweetened Twist – Pure maple syrup and brown sugar add a wonderful caramel-like sweetness that complements the real pumpkin.
Here’s What You’ll Need
For the Crust
- 1 Unbaked 9 Inch Dairy Free Deep Dish Pie Crust
For the Filling
- 1 can (15 oz) Pumpkin Puree
- 3/4 cup Packed Light Brown Sugar
- 2 tbsp Pure Maple Syrup
- 1 tbsp Cornstarch
- 2 tsp Ground Cinnamon
- 1 tsp Ground Ginger
- 1/4 tsp Ground Nutmeg
- 1/4 tsp Ground Cloves
- 1/2 tsp Salt
- 2 Large Eggs
- 1 Large Egg Yolk
- 1 1/4 cups Full Fat Coconut Milk
- 1 tsp Pure Vanilla Extract
For the Brulee Topping
- 3 tbsp Granulated Sugar
How to Make It
Step 1
Preheat the oven to 425°F. Prick the bottom and sides of the pie crust all over with a fork and freeze it for 15 minutes.
Step 2
Line the crust with parchment paper and fill it with pie weights or dried beans. Bake for 15 minutes, then remove the parchment and weights and bake for 5 more minutes until lightly golden.
Reduce the oven temperature to 350°F.
Step 3
Shake the can of coconut milk well before measuring. In a large bowl, whisk the pumpkin, brown sugar, maple syrup, cornstarch, cinnamon, ginger, nutmeg, cloves and salt until smooth.
Whisk in the eggs, egg yolk, coconut milk and vanilla until the filling is completely combined and silky.
Step 4
Pour the filling into the warm crust. Bake for 50-60 minutes, until the edges are set and the center still jiggles slightly when you gently shake the pie.
If the crust starts browning too quickly, cover the edges with foil.
Step 5
Let the pie cool at room temperature for 2 hours, then refrigerate for at least 4 hours or overnight. Before bruleeing, gently blot any moisture on the surface with a paper towel.
Step 6
Cover the crust edges with strips of foil and sprinkle the sugar in a thin, even layer over the filling.
Using a kitchen torch, move the flame in small circles just above the surface until the sugar melts and turns a deep amber color.
Step 7
Let the topping harden for 5 minutes, then remove the foil and cut into slices. Serve within 1-2 hours for the best crackly top.
Recipe Tips
Choose the Right Coconut Milk
Always buy full-fat coconut milk in a can instead of the coconut milk sold in beverage cartons. Dairy-free milk from cartons contains too much water and will make your pie filling soggy and loose.
If the coconut cream has separated from the liquid inside the can, pour the contents into a small bowl and whisk it thoroughly before measuring. This ensures your custard gets the exact balance of healthy fats it needs to set up smoothly.
Freeze the Crust Before Baking
Dairy-free butter alternatives soften much faster in a warm kitchen than traditional dairy butter. Freezing your shaped crust for fifteen minutes before it goes into the oven prevents the pretty edges from slumping down the sides of the pie dish.
You’ll get the best results if you make sure the bottom crust looks completely dry before adding the pumpkin mixture. A properly pre-baked base keeps the bottom crisp even after hours in the refrigerator.
Whisk Gently to Prevent Air Bubbles
When you combine the eggs, coconut milk, and pumpkin puree, mix them with a gentle hand instead of beating them fast. Whipping too much air into the bowl creates tiny pockets that cause the top to puff up and split while baking.
My favorite trick here is to tap the bowl firmly against the counter once or twice before filling the crust. This helps any trapped air rise to the top so your finished pie stays completely smooth.
What to Make Next
- Dairy Free Apple Crisp
- Dairy Free Apple Pie Ice Cream
- Dairy Free Coconut Vanilla Creme Brulee
- Dairy Free Maple Pecan Bread Pudding
- Dairy Free Pumpkin Cheesecake Ice Cream
Popular Questions
Will the pie taste like coconut?
No, the pumpkin puree and bold spices like cinnamon and ginger mask the coconut flavor almost entirely.
The canned coconut milk simply replaces heavy cream to give the dairy-free custard a rich and silky texture.

Dairy Free Bruleed Pumpkin Pie
Equipment
- kitchen torch
- pie weights
Ingredients
- 1 Unbaked 9 Inch Dairy Free Deep Dish Pie Crust
- 1 can (15 oz) Pumpkin Puree
- 3/4 cup Packed Light Brown Sugar
- 2 tbsp Pure Maple Syrup
- 1 tbsp Cornstarch
- 2 tsp Ground Cinnamon
- 1 tsp Ground Ginger
- 1/4 tsp Ground Nutmeg
- 1/4 tsp Ground Cloves
- 1/2 tsp Salt
- 2 Large Eggs
- 1 Large Egg Yolk
- 1 1/4 cups Full Fat Coconut Milk
- 1 tsp Pure Vanilla Extract
- 3 tbsp Granulated Sugar
Instructions
- Preheat the oven to 425°F. Prick the bottom and sides of the pie crust all over with a fork and freeze it for 15 minutes.
- Line the crust with parchment paper and fill it with pie weights or dried beans. Bake for 15 minutes, then remove the parchment and weights and bake for 5 more minutes until lightly golden. Reduce the oven temperature to 350°F.
- Shake the can of coconut milk well before measuring. In a large bowl, whisk the pumpkin, brown sugar, maple syrup, cornstarch, cinnamon, ginger, nutmeg, cloves and salt until smooth. Whisk in the eggs, egg yolk, coconut milk and vanilla until the filling is completely combined and silky.
- Pour the filling into the warm crust. Bake for 50-60 minutes, until the edges are set and the center still jiggles slightly when you gently shake the pie. If the crust starts browning too quickly, cover the edges with foil.
- Let the pie cool at room temperature for 2 hours, then refrigerate for at least 4 hours or overnight. Before bruleeing, gently blot any moisture on the surface with a paper towel.
- Cover the crust edges with strips of foil and sprinkle the sugar in a thin, even layer over the filling. Using a kitchen torch, move the flame in small circles just above the surface until the sugar melts and turns a deep amber color.
- Let the topping harden for 5 minutes, then remove the foil and cut into slices. Serve within 1-2 hours for the best crackly top.