Traditional cheesecake can be tricky to make, but this style is famous for being almost impossible to mess up.
I wanted to create a dairy free burnt basque cheesecake that has the exact same rich taste and creamy center as the classic version.
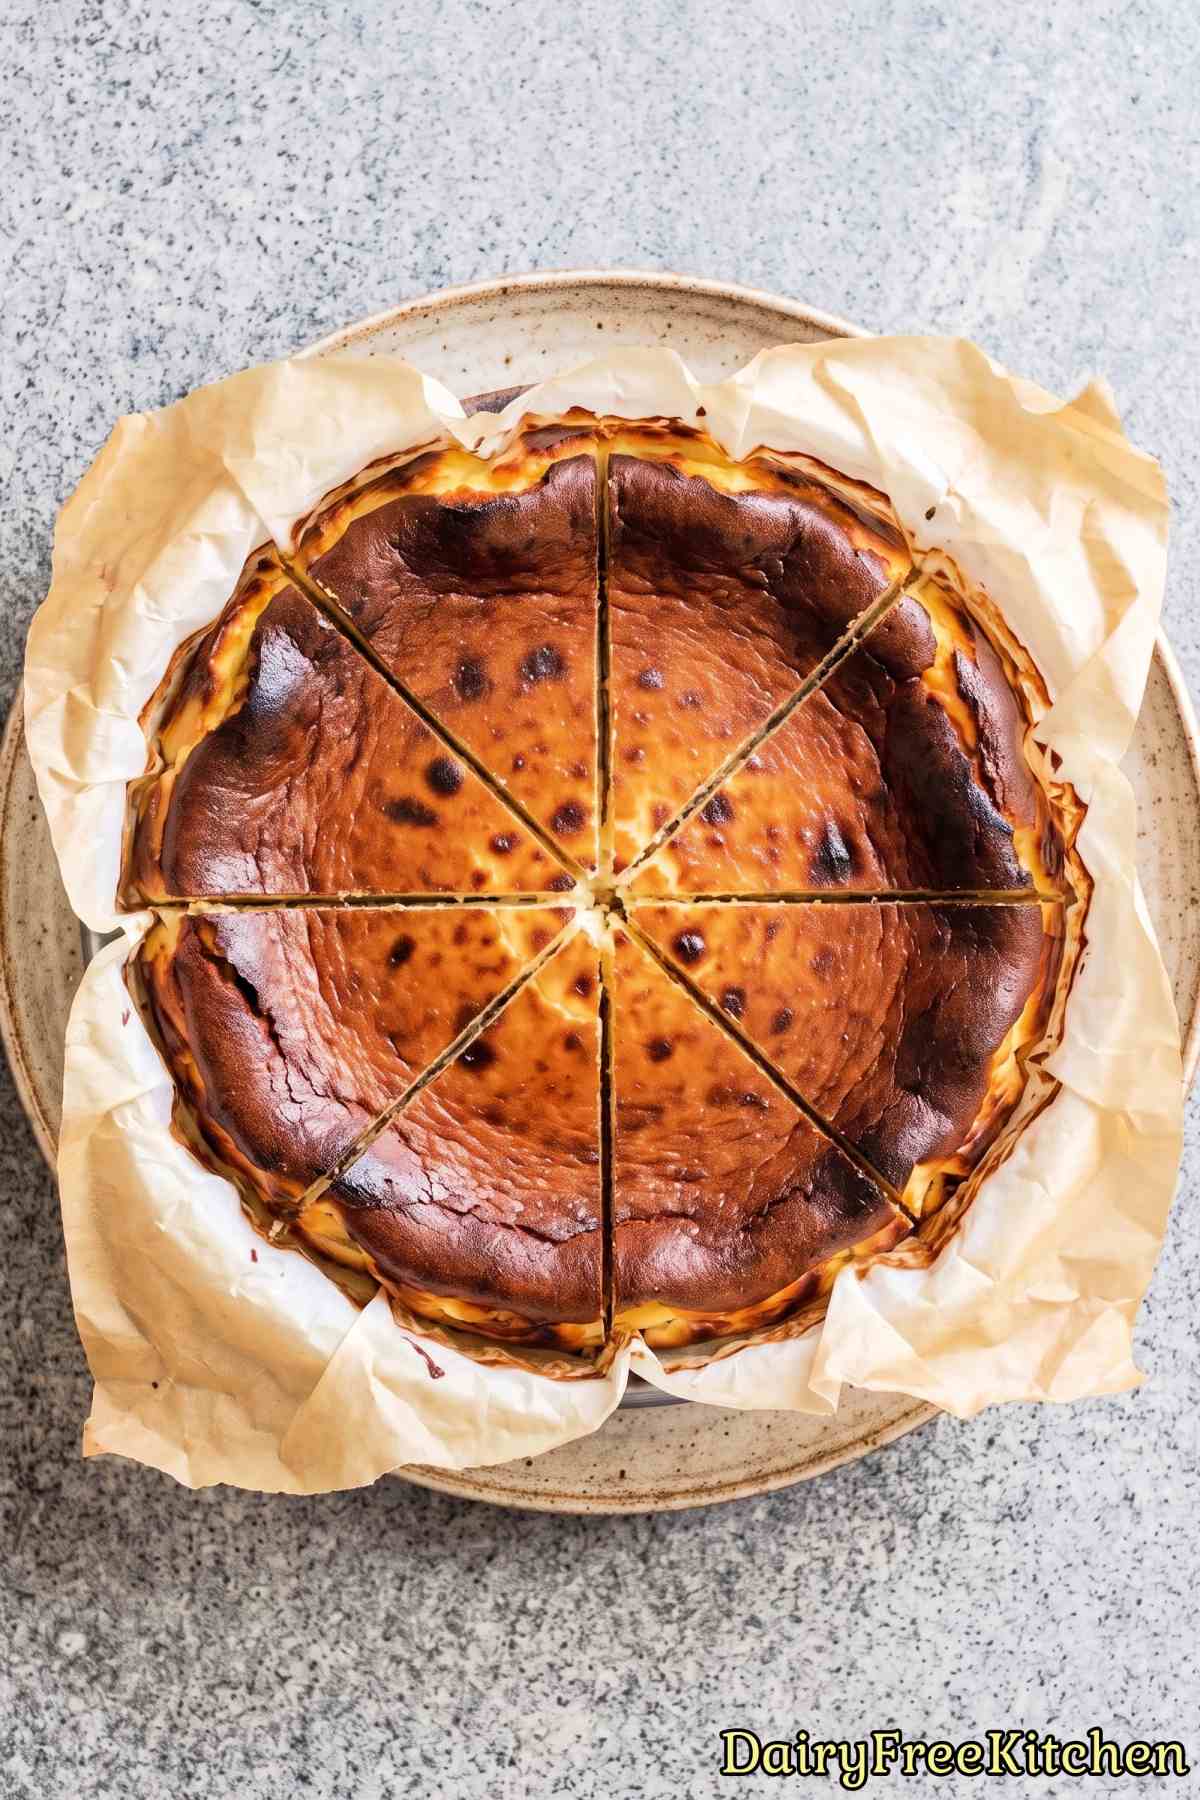
It is completely dairy free, which makes it perfect if regular dairy upsets your stomach or if you are hosting friends who avoid milk products.
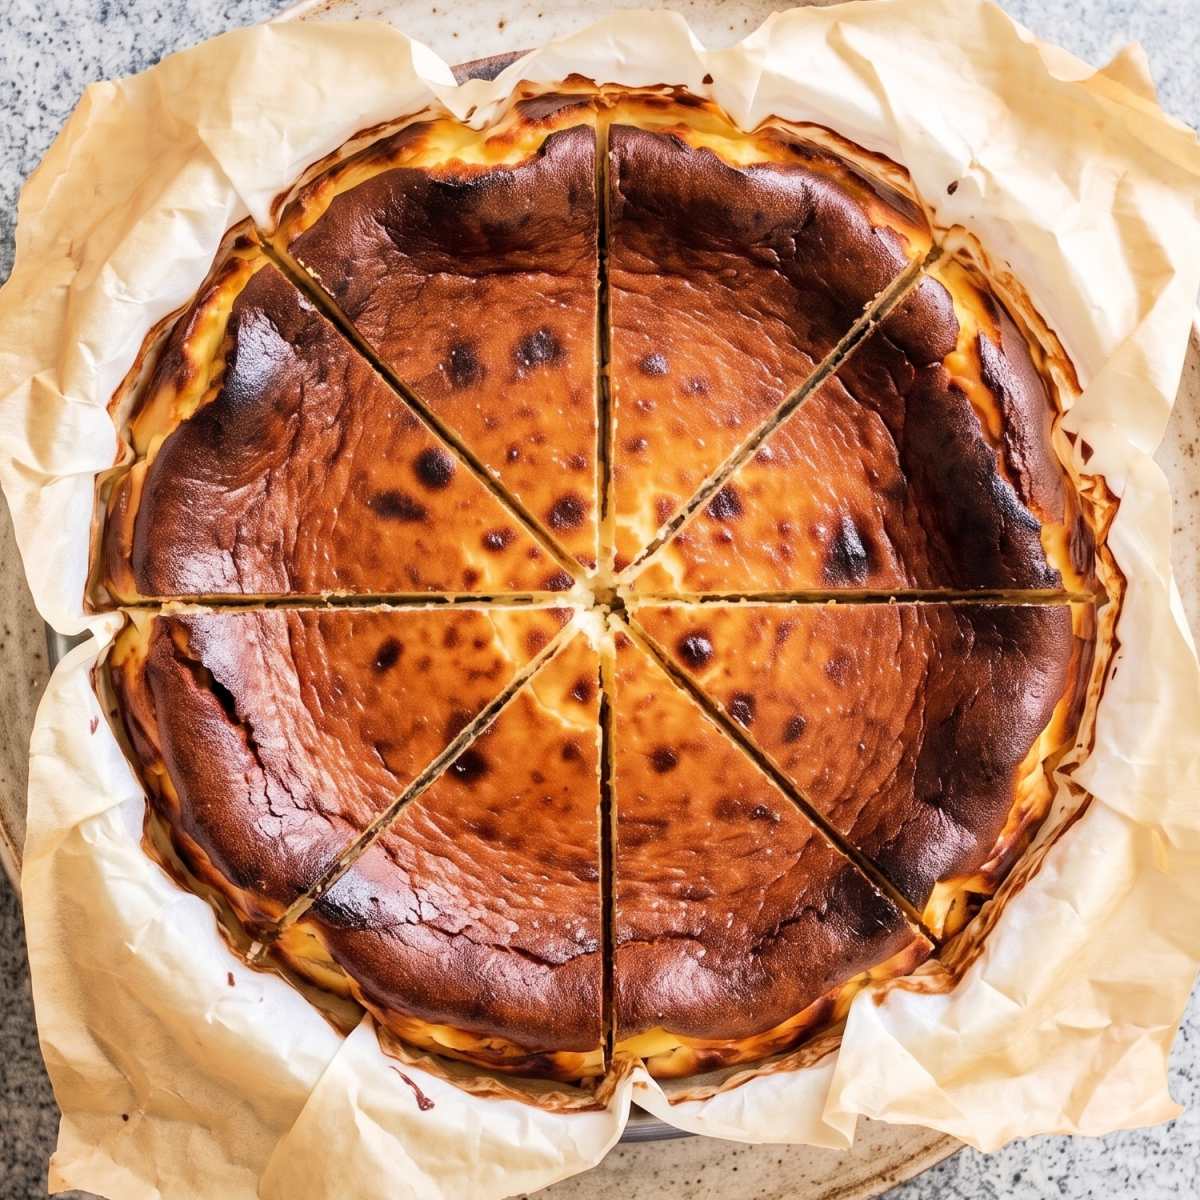
The top gets deep brown and caramelized in the oven, creating a rich flavor without needing an extra crust.
You just mix the batter in one bowl, pour it into the pan, and let the oven do all the hard work.
Why This Recipe Is a Keeper
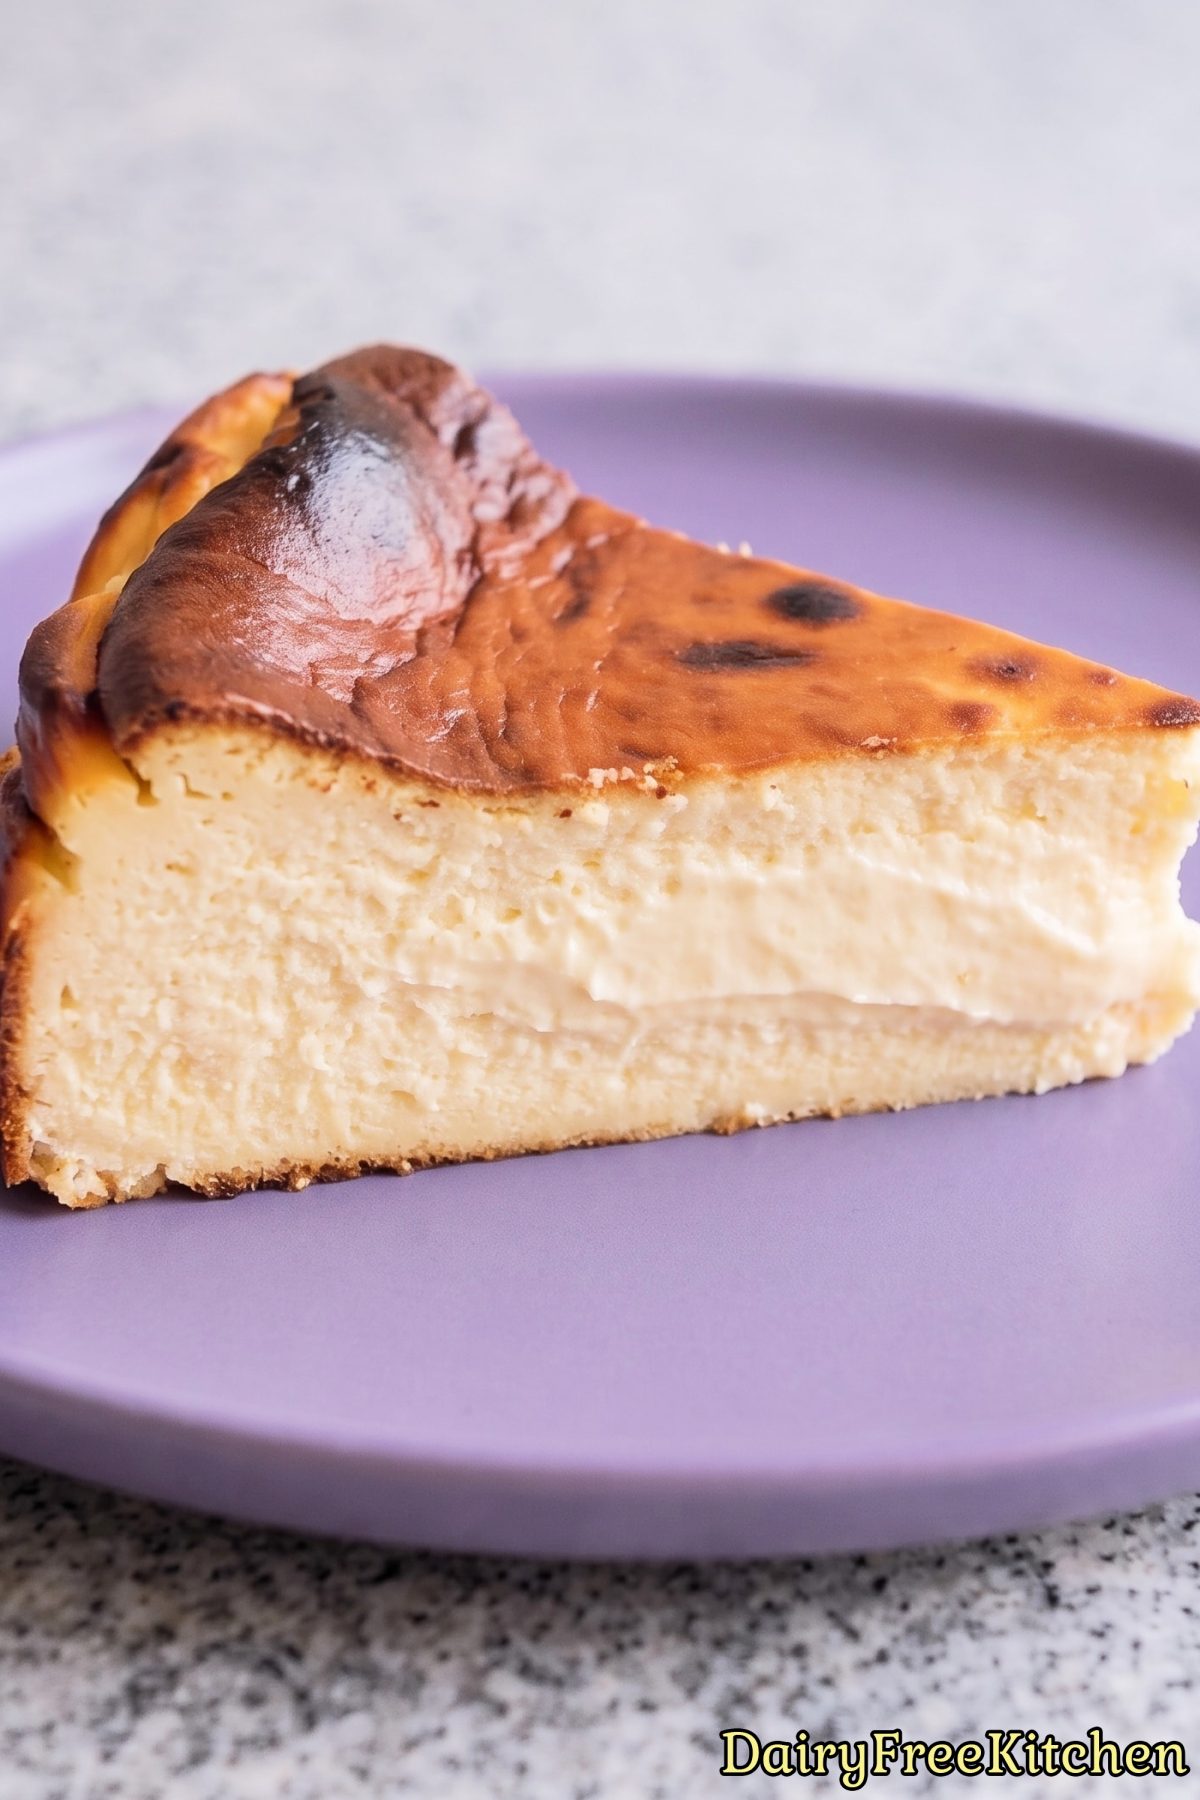
Incredible Creamy Texture – The rich coconut cream gives this dessert a velvety center that melts in your mouth with every bite.
Delicious Caramelized Flavor – Baking at high heat creates a sweet, dark top that balances beautifully with the tangy, smooth filling.
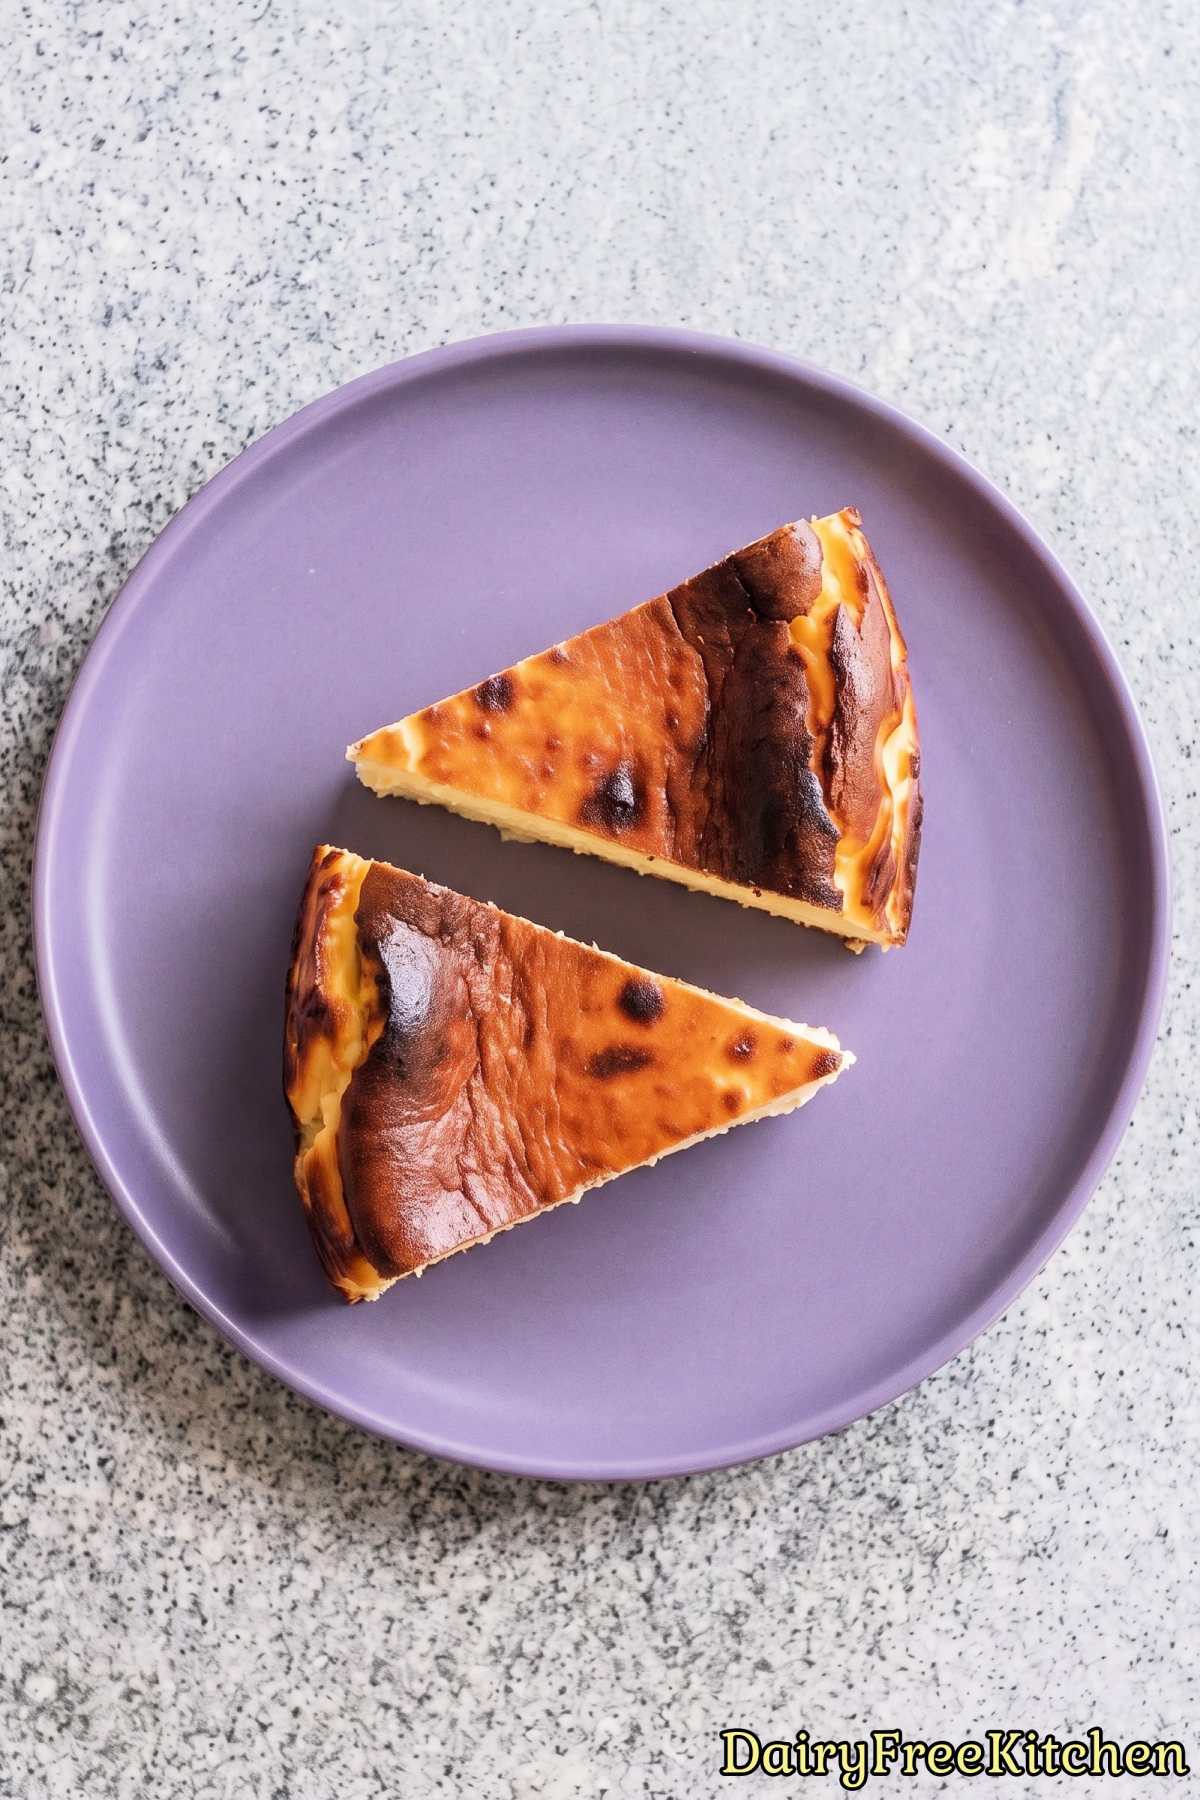
No Crust Required – You skip making a fussy crust entirely because the batter bakes straight inside rustic parchment paper.
Naturally Gluten Free – Thickened only with a little cornstarch, this treats everyone at your table without needing special flours.
Here’s What You’ll Need
- 2 lb Dairy Free Cream Cheese, Softened
- 1 1/4 cups Granulated Sugar
- 5 Large Eggs, Room Temperature
- 1 cup Full Fat Coconut Cream
- 1 tbsp Fresh Lemon Juice
- 2 tsp Pure Vanilla Extract
- 1/2 tsp Salt
- 3 tbsp Cornstarch
How to Make It
Step 1
Preheat the oven to 400°F. Crumple two large sheets of parchment paper, smooth them out, and press them into a 9-inch springform pan in a cross pattern so the paper rises about 2 inches above the rim on all sides.
Step 2
In a large bowl, beat the cream cheese and sugar on medium-low speed for 2-3 minutes until completely smooth, scraping down the bowl as needed. Keep the speed low so you don’t whip in extra air.
Step 3
Add the eggs one at a time, beating on low just until each one disappears before adding the next.
Step 4
Beat in the coconut cream, lemon juice, vanilla and salt until combined.
Sift the cornstarch over the batter and mix on low until smooth with no lumps. The batter will be thin and silky, which is exactly what you want.
Step 5
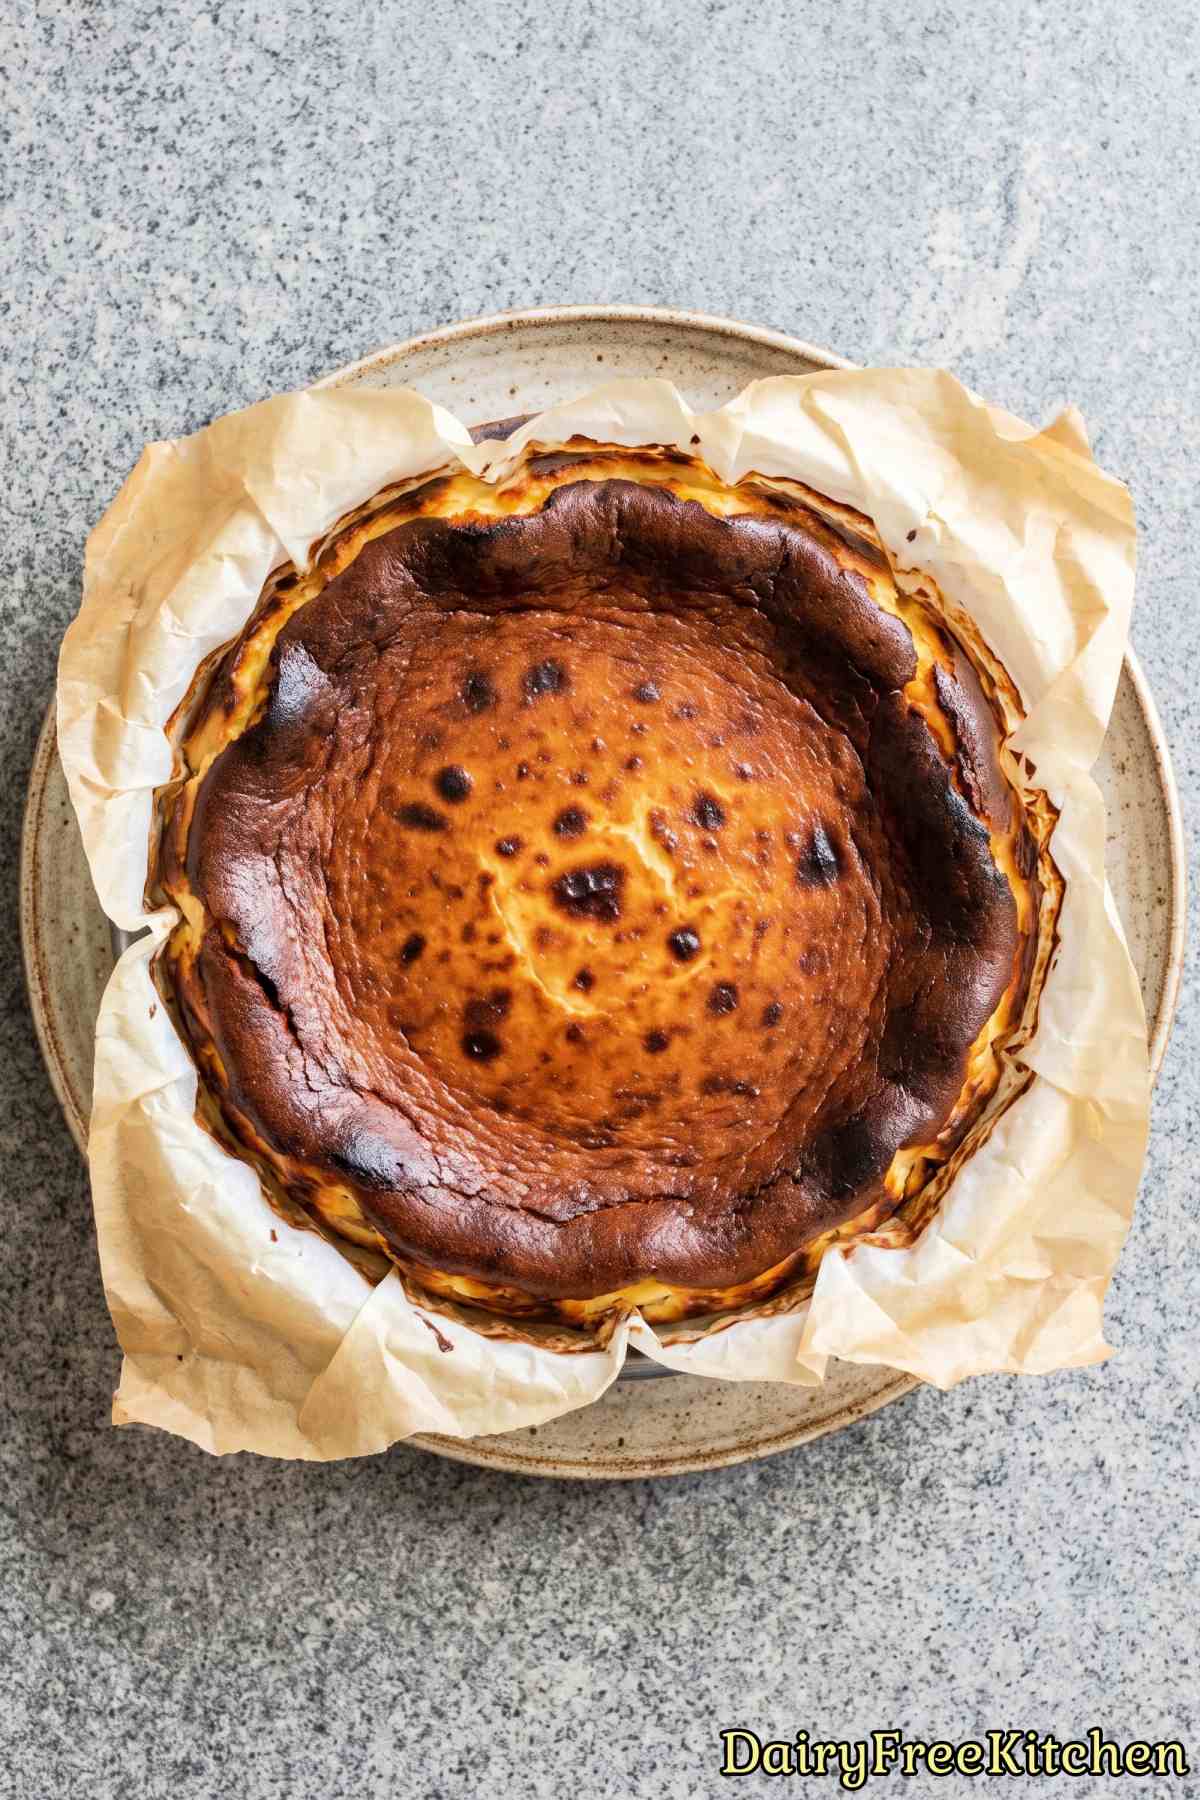
Pour the batter into the lined pan and tap it on the counter a few times to release air bubbles. Bake for 50-60 minutes, until the top is deeply browned and almost black in spots.
The edges should look set while the center 3-4 inches still wobble like soft pudding when you gently nudge the pan. It will firm up as it cools.
Step 6
Let the cheesecake cool in the pan at room temperature for 2 hours. It will sink and crack slightly as it cools, which gives it that signature rustic look.
Step 7
Refrigerate for at least 4 hours or overnight until fully set.
Remove the ring, peel back the parchment and cut into wedges. Serve chilled, or let it sit out for 20 minutes for an extra creamy center.
Recipe Tips
Pick the Right Cream Cheese
From my experience, firm block-style vegan cream cheese gives you the best rich texture.
Avoid the whipped tubs because they have extra air and water whipped into them.
That extra liquid will make your cheesecake turn out runny instead of dense and creamy.
Use Solid Coconut Cream
When you open your can of coconut cream, you want only the thick white cream from the top.
Leave the clear liquid at the bottom of the can for smoothies or soups.
If you pour that thin liquid into the bowl, your batter will be too watery and the center will struggle to set.
Bring the Eggs to Room Temperature
You’ll get the best results if you set your eggs out on the counter an hour before mixing.
Cold eggs will instantly harden the oils in your dairy-free cream cheese and coconut cream.
When that happens, the batter separates into tiny greasy specks instead of blending into a silky batter.
What to Make Next
- Dairy Free Biscoff Cheesecake Cups
- Dairy Free Churro Cheesecake Bars
- Dairy Free Coconut Vanilla Creme Brulee
- Dairy Free New York Cheesecake
- Dairy Free Silky Vanilla Flan
Popular Questions
Will this cheesecake taste strongly like coconut?
You will barely taste the coconut once the cake is fully baked and chilled. The lemon juice and pure vanilla extract balance the flavor so it tastes just like a classic bakery cheesecake.
If you are extra sensitive to coconut, look for refined coconut cream at the store because it has a completely neutral flavor.

Dairy Free Burnt Basque Cheesecake
Equipment
- 9-inch springform pan
Ingredients
- 2 lb Dairy Free Cream Cheese, Softened
- 1 1/4 cups Granulated Sugar
- 5 Large Eggs, Room Temperature
- 1 cup Full Fat Coconut Cream
- 1 tbsp Fresh Lemon Juice
- 2 tsp Pure Vanilla Extract
- 1/2 tsp Salt
- 3 tbsp Cornstarch
Instructions
- Preheat the oven to 400°F. Crumple two large sheets of parchment paper, smooth them out, and press them into a 9-inch springform pan in a cross pattern so the paper rises about 2 inches above the rim on all sides.
- In a large bowl, beat the cream cheese and sugar on medium-low speed for 2-3 minutes until completely smooth, scraping down the bowl as needed. Keep the speed low so you don't whip in extra air.
- Add the eggs one at a time, beating on low just until each one disappears before adding the next.
- Beat in the coconut cream, lemon juice, vanilla and salt until combined. Sift the cornstarch over the batter and mix on low until smooth with no lumps. The batter will be thin and silky, which is exactly what you want.
- Pour the batter into the lined pan and tap it on the counter a few times to release air bubbles. Bake for 50-60 minutes, until the top is deeply browned and almost black in spots. The edges should look set while the center 3-4 inches still wobble like soft pudding when you gently nudge the pan. It will firm up as it cools.
- Let the cheesecake cool in the pan at room temperature for 2 hours. It will sink and crack slightly as it cools, which gives it that signature rustic look.
- Refrigerate for at least 4 hours or overnight until fully set. Remove the ring, peel back the parchment and cut into wedges. Serve chilled, or let it sit out for 20 minutes for an extra creamy center.