Burnt basque cheesecake has always been one of my favorite desserts because of its dark top and rich, creamy center.
Most traditional recipes rely heavily on regular dairy, which simply does not work if you have an intolerance or choose to avoid it.
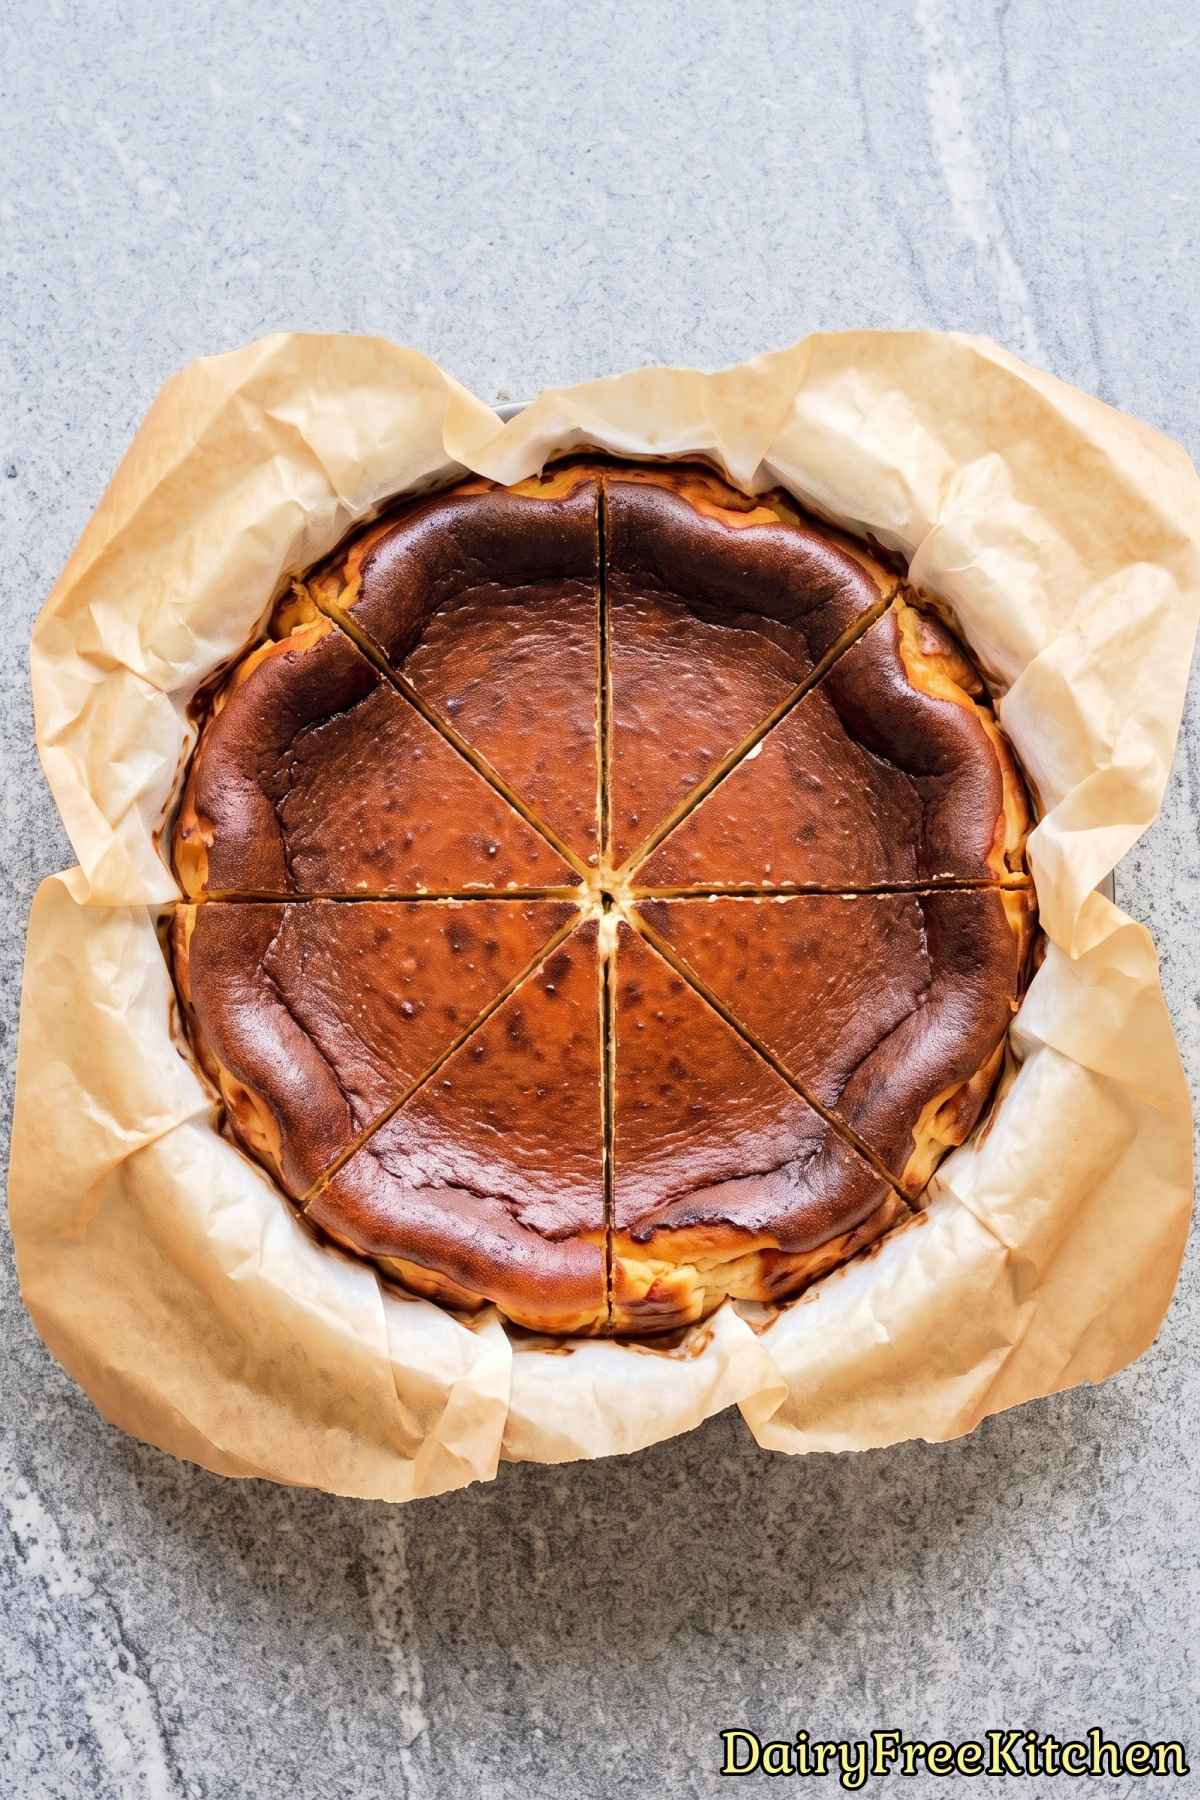
I decided to make my own dairy free protein burnt basque cheesecake that still keeps that classic texture everyone loves.
Adding a scoop of protein powder also makes each slice much more satisfying without changing the custard middle.
It is deeply flavorful, completely dairy free, and surprisingly simple to bake at home.
Why This Recipe Is a Keeper
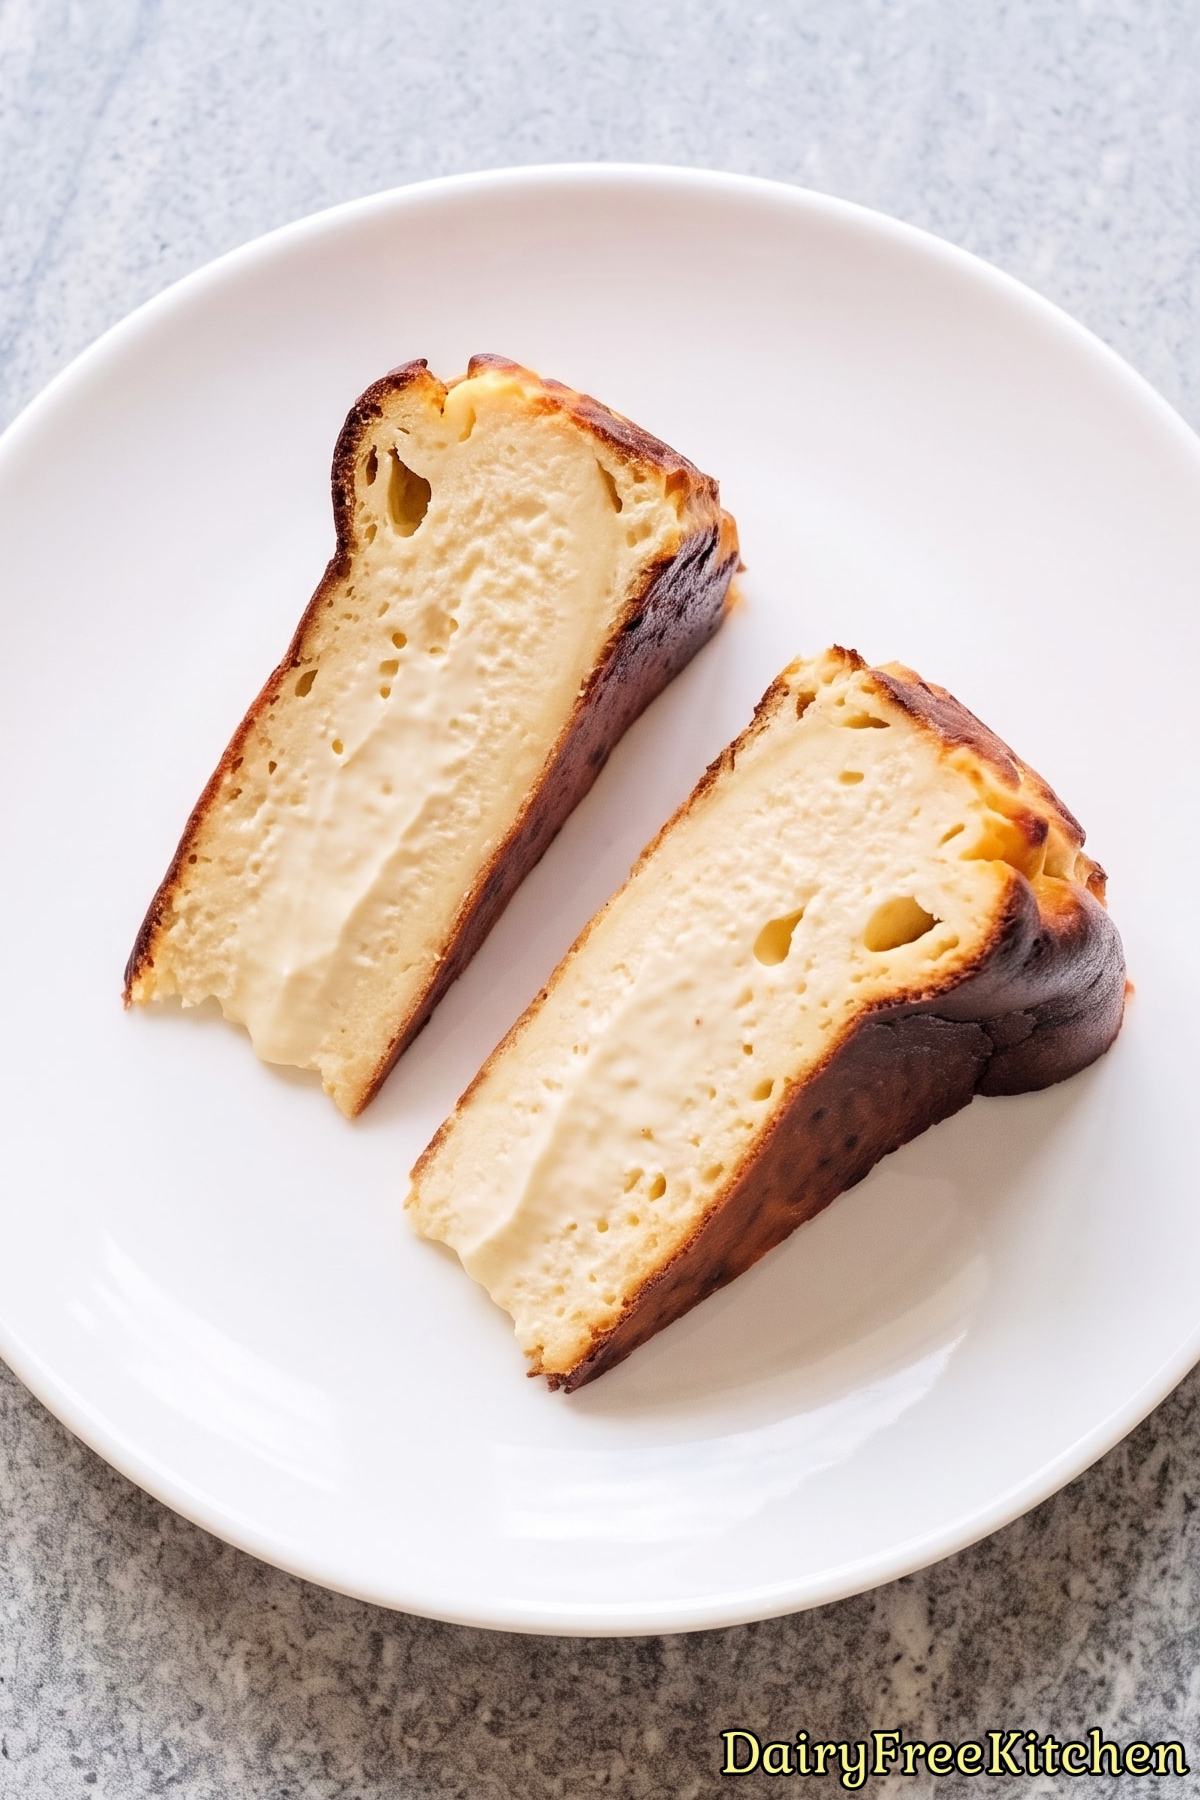
Incredible Custard Texture – The creamy, melt-in-your-mouth center tastes just like traditional bakery cheesecake without using any real dairy.
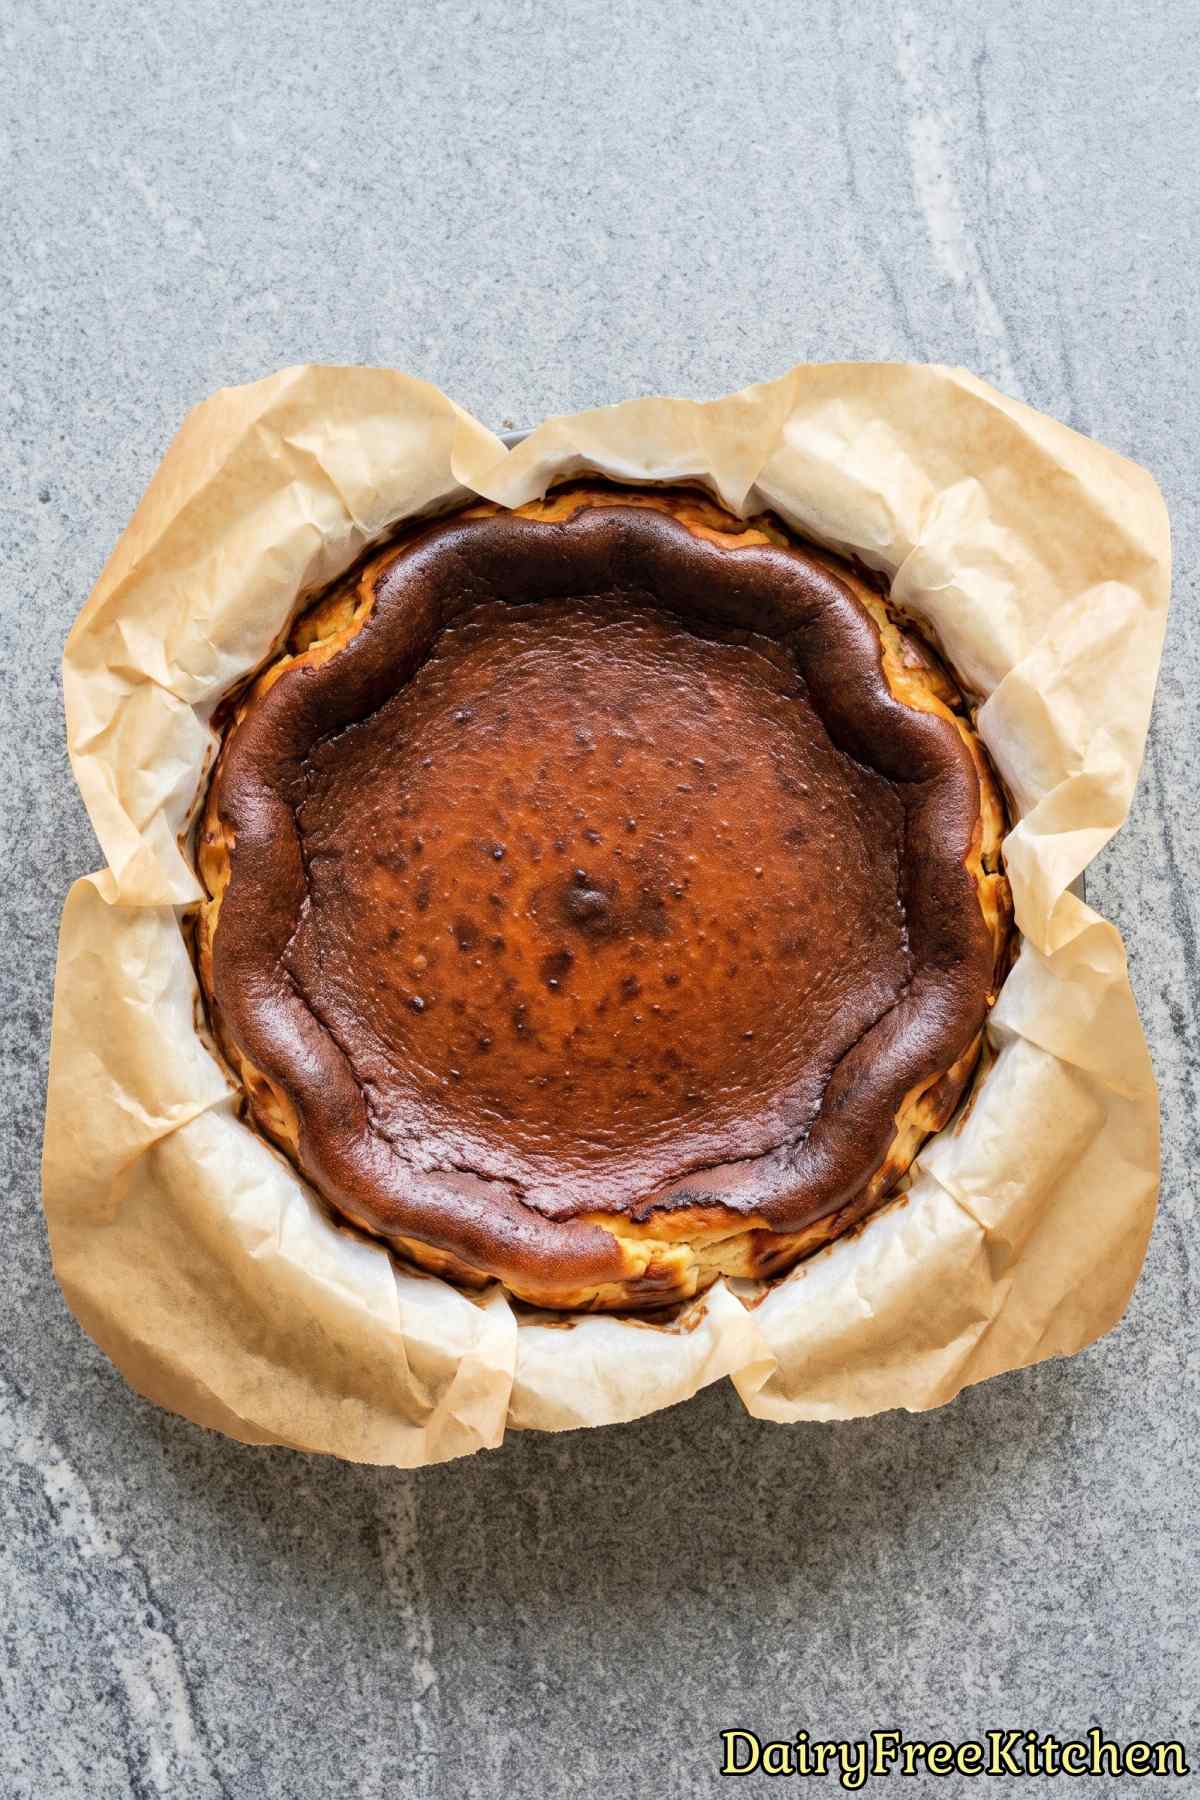
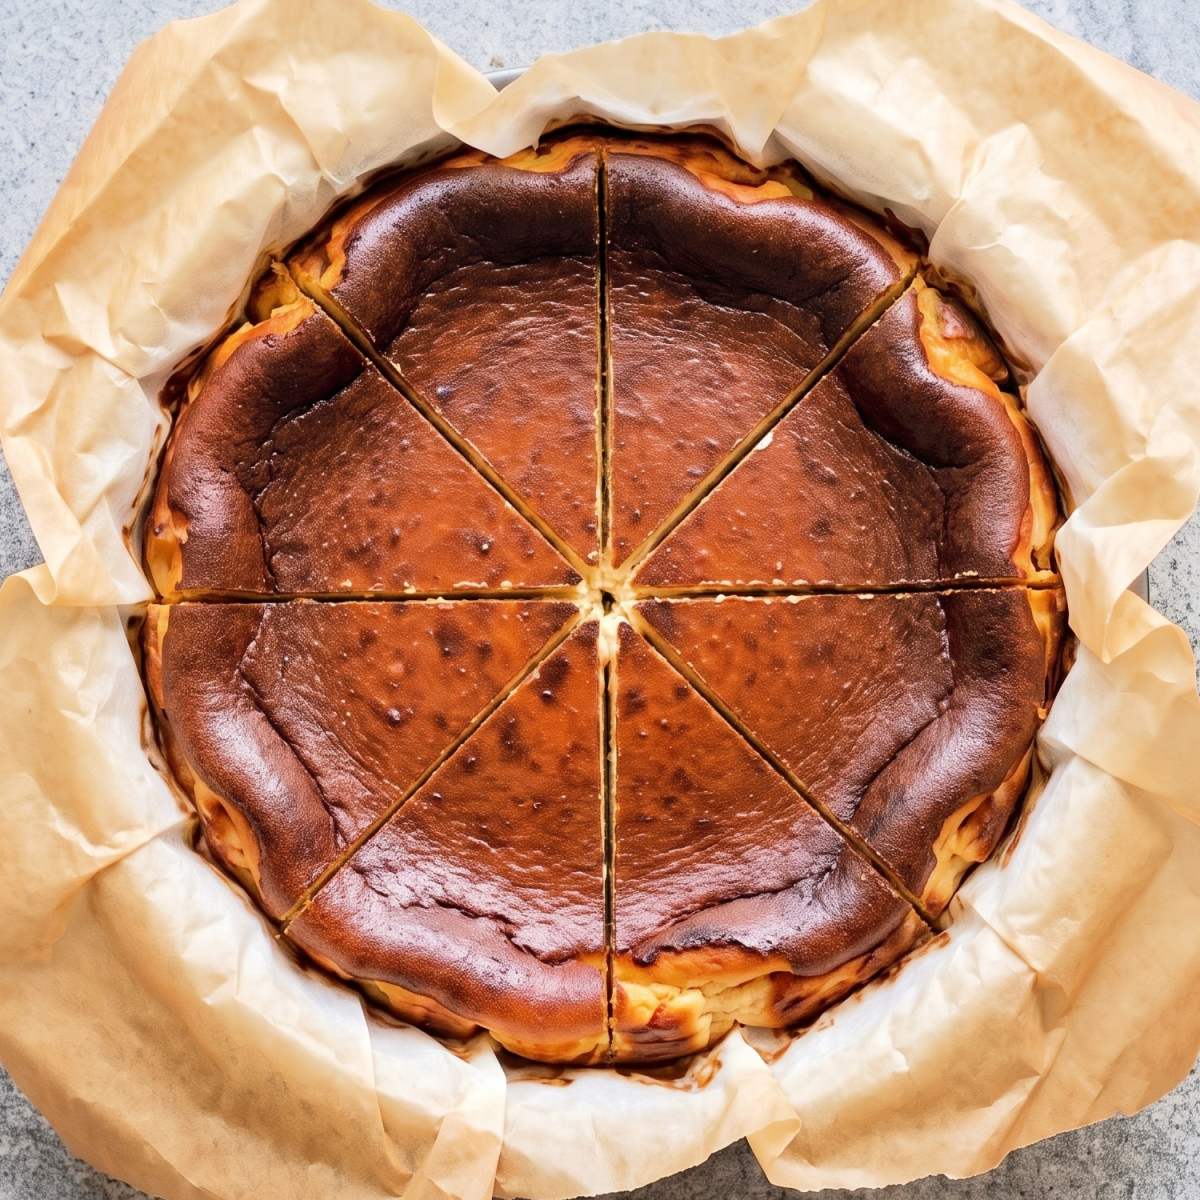
Deep Caramelized Flavor – High heat creates a dark, golden top that brings a rich brown sugar taste to every bite.
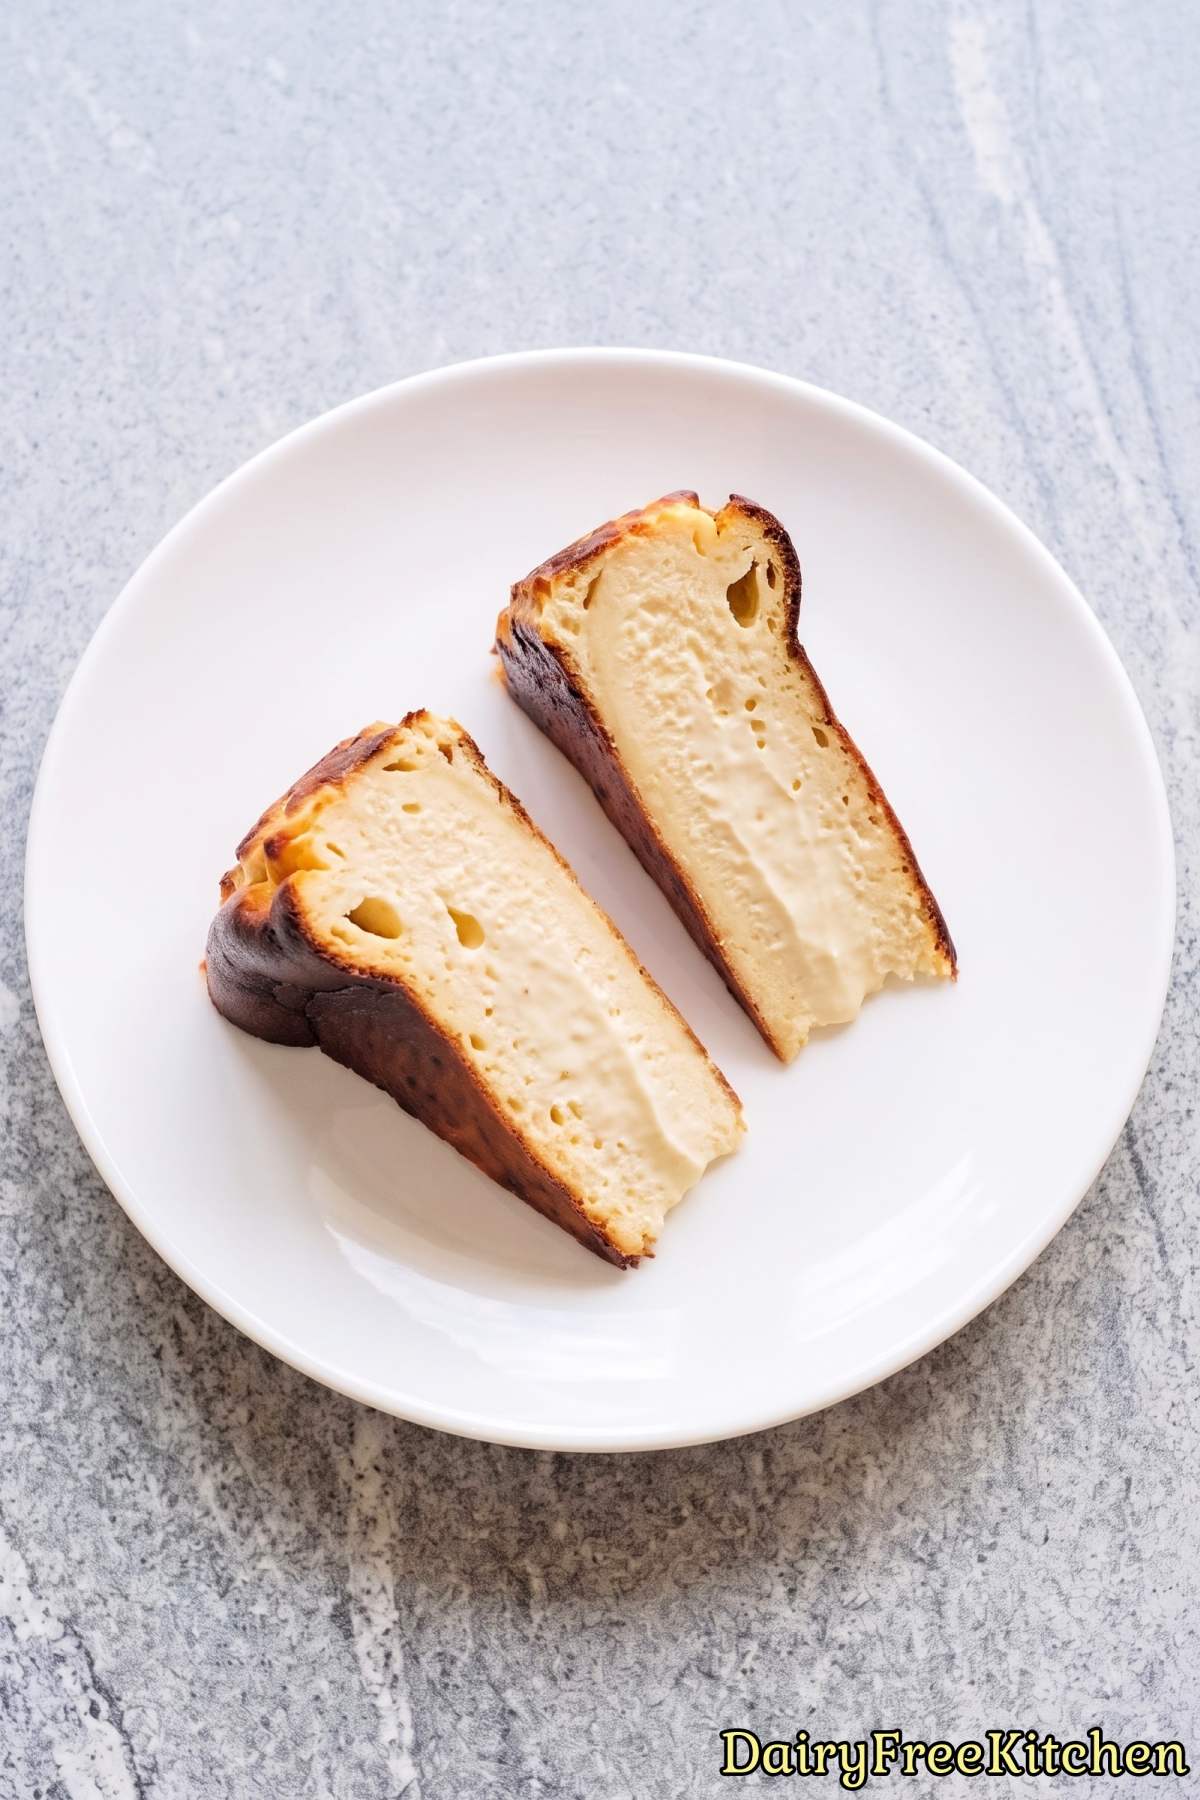
Sneaky Protein Boost – Vanilla protein powder blends right in so you get extra nutrition while enjoying a fancy treat.
No Water Bath Needed – You can skip the messy water pan entirely because this rustic style loves high heat baking.
Here’s What You’ll Need
- 24 oz Dairy Free Cream Cheese, Softened
- 3/4 cup Granulated Sugar
- 4 Large Eggs, Room Temperature
- 3/4 cup Plain Dairy Free Greek Style Yogurt
- 1/2 cup Dairy Free Heavy Cream
- 1/2 cup Dairy Free Vanilla Protein Powder
- 1 tbsp Cornstarch
- 2 tsp Vanilla Extract
- 1/4 tsp Salt
How to Make It
Step 1
Preheat the oven to 400°F. Press two large overlapping sheets of parchment paper into a 9-inch springform pan, letting the paper rise about 2 inches above the rim with plenty of rustic folds, then set the pan on a baking sheet.
Step 2
In a large bowl, beat the cream cheese and sugar on medium speed until completely smooth and glossy, about 2 minutes, scraping down the bowl as needed.
Step 3
Reduce the speed to low and beat in the eggs one at a time, mixing just until each one disappears. Add the yogurt, heavy cream and vanilla and mix until smooth.
Step 4
Sift the protein powder, cornstarch and salt over the batter and mix on low until just combined. Tap the bowl firmly on the counter a few times to release air bubbles, then pour the batter into the lined pan.
Step 5
Bake for 40 to 50 minutes, until the top is a deep, dark caramelized brown and the edges are puffed and set. The center should still jiggle like a loose custard when you gently shake the pan, which is exactly what gives this cheesecake its creamy middle.
Step 6
Cool the cheesecake in the pan at room temperature for 1 hour. It will sink and settle as it cools, which is completely normal for this style.
Refrigerate for at least 6 hours or overnight.
Step 7
Release the springform, peel away the parchment and slice. For the creamiest texture, let the slices sit at room temperature for 20 minutes before serving, with fresh berries on the side if you like.
Recipe Tips
Pick the Right Protein Powder
I recommend using a soy, almond, or smooth pea-blend protein powder that has a very fine texture.
Some plant powders can taste gritty or soak up way too much liquid. If your powder feels chalky between your fingers, that texture will carry straight into your cheesecake.
You’ll get the best results if you avoid hemp or coarse brown rice protein, which can make the custard feel dry instead of creamy.
Scrunch Your Parchment Paper First
My favorite trick here is to crumple both sheets of parchment paper into tight balls with your hands before putting them in the pan.
When you smooth the paper back out, it will be soft and flexible instead of stiff and bouncy.
This makes it much easier to press the sheets into the bottom corners and form those deep, rustic folds along the sides.
Fully Soften the Cream Cheese
Make sure your dairy-free cream cheese sits out on the counter until it is completely soft before you start mixing.
Dairy-free cream cheese tends to be stiffer than traditional cream cheese, and cold tubs will leave tiny lumps that are impossible to blend out later.
From my experience, mixing cold plant cheese also traps too many little pockets of cold fat, which can keep the batter from turning glossy and smooth.
What to Make Next
- Dairy Free Biscoff Cheesecake Cups
- Dairy Free Churro Cheesecake Bars
- Dairy Free Coconut Vanilla Creme Brulee
- Dairy Free New York Cheesecake
- Dairy Free Silky Vanilla Flan
Popular Questions
What type of dairy-free protein powder works best in this cake?
A smooth plant-based blend or soy protein powder tends to give you the creamiest result.
Try to avoid purely pea-based powders because they can sometimes make the cheesecake feel gritty and add an earthy flavor.

Dairy Free Protein Burnt Basque Cheesecake
Equipment
- springform pan
- electric mixer
Ingredients
- 24 oz Dairy Free Cream Cheese, Softened
- 3/4 cup Granulated Sugar
- 4 Large Eggs, Room Temperature
- 3/4 cup Plain Dairy Free Greek Style Yogurt
- 1/2 cup Dairy Free Heavy Cream
- 1/2 cup Dairy Free Vanilla Protein Powder
- 1 tbsp Cornstarch
- 2 tsp Vanilla Extract
- 1/4 tsp Salt
Instructions
- Preheat the oven to 400°F. Press two large overlapping sheets of parchment paper into a 9-inch springform pan, letting the paper rise about 2 inches above the rim with plenty of rustic folds, then set the pan on a baking sheet.
- In a large bowl, beat the cream cheese and sugar on medium speed until completely smooth and glossy, about 2 minutes, scraping down the bowl as needed.
- Reduce the speed to low and beat in the eggs one at a time, mixing just until each one disappears. Add the yogurt, heavy cream and vanilla and mix until smooth.
- Sift the protein powder, cornstarch and salt over the batter and mix on low until just combined. Tap the bowl firmly on the counter a few times to release air bubbles, then pour the batter into the lined pan.
- Bake for 40 to 50 minutes, until the top is a deep, dark caramelized brown and the edges are puffed and set. The center should still jiggle like a loose custard when you gently shake the pan, which is exactly what gives this cheesecake its creamy middle.
- Cool the cheesecake in the pan at room temperature for 1 hour. It will sink and settle as it cools, which is completely normal for this style. Refrigerate for at least 6 hours or overnight.
- Release the springform, peel away the parchment and slice. For the creamiest texture, let the slices sit at room temperature for 20 minutes before serving, with fresh berries on the side if you like.