Classic peanut butter blossoms are one of my favorite cookies to make during the holidays, but traditional versions are full of dairy.
I wanted to make a version that anyone who avoids milk can enjoy without missing out on the classic flavor.
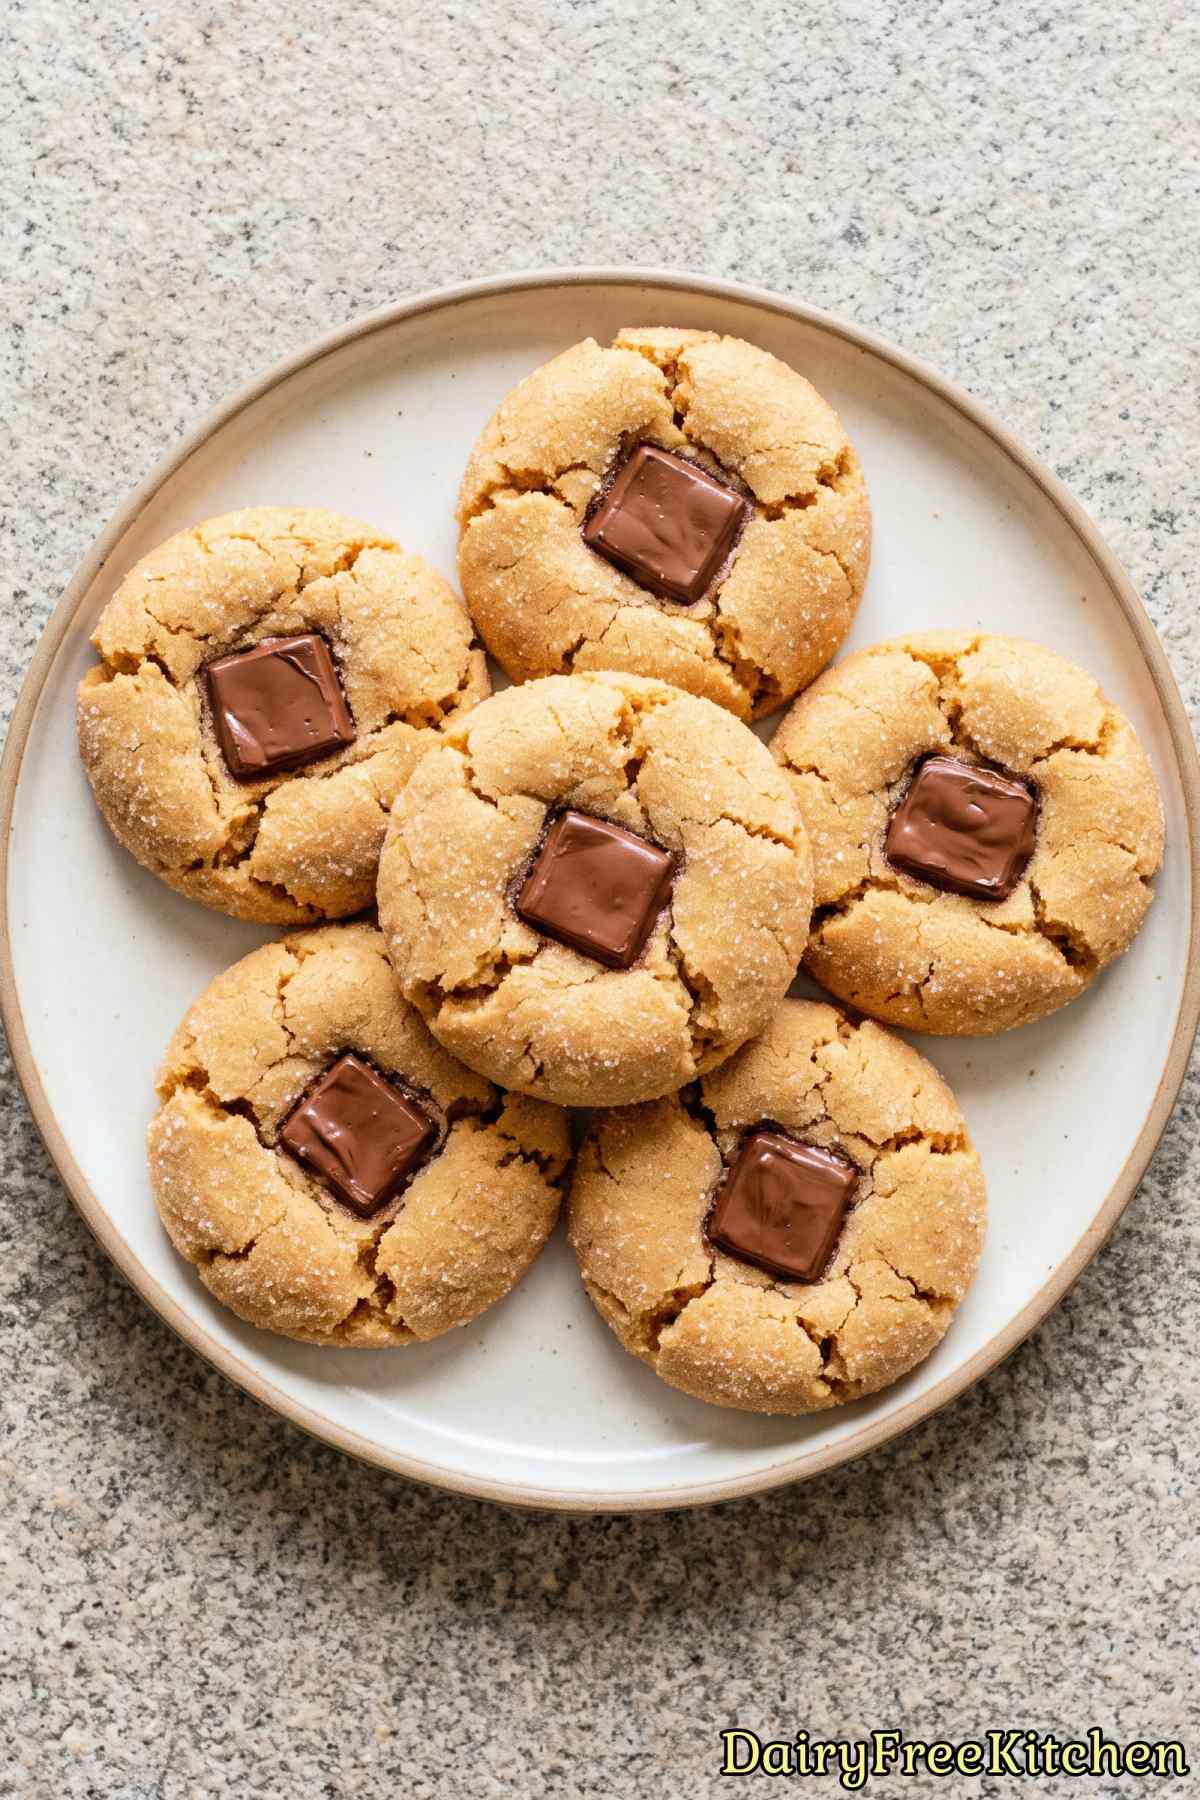
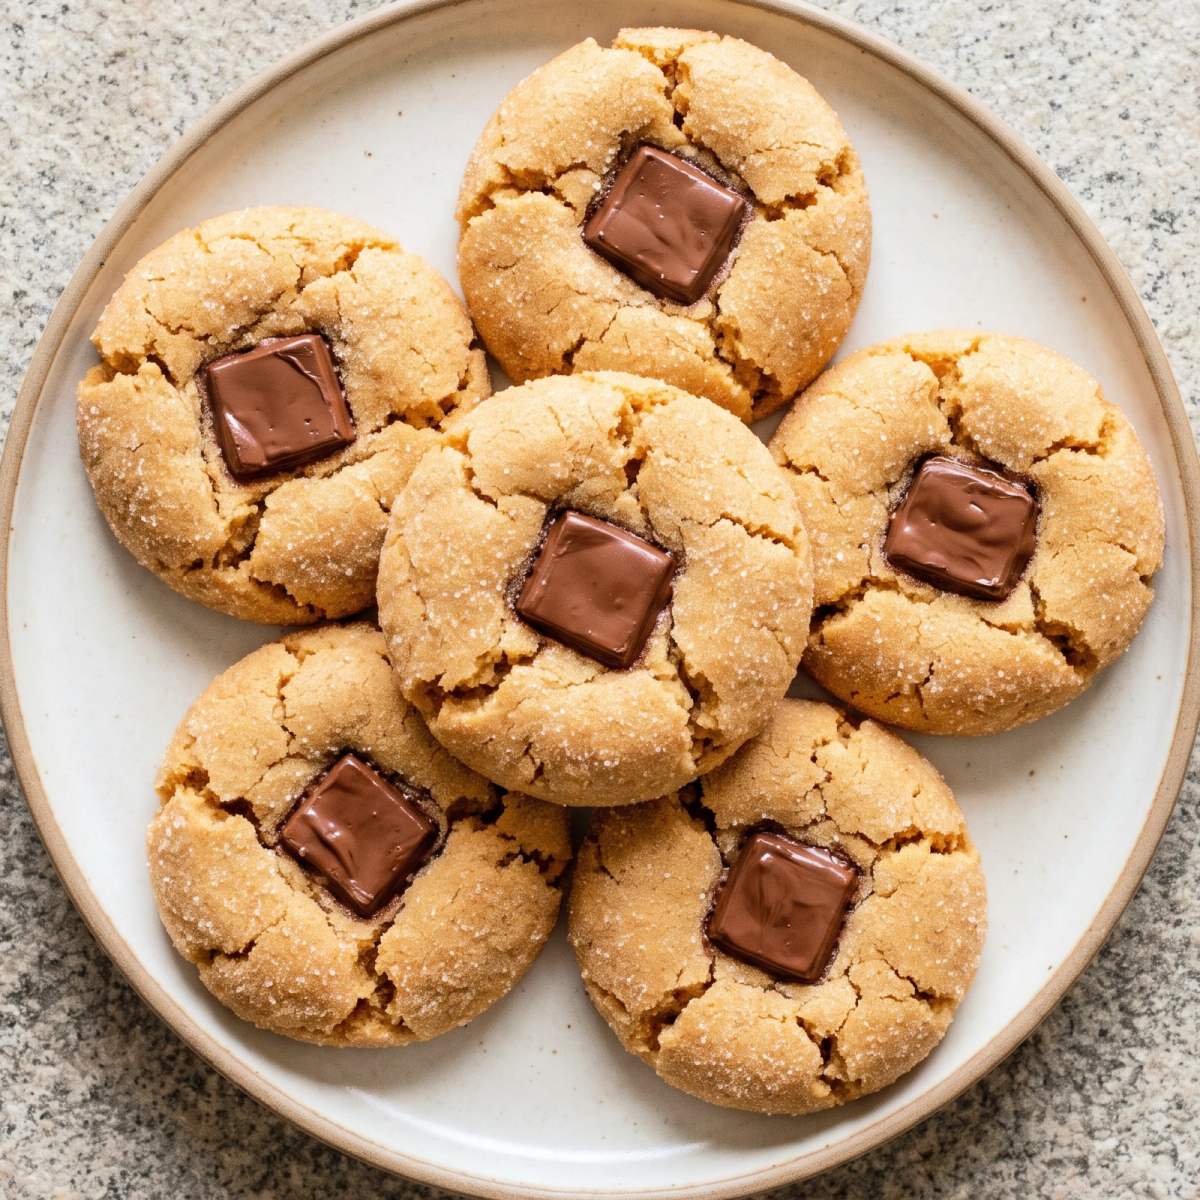
These dairy free peanut butter blossoms are soft, chewy, and topped with rich dairy free chocolate right in the center.
You only need simple baking staples, and the dough comes together in just a few minutes.
They taste just like the original treats from my childhood, so no one will even guess they are completely dairy free.
Why This Recipe Is a Keeper
Classic Flavor Combo – Creamy peanut butter and rich chocolate come together for a timeless, crowd-pleasing taste everyone loves.
Irresistible Texture – These cookies bake up super soft and tender with a lovely, delicate crunch from the sugar coating.
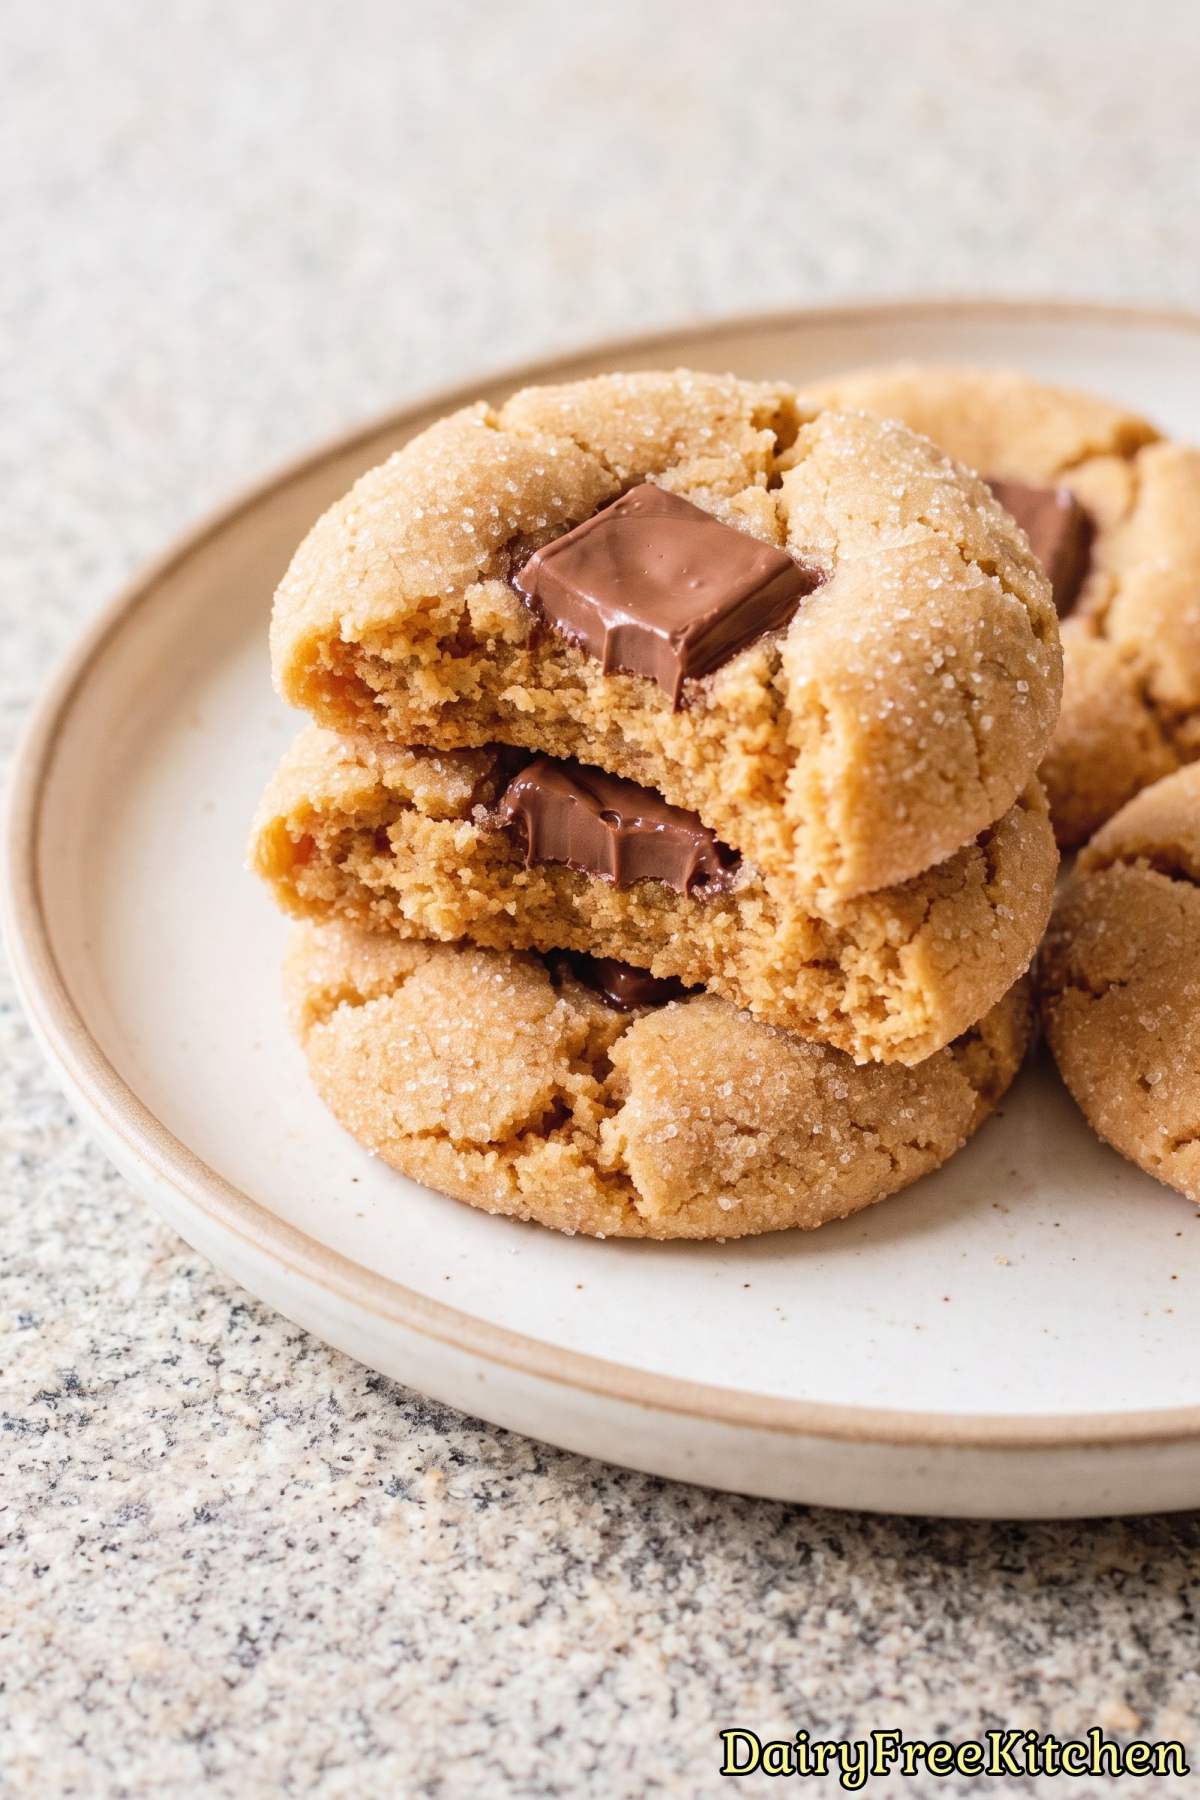
Dairy Free Delight – You get all the rich bakery goodness without any dairy butter or regular milk holding you back.
Melted Chocolate Centers – Pressing a chocolate chunk into the warm base creates a gooey, decadent bite every single time.
Here’s What You’ll Need
For the Cookies
- 1/2 cup Dairy Free Butter, Softened
- 3/4 cup Creamy Peanut Butter
- 1/2 cup Granulated Sugar
- 1/2 cup Light Brown Sugar, Packed
- 1 Large Egg
- 2 tbsp Unsweetened Oat Milk
- 1 tsp Vanilla Extract
- 1 3/4 cups All Purpose Flour
- 1 tsp Baking Soda
- 1/2 tsp Salt
For Rolling & Topping
- 1/3 cup Granulated Sugar
- 36 Large Dairy Free Chocolate Chunks
How to Make It
Step 1
In a medium bowl, whisk together the flour, baking soda and salt. Set aside.
Step 2
In a large bowl, beat the dairy free butter, peanut butter, granulated sugar and brown sugar for 2 minutes until fluffy. Beat in the egg, oat milk and vanilla until smooth.
For the best texture, use a regular creamy peanut butter rather than a natural style one that separates.
Step 3
Add the dry ingredients and mix on low speed until combined. Cover and chill the dough for 30 minutes.
Step 4
Preheat the oven to 375°F and line two baking sheets with parchment paper. Roll the dough into 1 tablespoon balls, roll each one in the granulated sugar and place them 2 inches apart.
Step 5
Bake for 8-10 minutes, until the cookies are puffed, lightly golden and just starting to crack.
Step 6
Immediately press a chocolate chunk into the center of each hot cookie, letting the edges crack around it. Cool on the sheet for 5 minutes, then move to a wire rack and let the chocolate firm up before stacking.
Recipe Tips
Use Stick Butter Instead of Tub Margarine
I recommend using block or stick dairy-free butter rather than the kind sold in a tub.
Tub butters contain extra water and air whipped into them. This causes the cookies to spread out too thin and lose their soft, chewy center.
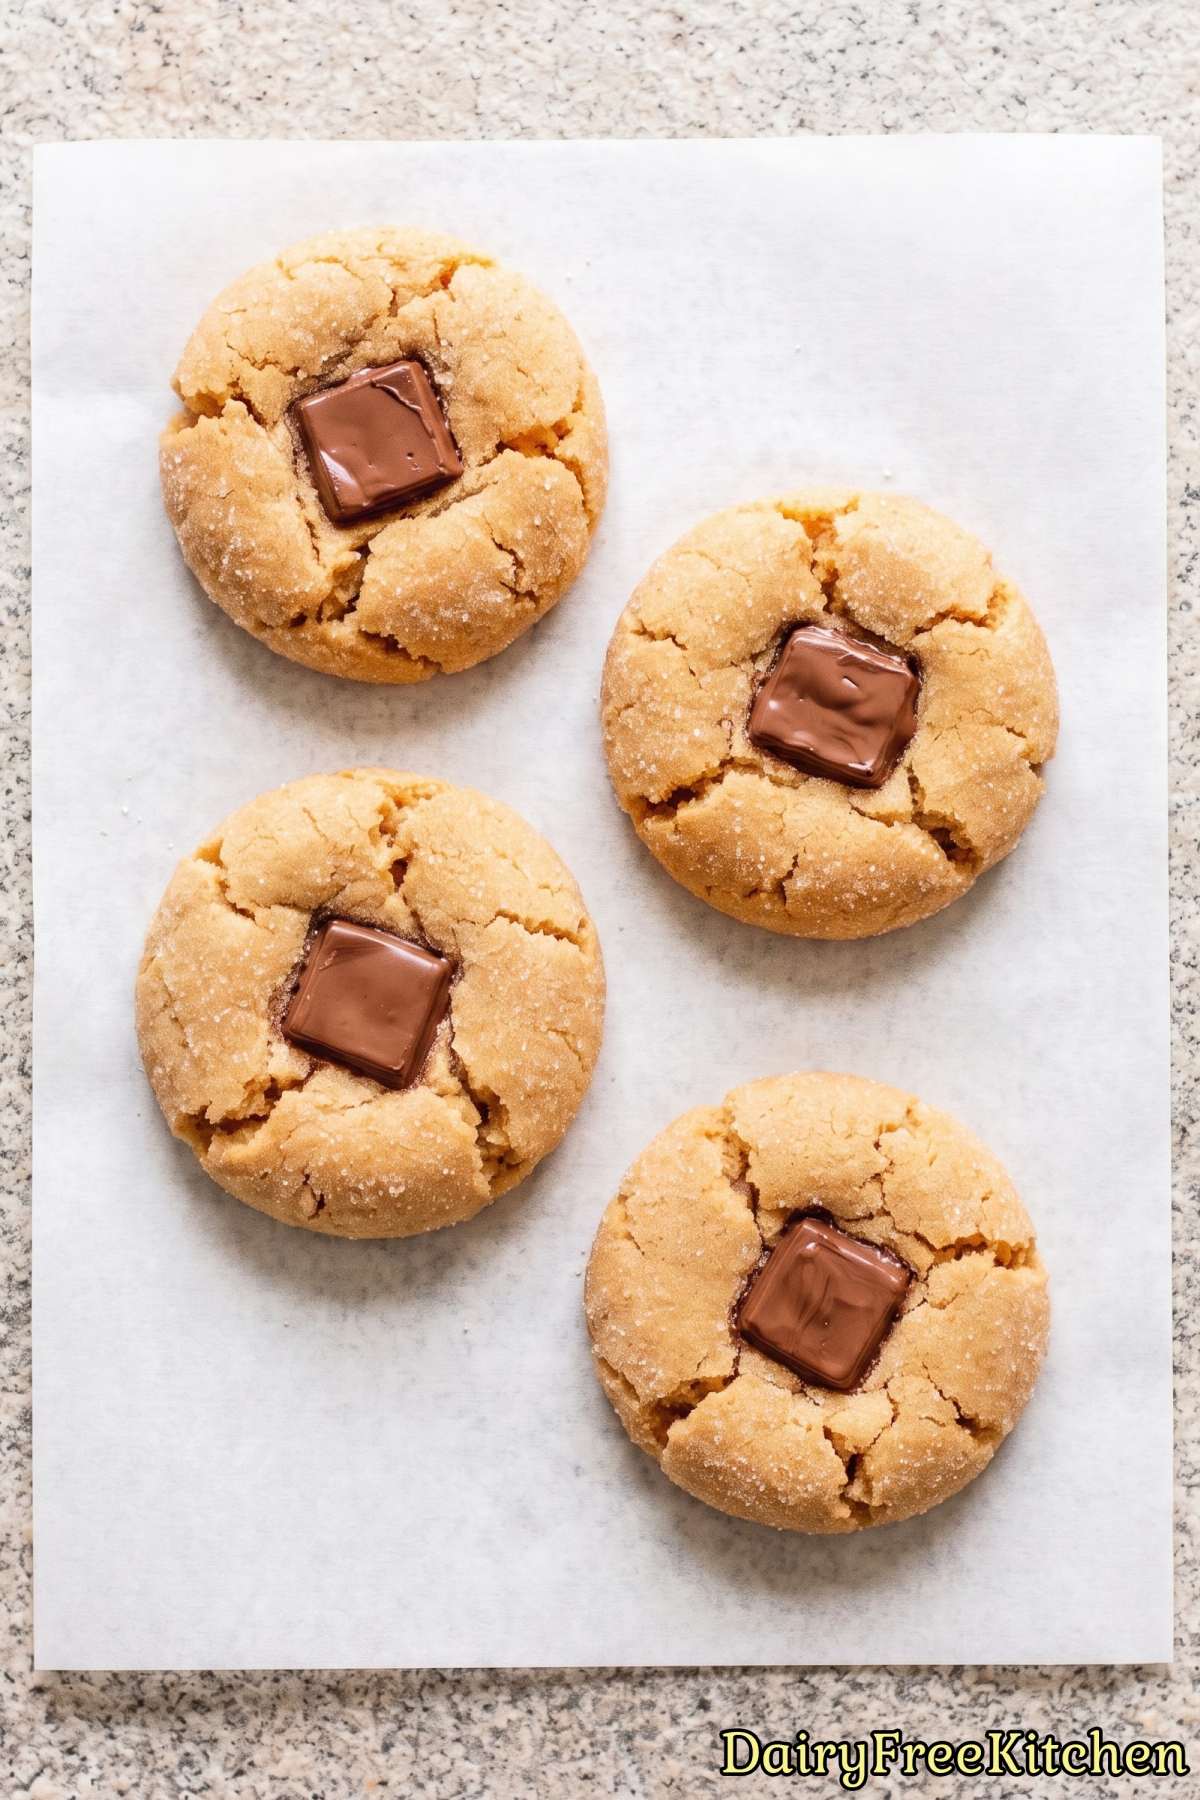
Stick butter holds its shape much better in the oven, giving you thick cookies that support the chocolate center.
Freeze the Chocolate Chunks Before Baking
My favorite trick here is to place your dairy-free chocolate chunks in the freezer for about 20 minutes before you bake.
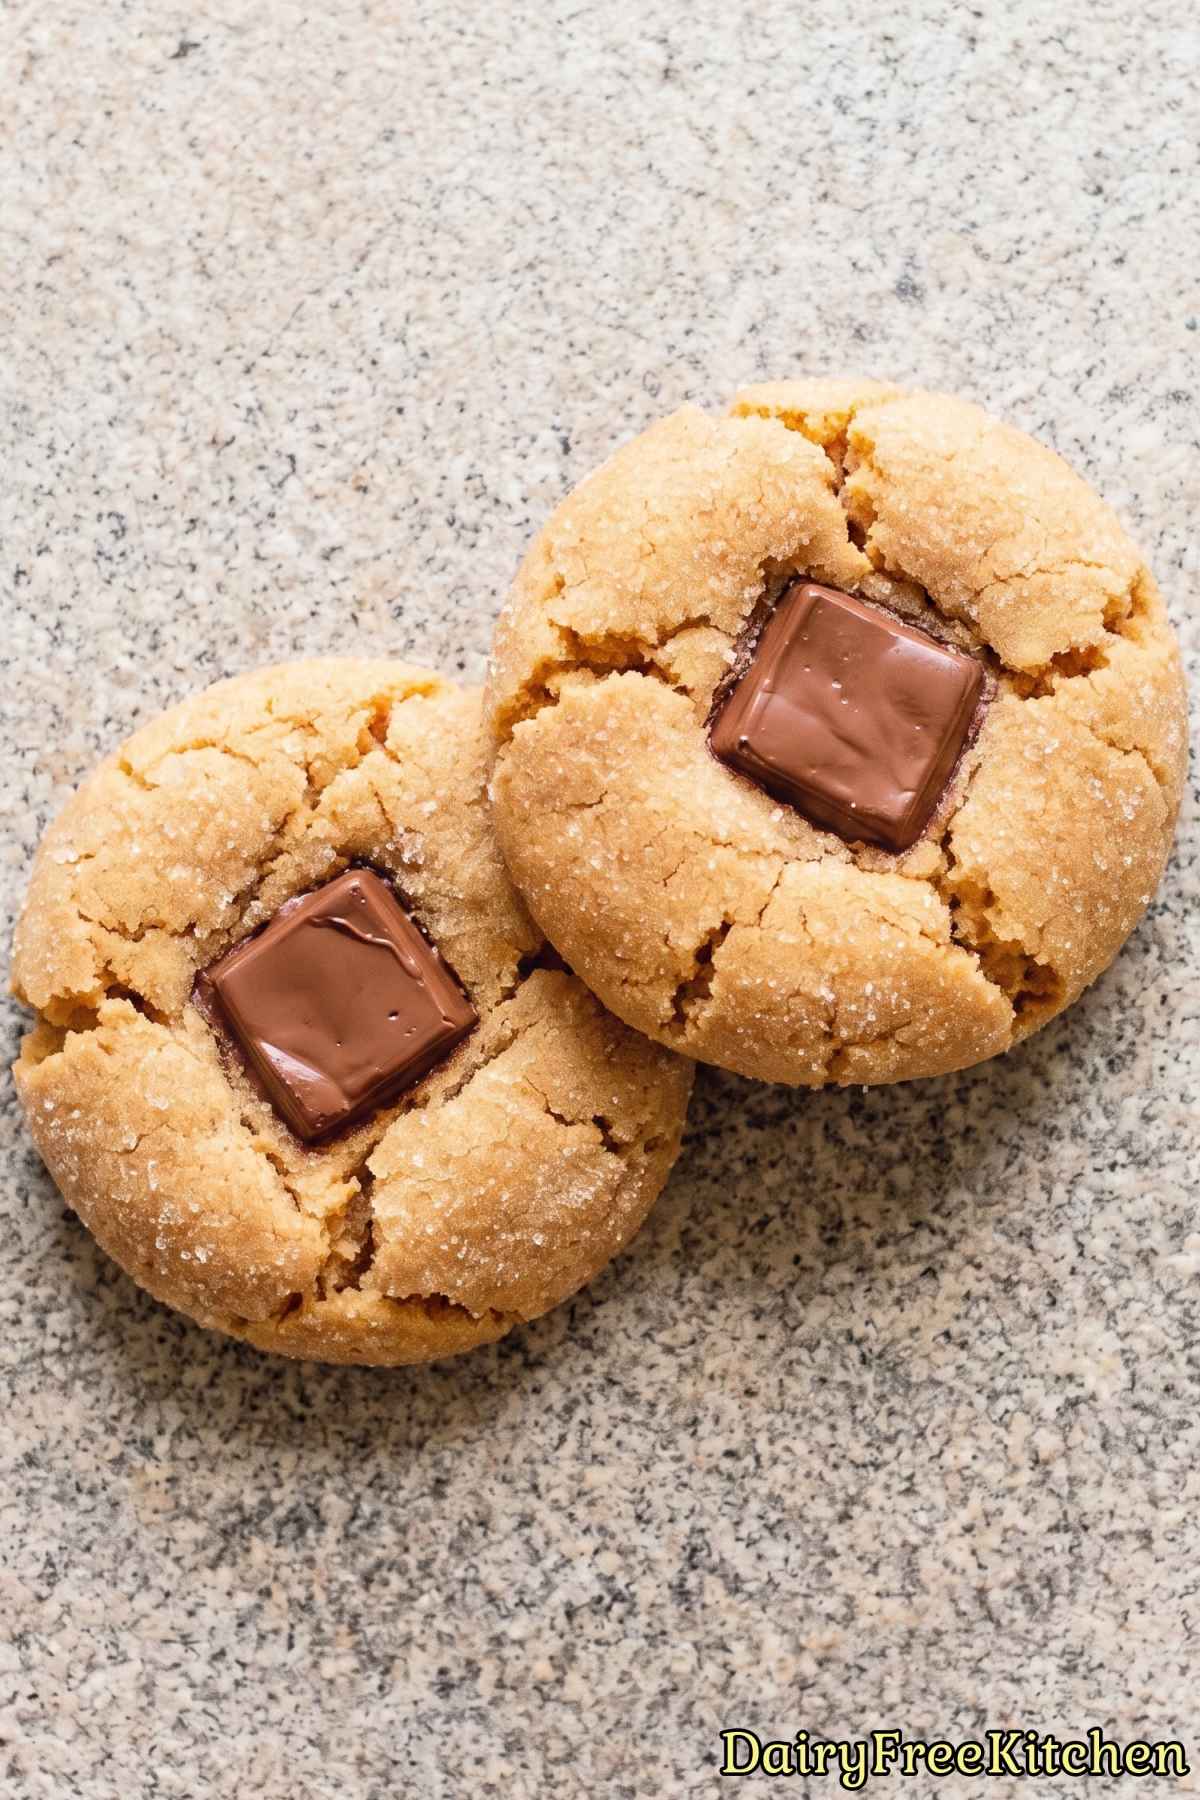
Dairy-free chocolate tends to soften and melt much faster than regular chocolate once it touches heat.
Cold chocolate chunks will hold their shape nicely instead of turning into a runny pool on top of the warm cookie.
Choose Conventional Creamy Peanut Butter
From my experience, you will get the best results if you use standard creamy peanut butter rather than natural peanut butter.
Natural peanut butter separates easily, which adds too much oil and makes the dough crumbly.
A shelf-stable, no-stir peanut butter keeps the dough smooth and helps the cookies bake evenly every single time.
What to Make Next
- Dairy Free Bakery Style Chocolate Chip Cookies
- Dairy Free Chocolate Peanut Butter Cake
- Dairy Free Frozen Peanut Butter Cream Pie
- Dairy Free Magic Cookie Bars
- Dairy Free Peanut Butter Cups
Popular Questions
What type of dairy-free butter works best for these cookies?
Stick-style dairy-free butter works much better than the kind sold in a tub.
Tub varieties contain extra water and oil, which can make your cookies spread out too flat during baking.

Dairy Free Peanut Butter Blossoms
Ingredients
- 1/2 cup Dairy Free Butter, Softened
- 3/4 cup Creamy Peanut Butter
- 1/2 cup Granulated Sugar
- 1/2 cup Light Brown Sugar, Packed
- 1 Large Egg
- 2 tbsp Unsweetened Oat Milk
- 1 tsp Vanilla Extract
- 1 3/4 cups All Purpose Flour
- 1 tsp Baking Soda
- 1/2 tsp Salt
- 1/3 cup Granulated Sugar
- 36 Large Dairy Free Chocolate Chunks
Instructions
- In a medium bowl, whisk together the flour, baking soda and salt. Set aside.
- In a large bowl, beat the dairy free butter, peanut butter, granulated sugar and brown sugar for 2 minutes until fluffy. Beat in the egg, oat milk and vanilla until smooth. For the best texture, use a regular creamy peanut butter rather than a natural style one that separates.
- Add the dry ingredients and mix on low speed until combined. Cover and chill the dough for 30 minutes.
- Preheat the oven to 375°F and line two baking sheets with parchment paper. Roll the dough into 1 tablespoon balls, roll each one in the granulated sugar and place them 2 inches apart.
- Bake for 8-10 minutes, until the cookies are puffed, lightly golden and just starting to crack.
- Immediately press a chocolate chunk into the center of each hot cookie, letting the edges crack around it. Cool on the sheet for 5 minutes, then move to a wire rack and let the chocolate firm up before stacking.