I grew up eating packaged oatmeal cream pies as a simple treat after school.
When I stopped eating dairy, I really missed having those soft sandwich cookies in my kitchen.
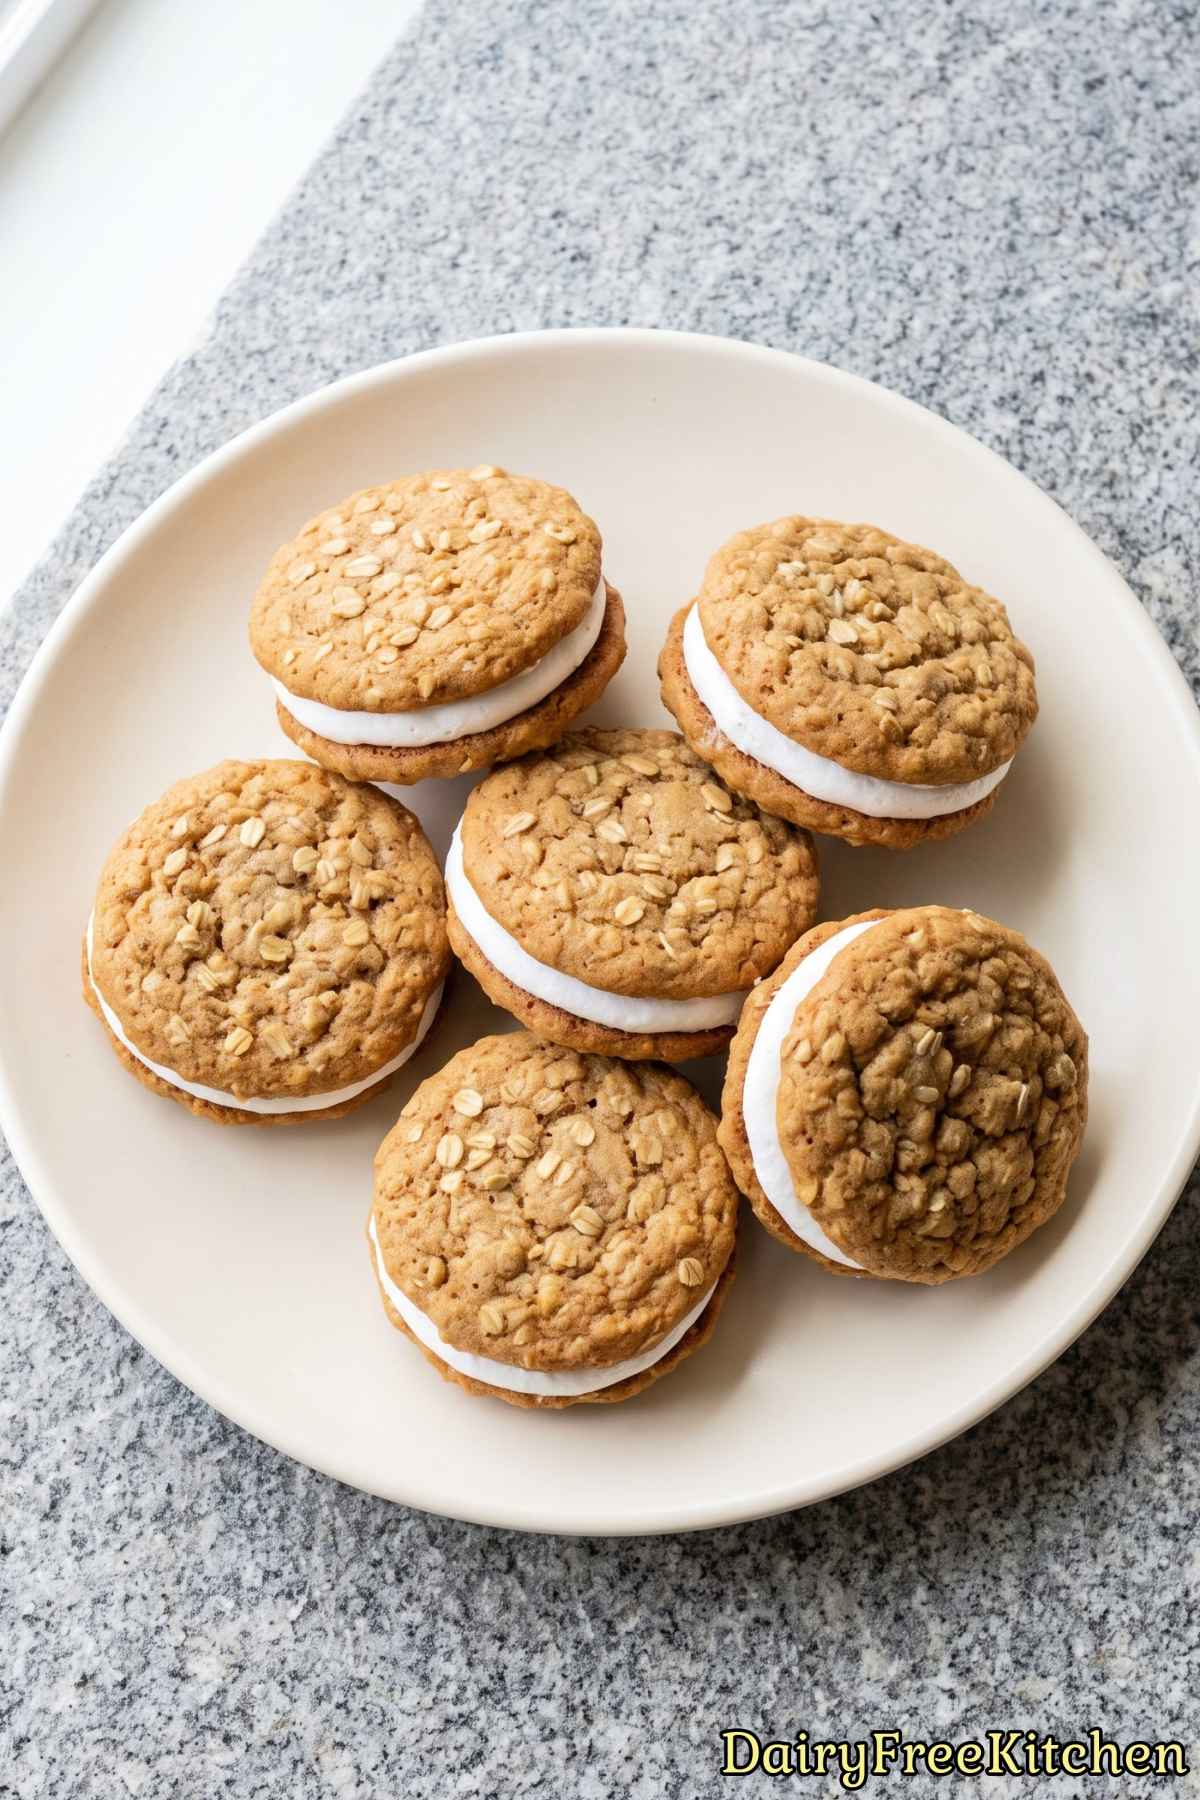
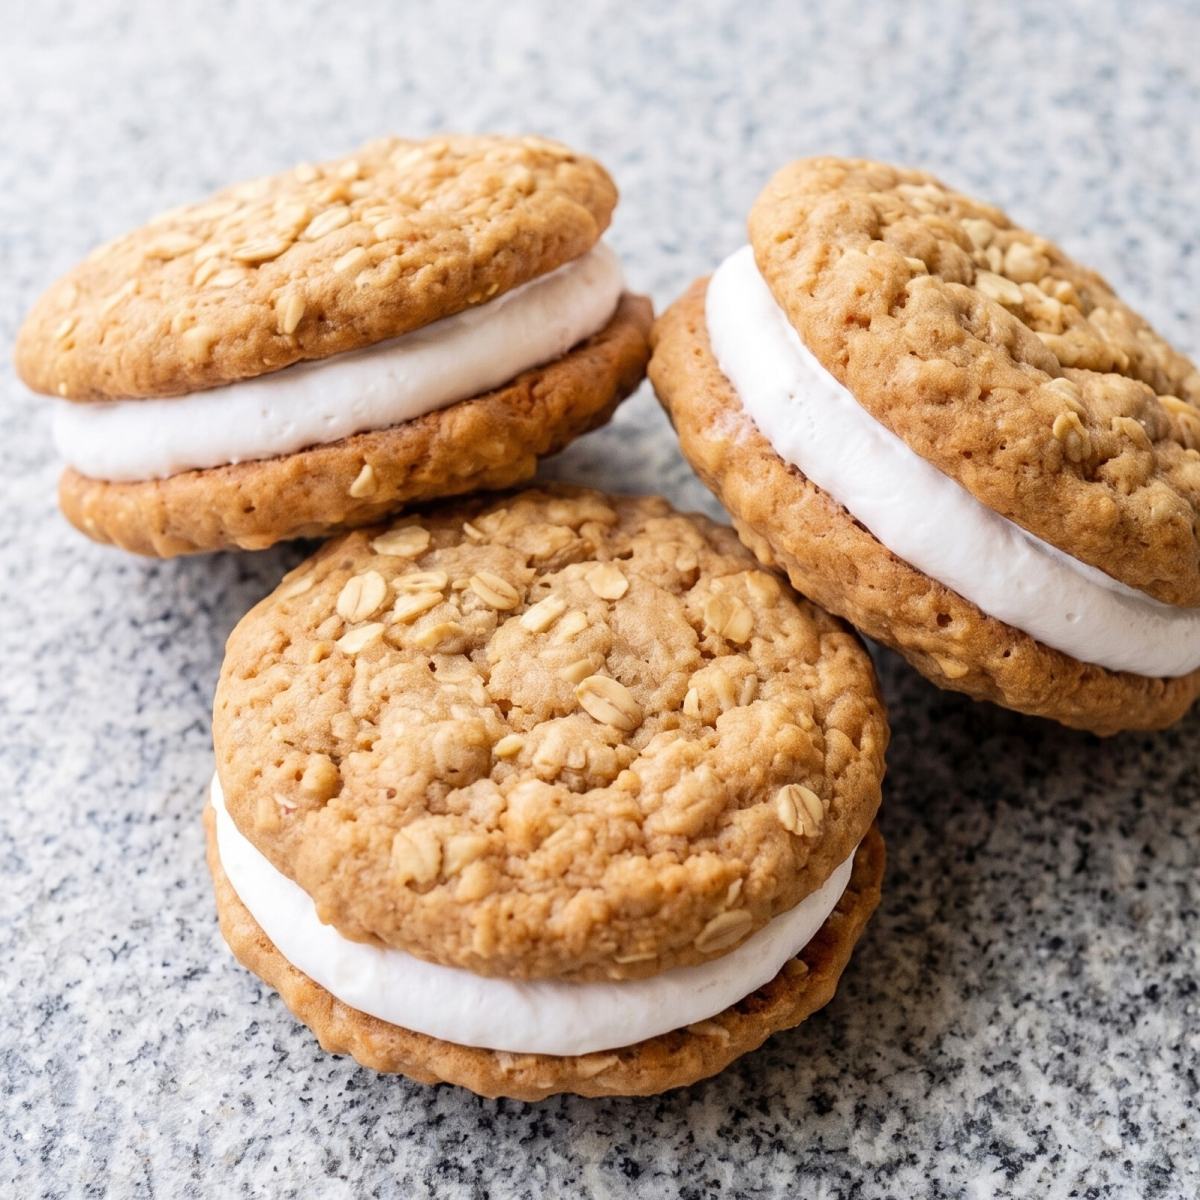
This homemade version of dairy free oatmeal cream pies tastes even better than the store bought ones.
The cookies stay tender with a warm hint of cinnamon, while the sweet marshmallow filling gives you the perfect bite every time.
It is completely dairy free, so you can enjoy a classic dessert without worrying about dairy ingredients.
Why This Recipe Is a Keeper
Nostalgic Classic Taste – You get the cozy flavor of traditional childhood snack cakes without any dairy ingredients at all.
Super Soft Texture – The oats and brown sugar make these cookies incredibly chewy and tender in every single bite.
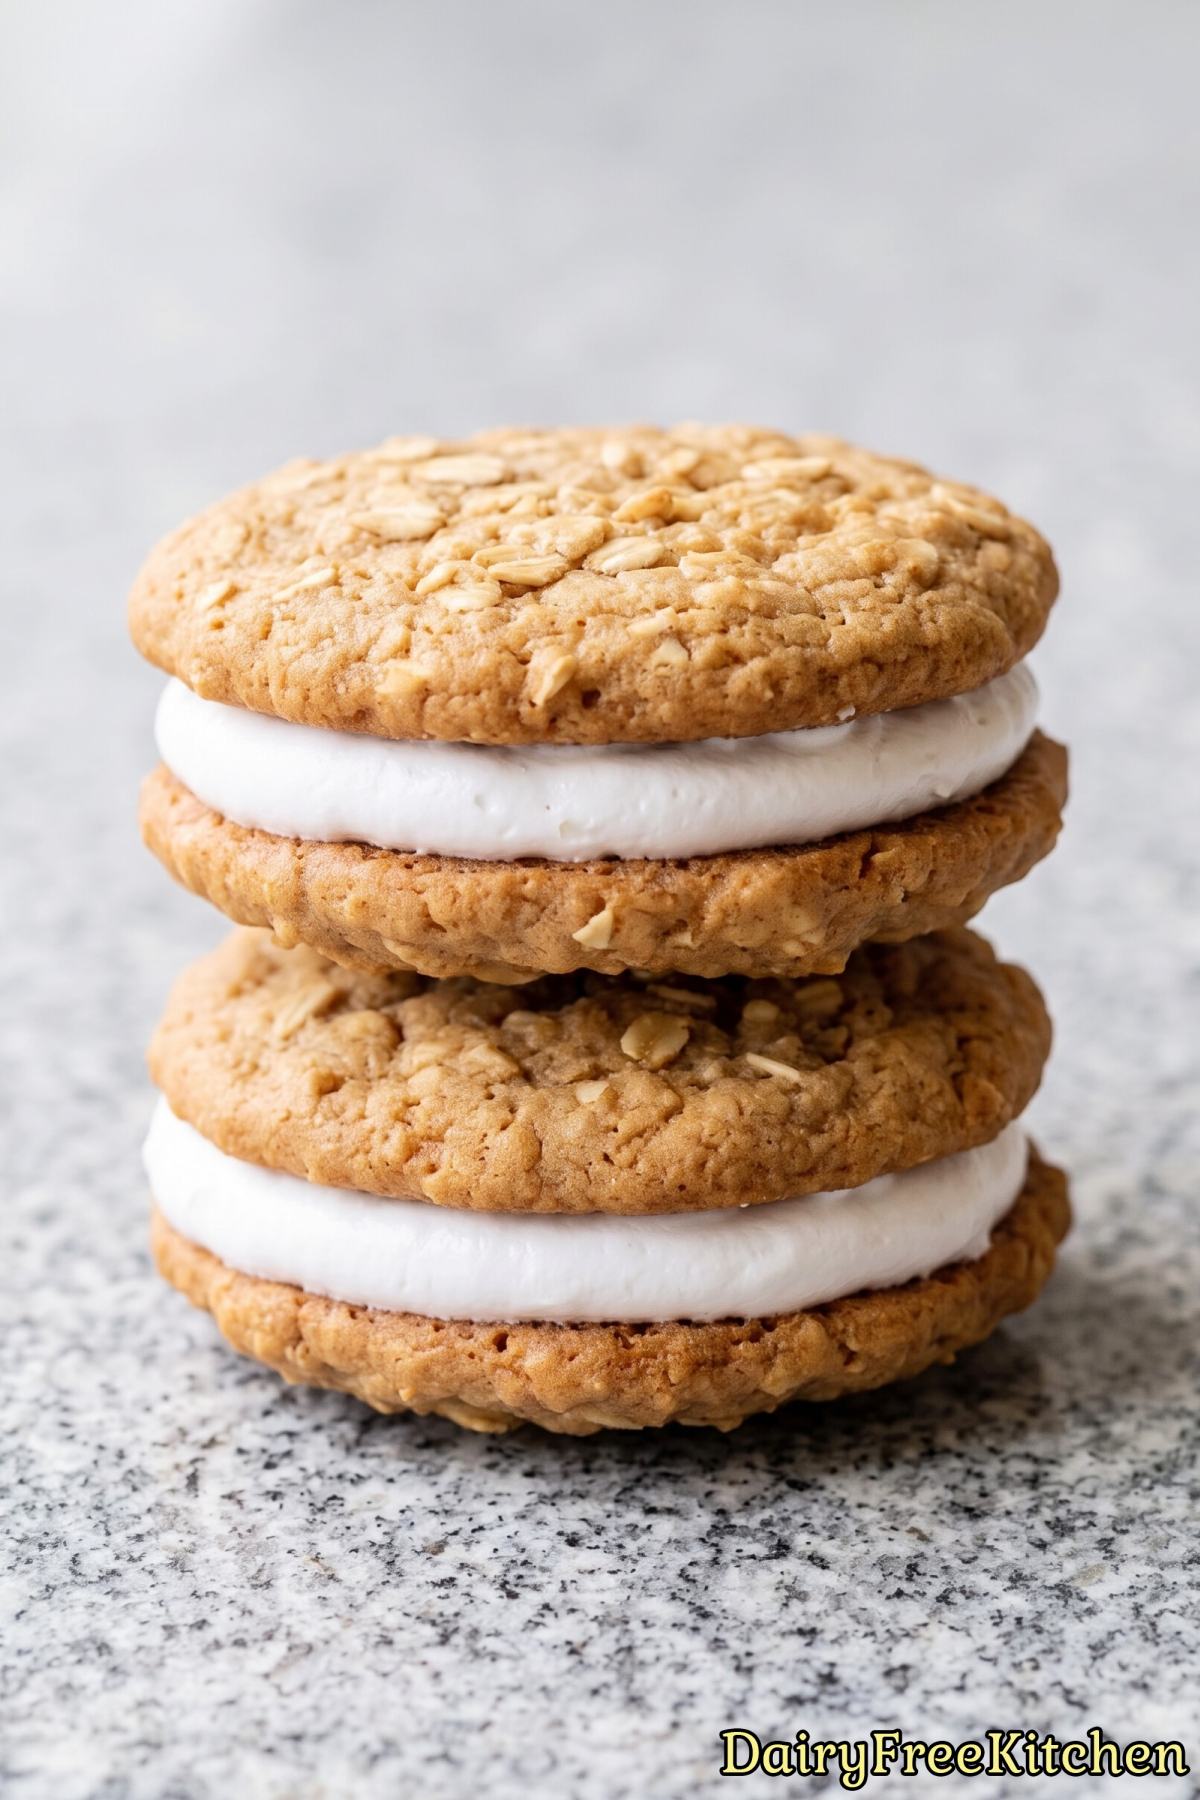
Fluffy Marshmallow Filling – The sweet cream center is light, smooth, and holds up beautifully between the two cookies.
Rich Warm Spices – Adding cinnamon and real molasses gives these treats a deep, bakery quality flavor you will love.
Here’s What You’ll Need
For the Cookies
- 3/4 cup Dairy Free Butter, Softened
- 1 cup Dark Brown Sugar, Packed
- 1/4 cup Granulated Sugar
- 1 tbsp Molasses
- 1 Large Egg
- 2 tsp Vanilla Extract
- 1 1/2 cups All Purpose Flour
- 1 tsp Baking Soda
- 1 tsp Ground Cinnamon
- 1/2 tsp Salt
- 1 1/2 cups Quick Oats
For the Filling
- 1/2 cup Dairy Free Butter, Softened
- 1 1/4 cups Powdered Sugar
- 7 oz Marshmallow Creme
- 1 tsp Vanilla Extract
- 1/8 tsp Salt
How to Make It
Step 1
In a medium bowl, whisk together the flour, baking soda, cinnamon and salt, then stir in the quick oats. Set aside.
Step 2
In a large bowl, beat the dairy free butter, brown sugar and granulated sugar for 2 minutes until fluffy. Beat in the molasses, egg and vanilla until smooth.
Step 3
Add the oat mixture and mix on low speed until combined. Cover and chill the dough for 30 minutes.
Step 4
Preheat the oven to 350°F and line two baking sheets with parchment paper. Roll the dough into 1 1/2 tablespoon balls, place them 2 inches apart and flatten each one slightly with your palm.
Step 5
Bake for 9-11 minutes, until the edges are set and the centers are still soft. Cool on the sheet for 5 minutes, then transfer to a wire rack to cool completely.
Step 6
For the filling, beat the dairy free butter until creamy, then beat in the powdered sugar. Add the marshmallow creme, vanilla and salt and beat for 2 minutes until smooth and fluffy.
Step 7
Match the cookies up in pairs of similar size. Spread about 2 tablespoons of filling on the flat side of one cookie and top with its partner.
Chill for 20 minutes to set the filling, then store airtight, since they get even softer by the next day.
Recipe Tips
Choose Stick Butter Instead of Tub Butter
From my experience, you should always use block-style dairy-free baking sticks instead of the soft butter spread that comes in a tub.
Tub butter contains extra water and oil, which will make your cookies spread way too thin and turn your filling runny.
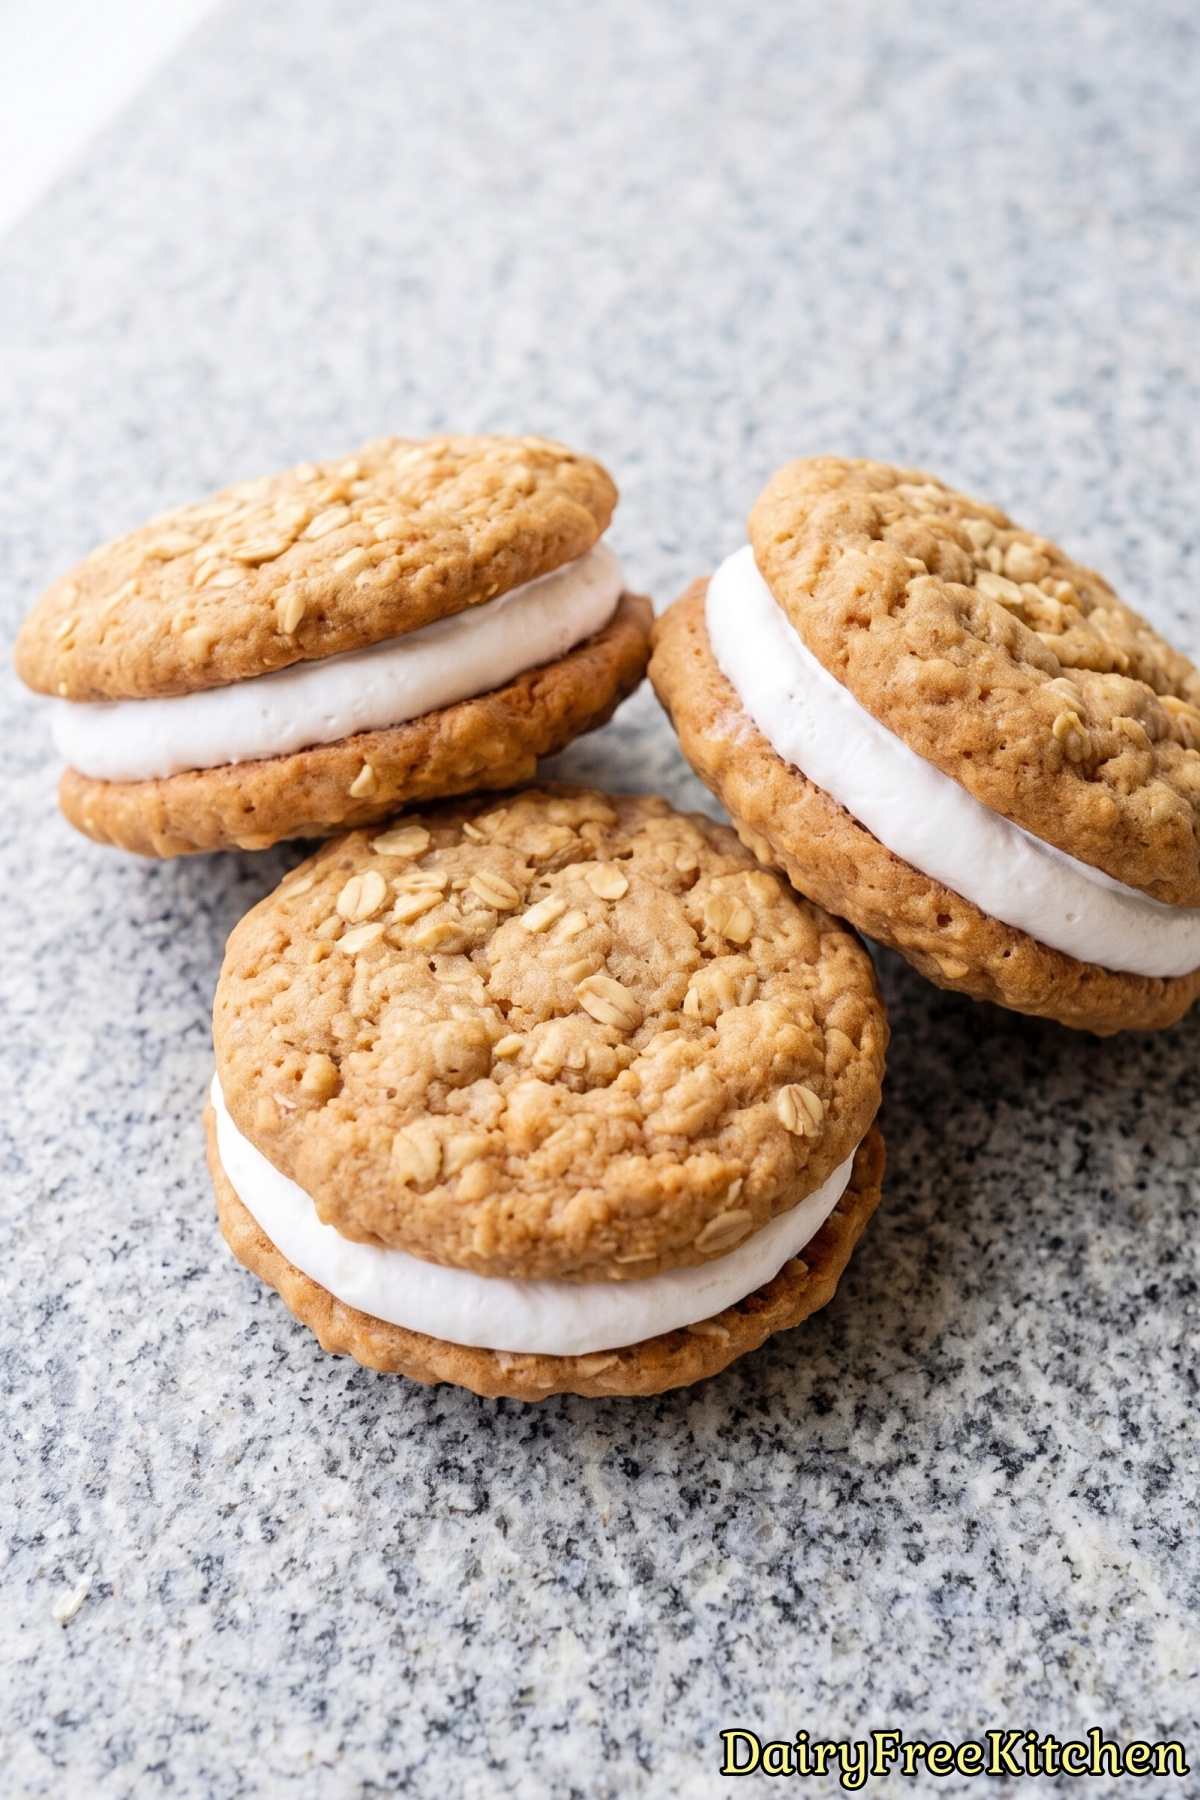
Using firm baking sticks keeps the cookies soft and helps the marshmallow cream hold its shape between the layers.
Stick with Quick Oats for the Right Texture
I recommend using quick-cooking oats rather than whole rolled oats for this dough.
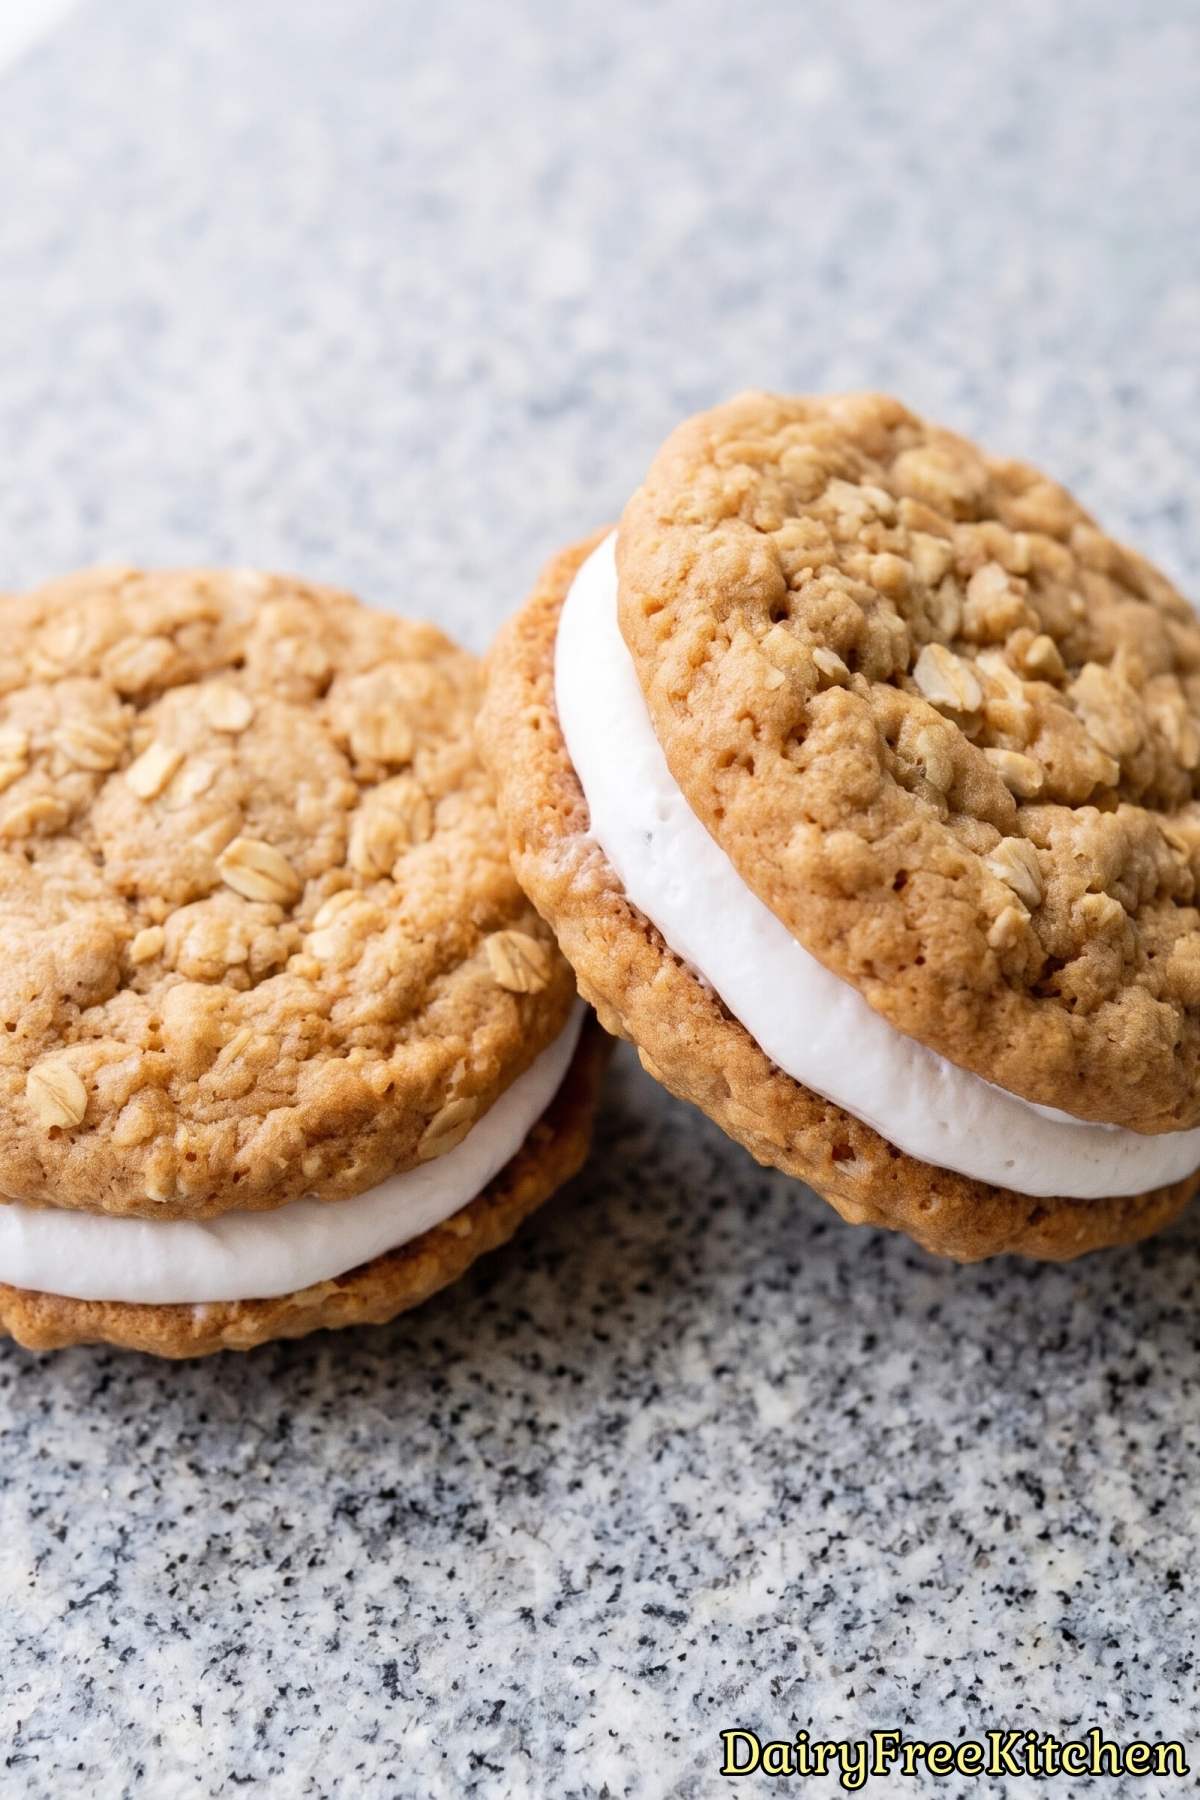
Quick oats are chopped into smaller pieces, which helps them blend into the batter and give you that classic, soft sandwich-cookie bite.
Rolled oats make the cookies too dense and chewy, which causes the filling to squish out the sides when you take a bite.
Do Not Skip Chilling the Dough
I’ve found that chilling the dough in the fridge for the full 30 minutes makes a huge difference in how the cookies bake.
Dairy-free butter melts faster than regular butter once it hits the heat of the oven.
Chilling firms up the butter so the cookies bake with soft, thick centers instead of flattening out into thin crisps.
What to Make Next
- Dairy Free Bakery Style Chocolate Chip Cookies
- Dairy Free Cinnamon Roll Blondies
- Dairy Free Edible Cookie Dough
- Dairy Free Magic Cookie Bars
- Dairy Free Peach Cobbler Cookies
Popular Questions
Can I use old-fashioned rolled oats instead of quick oats?
You can use rolled oats, but you should pulse them in a food processor a few times first to break them down into smaller pieces.
Whole rolled oats will make the cookies too thick and chewy, which causes the cream filling to squish out when you take a bite.

Dairy Free Oatmeal Cream Pies
Equipment
- electric mixer
Ingredients
- 3/4 cup Dairy Free Butter, Softened
- 1 cup Dark Brown Sugar, Packed
- 1/4 cup Granulated Sugar
- 1 tbsp Molasses
- 1 Large Egg
- 2 tsp Vanilla Extract
- 1 1/2 cups All Purpose Flour
- 1 tsp Baking Soda
- 1 tsp Ground Cinnamon
- 1/2 tsp Salt
- 1 1/2 cups Quick Oats
- 1/2 cup Dairy Free Butter, Softened
- 1 1/4 cups Powdered Sugar
- 7 oz Marshmallow Creme
- 1 tsp Vanilla Extract
- 1/8 tsp Salt
Instructions
- In a medium bowl, whisk together the flour, baking soda, cinnamon and salt, then stir in the quick oats. Set aside.
- In a large bowl, beat the dairy free butter, brown sugar and granulated sugar for 2 minutes until fluffy. Beat in the molasses, egg and vanilla until smooth.
- Add the oat mixture and mix on low speed until combined. Cover and chill the dough for 30 minutes.
- Preheat the oven to 350°F and line two baking sheets with parchment paper. Roll the dough into 1 1/2 tablespoon balls, place them 2 inches apart and flatten each one slightly with your palm.
- Bake for 9-11 minutes, until the edges are set and the centers are still soft. Cool on the sheet for 5 minutes, then transfer to a wire rack to cool completely.
- For the filling, beat the dairy free butter until creamy, then beat in the powdered sugar. Add the marshmallow creme, vanilla and salt and beat for 2 minutes until smooth and fluffy.
- Match the cookies up in pairs of similar size. Spread about 2 tablespoons of filling on the flat side of one cookie and top with its partner. Chill for 20 minutes to set the filling, then store airtight, since they get even softer by the next day.