Red velvet cake has always been one of my favorite bakes, but making it dairy free felt tricky at first. Turns out it’s easier than I thought.
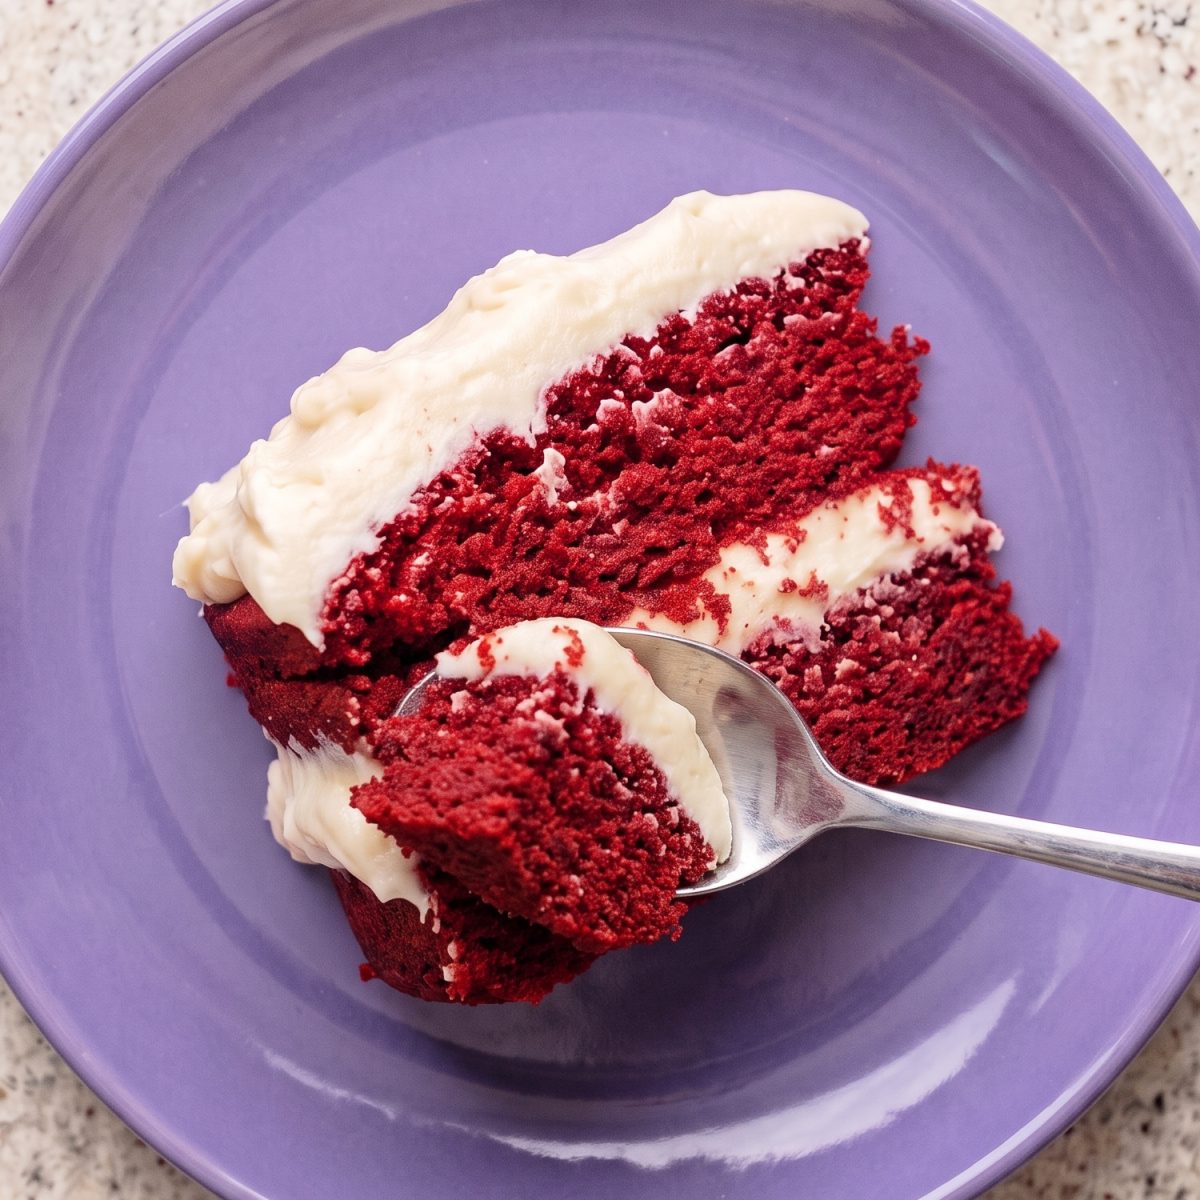
This version has that classic soft crumb and deep red color, plus a smooth cream cheese frosting on top.
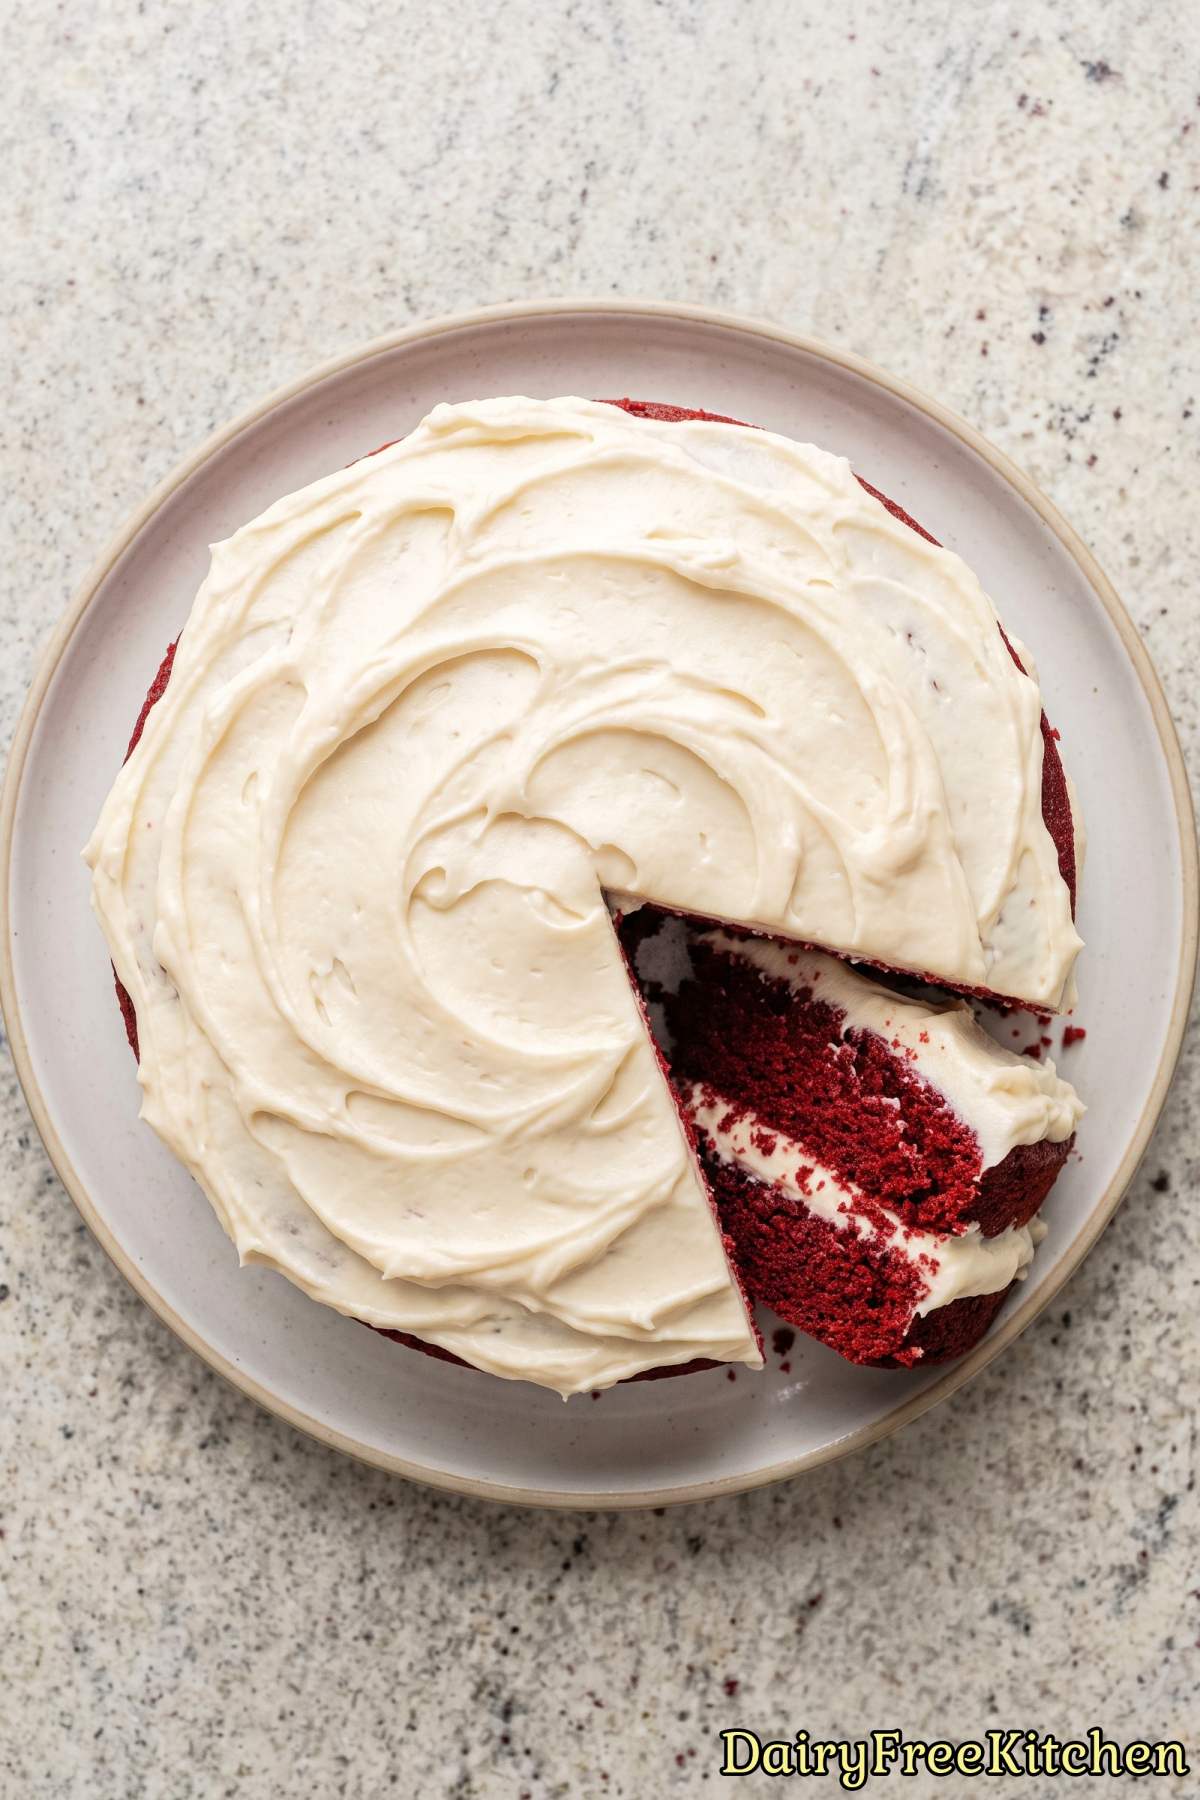
The whole thing is completely dairy free, so you can enjoy it without worrying about milk or butter at all.
I use oat milk and a bit of apple cider vinegar to keep the cake tender and moist. It works just like the traditional method.
If you have been missing red velvet cake, this recipe brings it right back to your table.
Why This Recipe Is a Keeper
Classic Red Velvet Flavor – Gentle cocoa and vanilla create the balanced, distinctive flavor that makes red velvet so appealing.
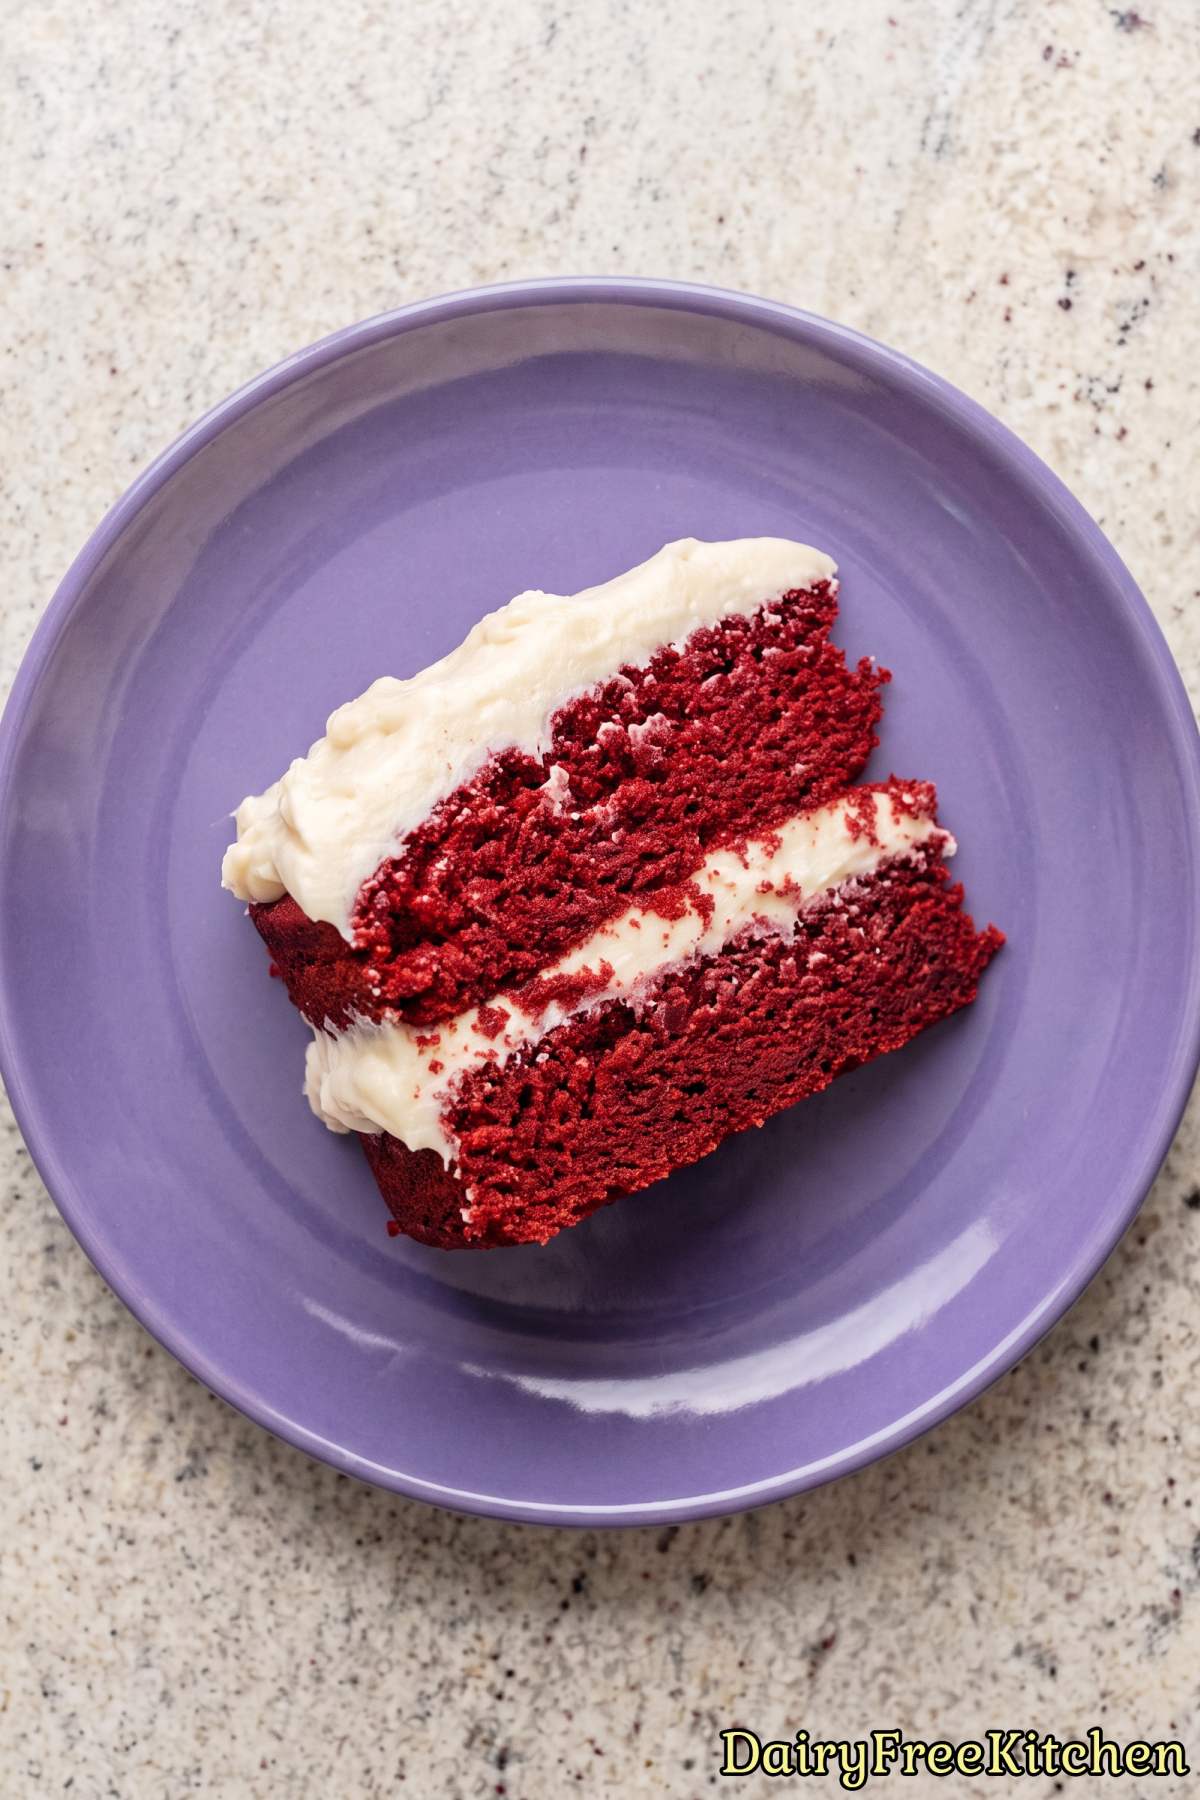
Soft, Moist Crumb – Oil and soured oat milk keep each cake layer tender and pleasantly moist.
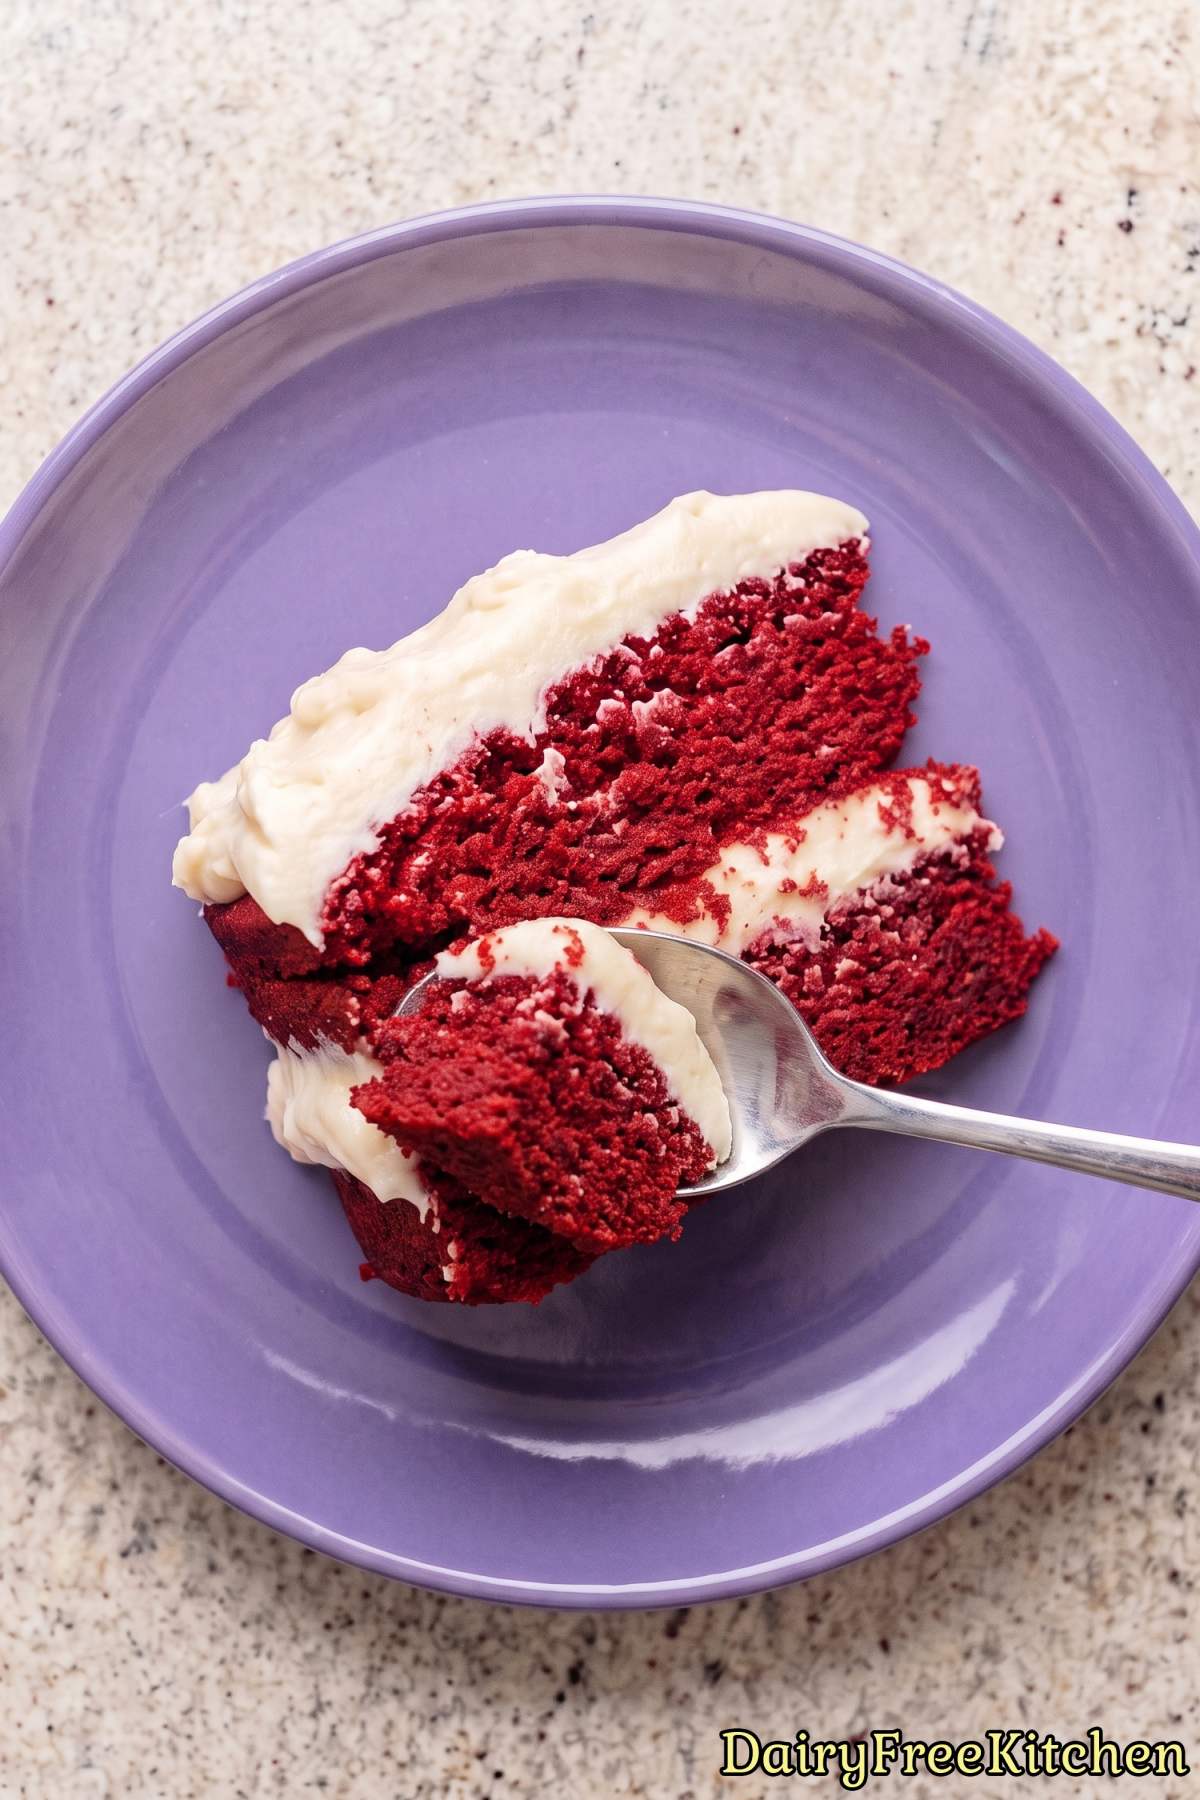
Creamy Frosting Contrast – Tangy dairy-free cream cheese frosting balances the sweet cake with a smooth, fluffy finish.
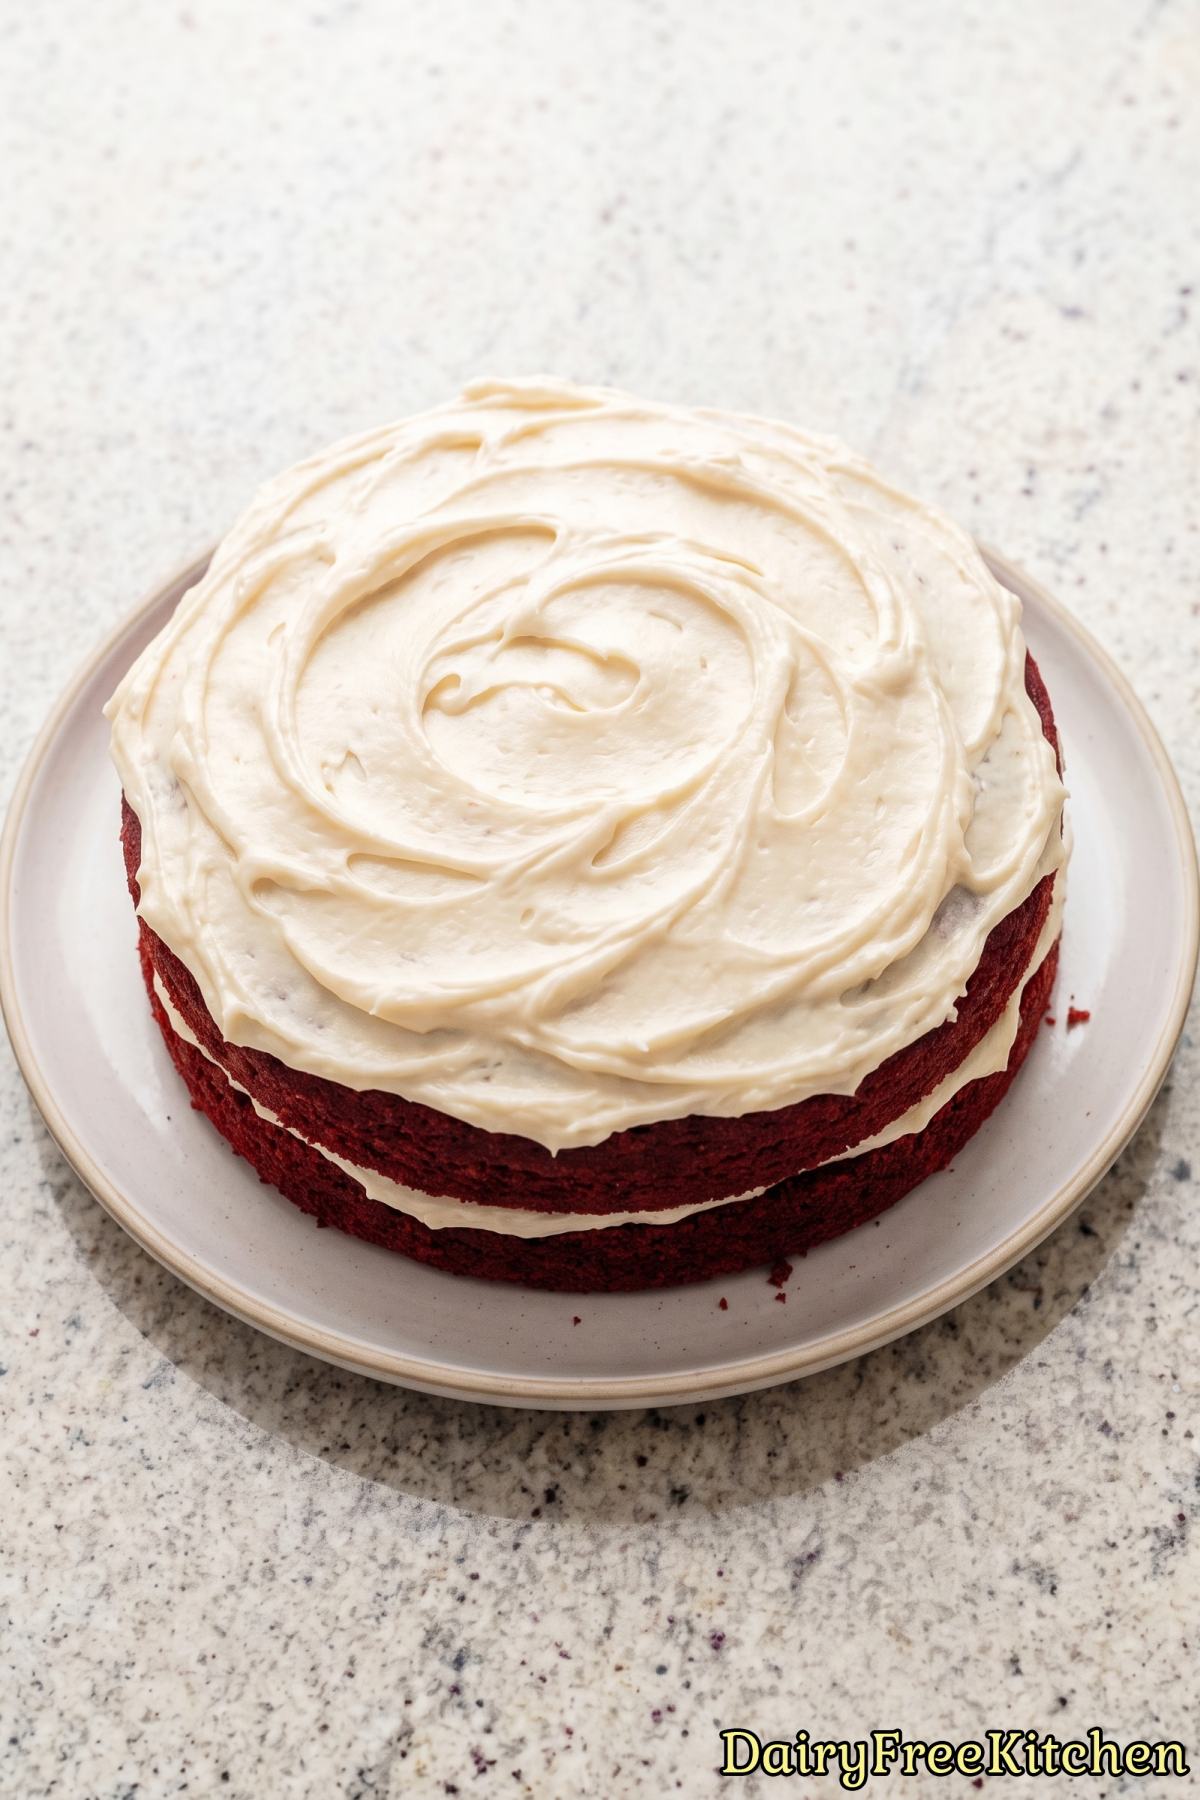
Celebration-Worthy Look – Vivid red layers and white frosting create an elegant cake that looks beautiful on any table.
Here’s What You’ll Need
For the Red Velvet Cake
- 2 1/2 cups All-Purpose Flour
- 1 3/4 cups Granulated Sugar
- 2 tbsp Unsweetened Cocoa Powder
- 1 tsp Baking Soda
- 1 tsp Fine Salt
- 1 1/2 cups Oat Milk
- 1 tbsp Apple Cider Vinegar
- 1 cup Neutral Oil
- 2 Large Eggs, Room Temperature
- 1 tbsp Pure Vanilla Extract
- 1 tbsp Red Gel Food Coloring
For the Cream Cheese Frosting
- 16 oz Dairy-Free Cream Cheese, Cool
- 3/4 cup Dairy-Free Plant Butter, Softened
- 4 1/2 cups Powdered Sugar
- 2 tsp Pure Vanilla Extract
- 1/4 tsp Fine Salt
How to Make It
Step 1
Stir the oat milk and apple cider vinegar together and let the mixture stand for 5 minutes. Preheat the oven to 350 F, then grease and line two 9-inch round cake pans.
Step 2
Whisk the flour, sugar, cocoa powder, baking soda, and salt in a large bowl. In another bowl, whisk the soured oat milk, oil, eggs, vanilla, and red food coloring.
Step 3
Pour the wet ingredients into the dry ingredients and whisk just until the batter is smooth. Divide it evenly between the prepared pans.
Step 4
Bake for 28 to 32 minutes, until the centers spring back when lightly pressed. Cool the cakes in their pans for 10 minutes, then transfer them to a rack to cool completely.
Step 5
Beat the plant butter for 2 minutes until light and smooth. Add the powdered sugar gradually, followed by the vanilla and salt, and beat until fluffy.
Step 6
Add the cool dairy-free cream cheese in small portions, mixing on low just until smooth. Refrigerate the frosting for 20 minutes if it is too soft to spread cleanly.
Step 7
Place one cake layer on a serving plate and spread it with a generous layer of cream cheese frosting. Add the second layer, then frost the top and sides of the cake.
Step 8
Refrigerate the assembled cake for 30 minutes to set the frosting. Let it stand at room temperature for 20 minutes before serving.
Recipe Tips
Measure The Flour Carefully
Spoon the flour into your measuring cups, then level the tops without packing it down. Too much flour can make these layers dry and heavy.
If you have a kitchen scale, weigh out 2 1/2 cups for the most consistent texture. Divide the batter evenly between the two pans so both layers finish baking at the same time.
Use The Oat Milk At The Right Time
Stir the oat milk and apple cider vinegar together and let them stand for the full 5 minutes before mixing the batter. This gives the mixture time to become slightly thicker and helps the baking soda create a tender crumb.
Make sure the oven is fully preheated before the batter goes into the pans. The baking soda starts working as soon as the wet and dry ingredients meet, so baking the batter promptly helps the layers rise evenly.
Mix The Batter Just Until Smooth
Whisk the wet ingredients into the dry ingredients only until you no longer see streaks of flour. A few small lumps are fine, but continued mixing can make the cake dense instead of soft.
Scrape the bottom and sides of the bowl once to make sure no dry ingredients are hiding there. Stop mixing as soon as the batter is evenly colored and smooth.
What to Make Next
- Dairy Free Banana Split Ice Cream Cake
- Dairy Free Espresso Tiramisu
- Dairy Free Molten Chocolate Lava Cakes
- Dairy Free Red Velvet Cheesecake Ice Cream
- Dairy Free Strawberry Tres Leches Cake
Popular Questions
Can I use a different dairy-free milk instead of oat milk?
Yes. Unsweetened soy milk or almond milk both work well in this cake, especially when mixed with apple cider vinegar as directed.
Choose a plain, unsweetened option so the cake keeps its classic red velvet flavor and balanced sweetness.

Dairy Free Red Velvet Layer Cake
Equipment
- two 9-inch round cake pans
Ingredients
- 2 1/2 cups All-Purpose Flour
- 1 3/4 cups Granulated Sugar
- 2 tbsp Unsweetened Cocoa Powder
- 1 tsp Baking Soda
- 1 tsp Fine Salt
- 1 1/2 cups Oat Milk
- 1 tbsp Apple Cider Vinegar
- 1 cup Neutral Oil
- 2 Large Eggs, Room Temperature
- 1 tbsp Pure Vanilla Extract
- 1 tbsp Red Gel Food Coloring
- 16 oz Dairy-Free Cream Cheese, Cool
- 3/4 cup Dairy-Free Plant Butter, Softened
- 4 1/2 cups Powdered Sugar
- 2 tsp Pure Vanilla Extract
- 1/4 tsp Fine Salt
Instructions
- Stir the oat milk and apple cider vinegar together and let the mixture stand for 5 minutes. Preheat the oven to 350 F, then grease and line two 9-inch round cake pans.
- Whisk the flour, sugar, cocoa powder, baking soda, and salt in a large bowl. In another bowl, whisk the soured oat milk, oil, eggs, vanilla, and red food coloring.
- Pour the wet ingredients into the dry ingredients and whisk just until the batter is smooth. Divide it evenly between the prepared pans.
- Bake for 28 to 32 minutes, until the centers spring back when lightly pressed. Cool the cakes in their pans for 10 minutes, then transfer them to a rack to cool completely.
- Beat the plant butter for 2 minutes until light and smooth. Add the powdered sugar gradually, followed by the vanilla and salt, and beat until fluffy.
- Add the cool dairy-free cream cheese in small portions, mixing on low just until smooth. Refrigerate the frosting for 20 minutes if it is too soft to spread cleanly.
- Place one cake layer on a serving plate and spread it with a generous layer of cream cheese frosting. Add the second layer, then frost the top and sides of the cake.
- Refrigerate the assembled cake for 30 minutes to set the frosting. Let it stand at room temperature for 20 minutes before serving.