Making ice cream at home used to feel like a lot of work, especially without a fancy machine. But this no churn method changed that completely for me.
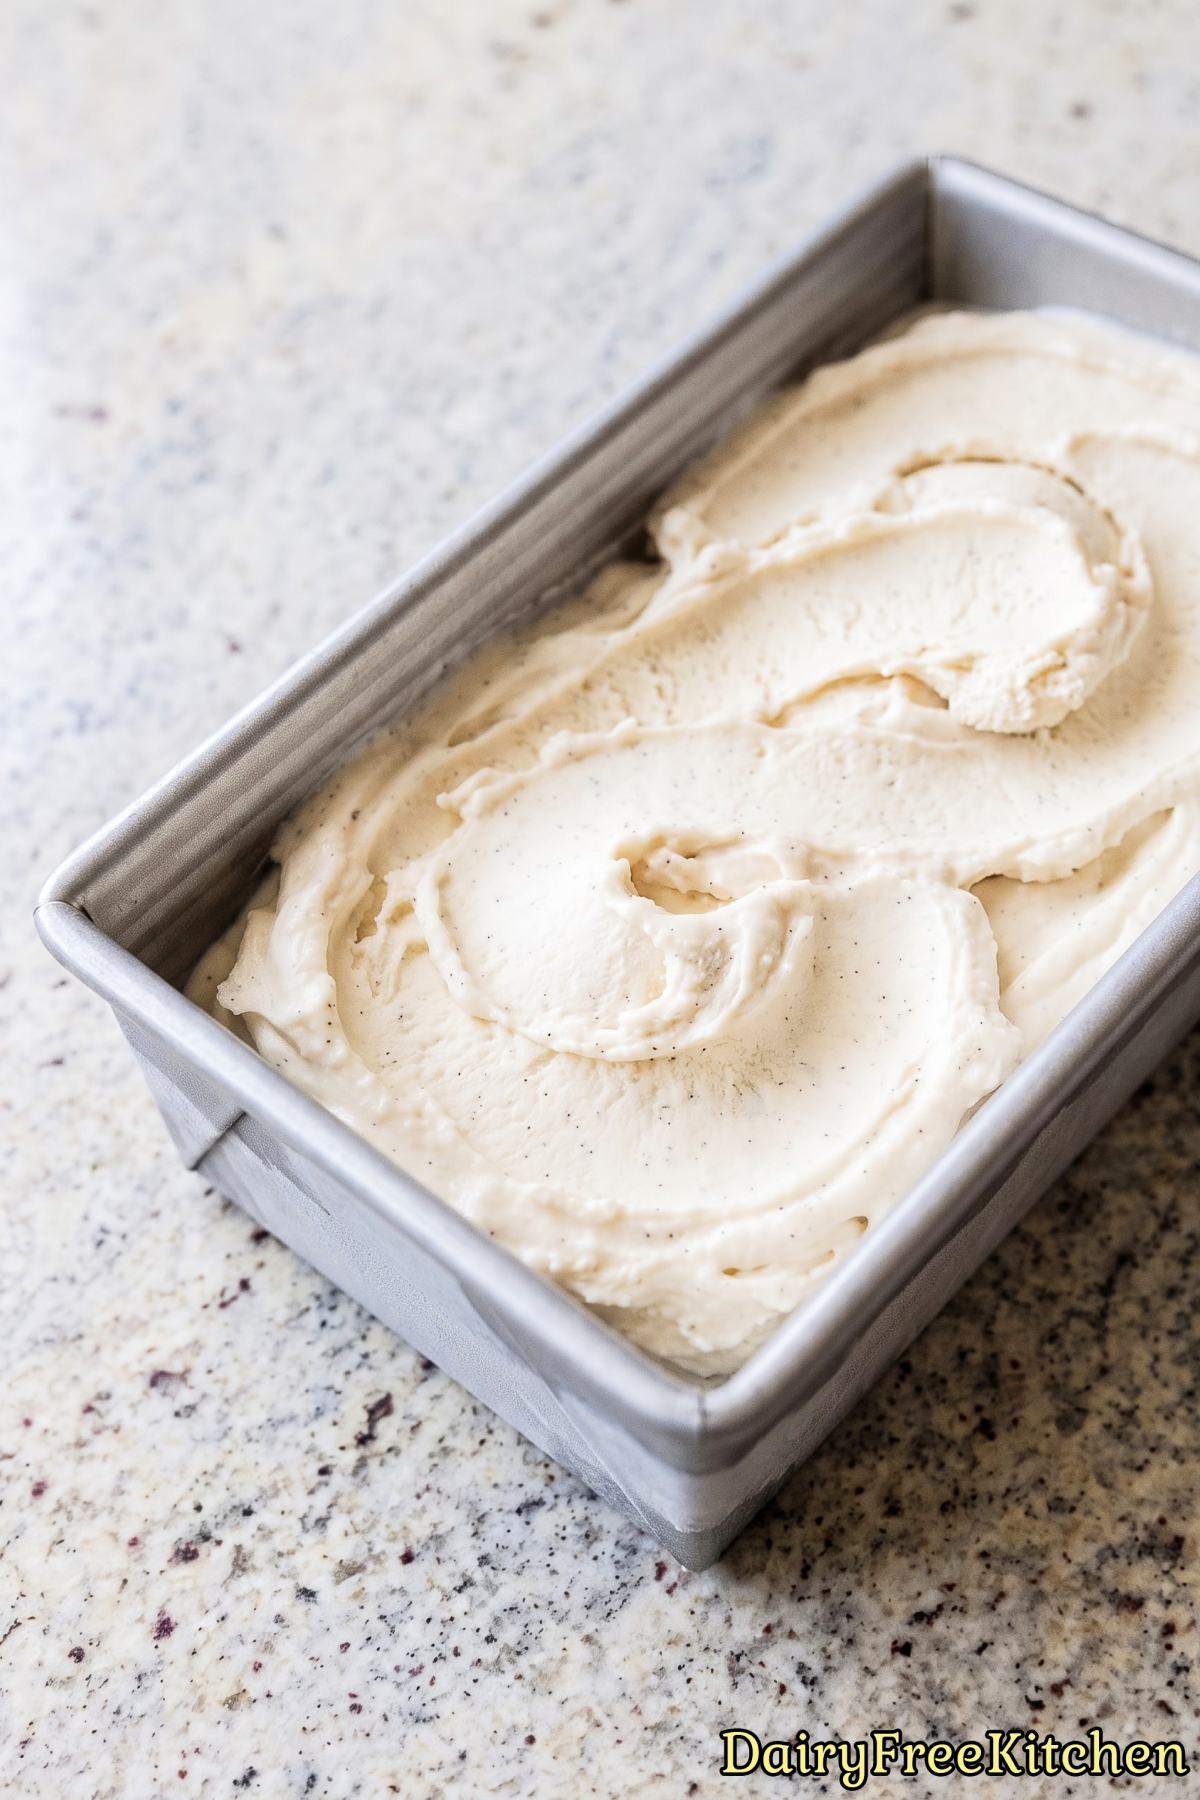
All you need is a bowl, a mixer, and a little patience while it freezes. No special equipment required.
This vanilla bean ice cream is also fully dairy free, which matters if you can’t have regular milk or cream. It’s made with coconut instead, so everyone can enjoy a scoop.
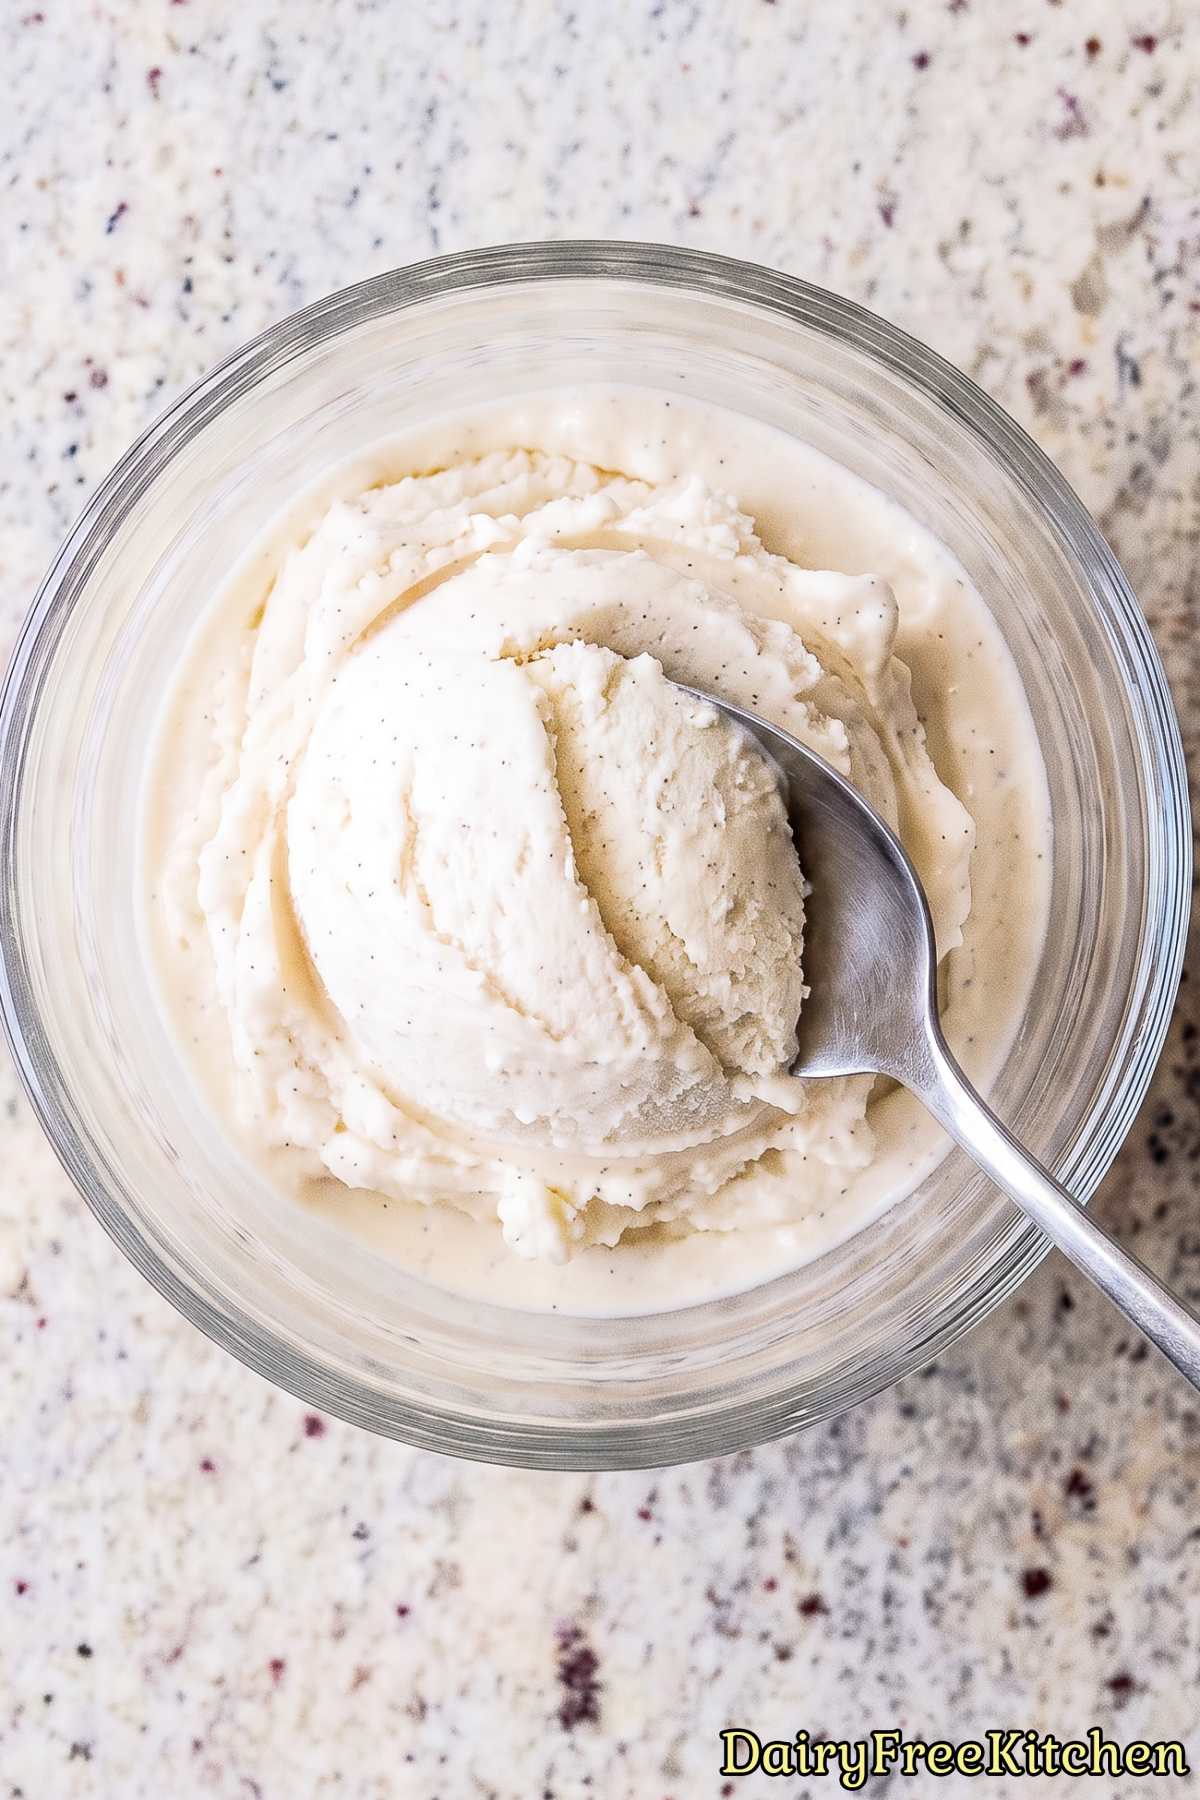
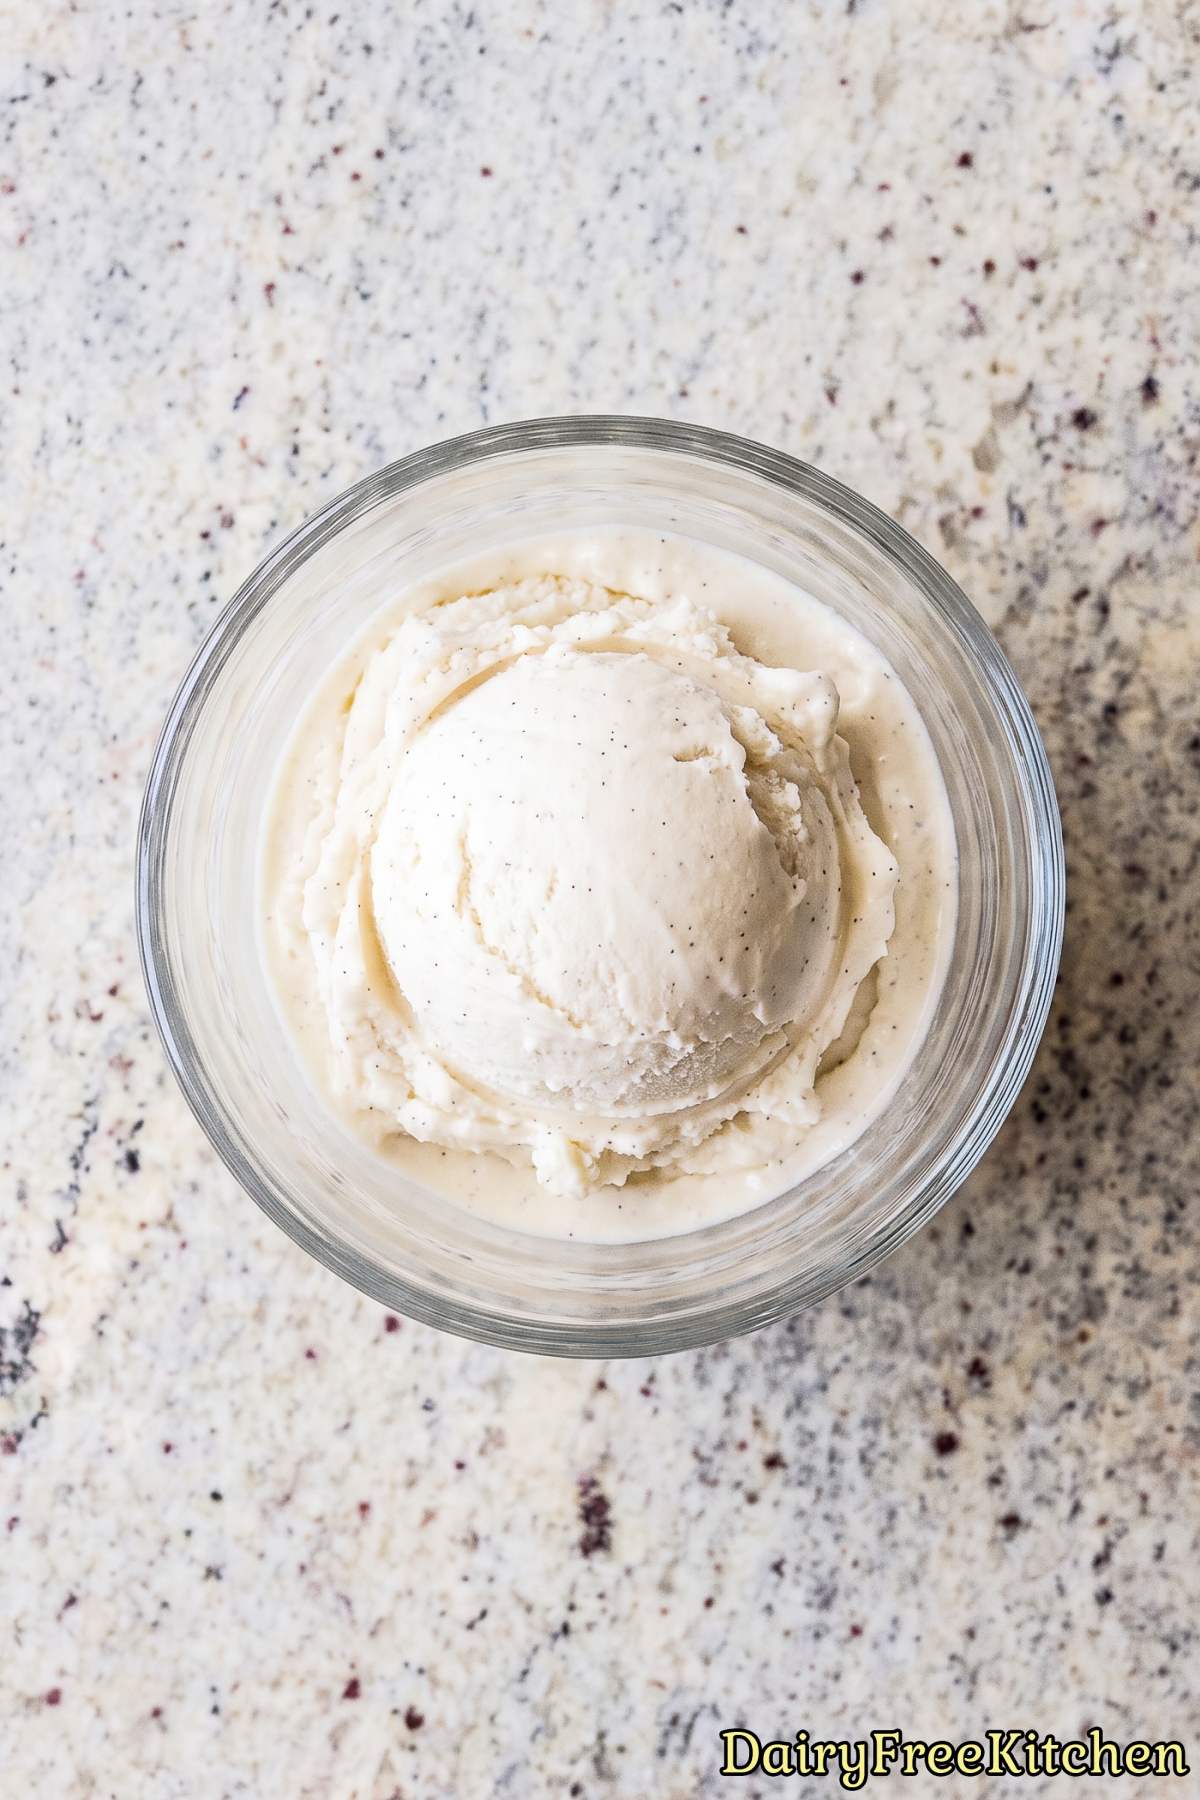
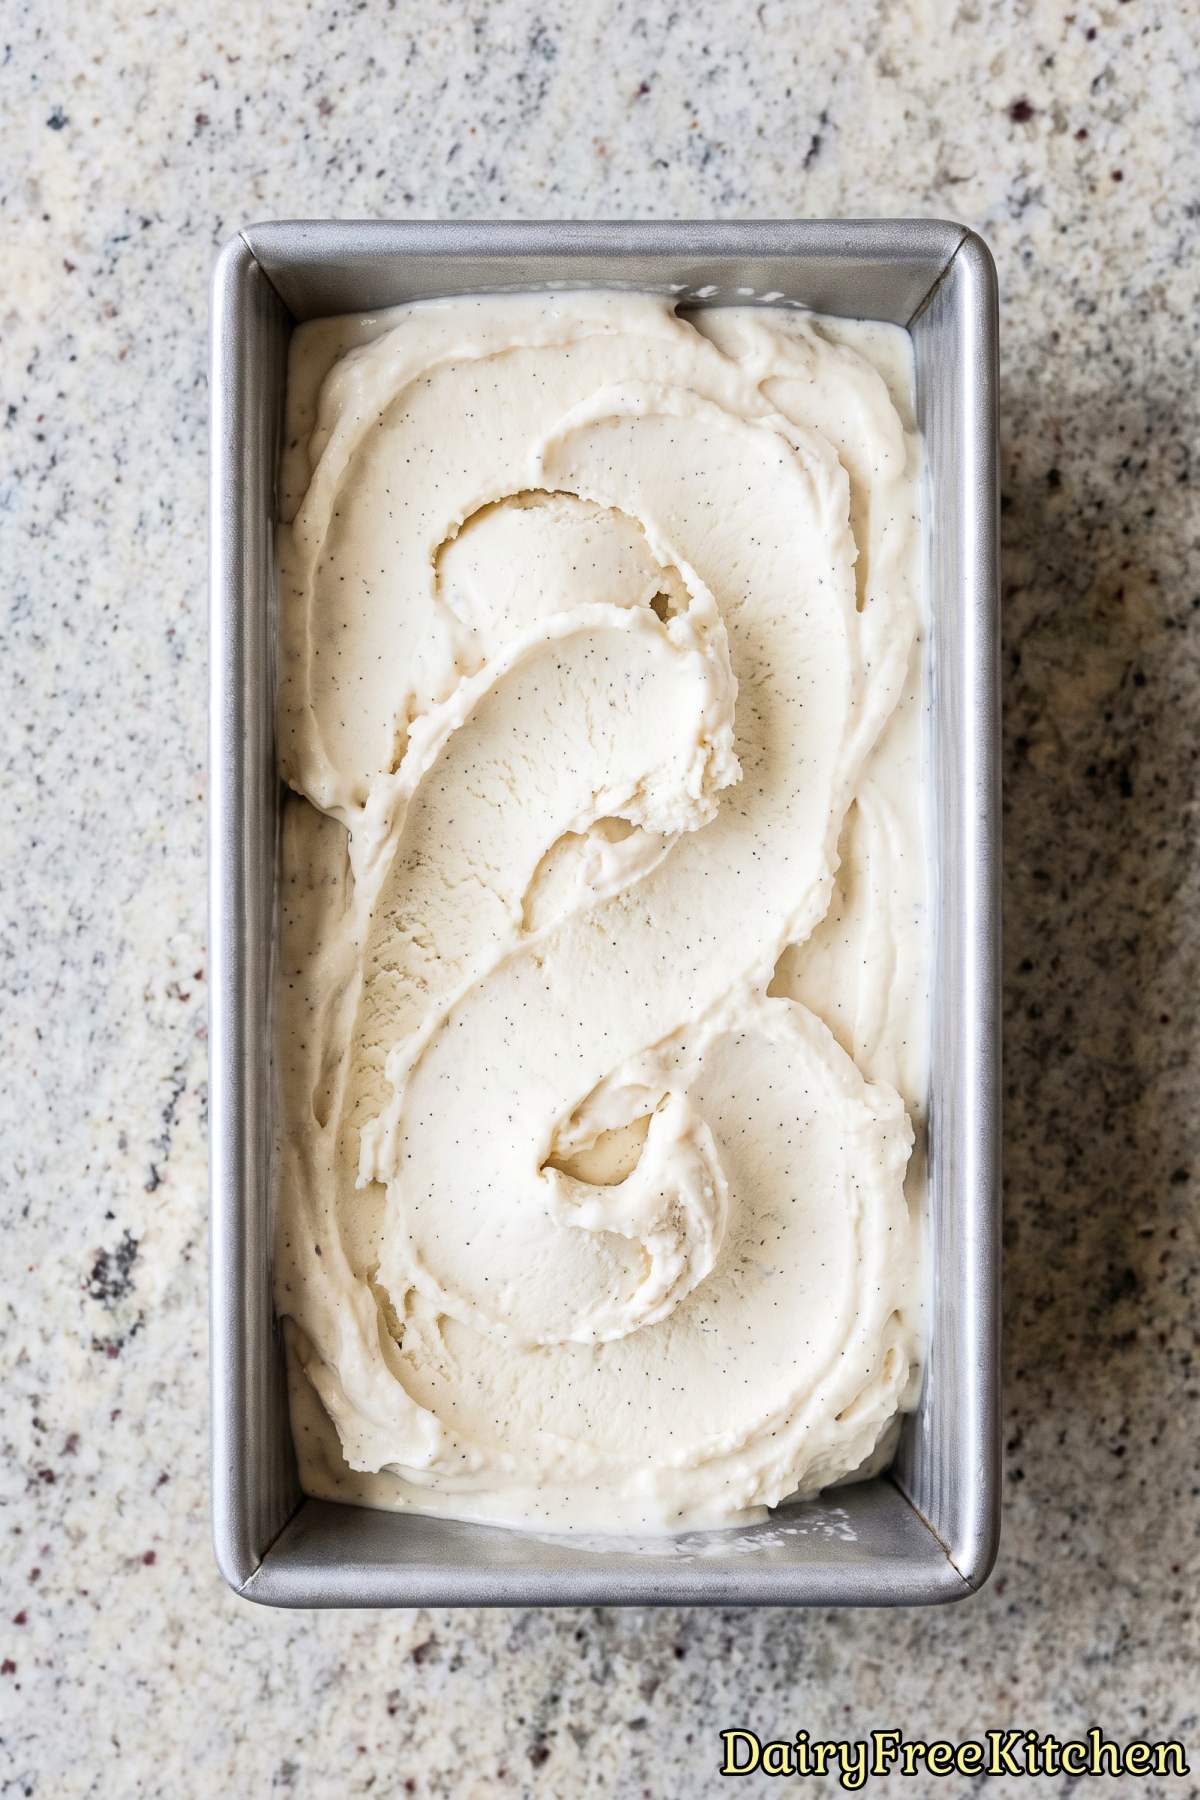
The vanilla bean paste gives it a rich, classic flavor with those little specks you see in the best vanilla ice creams.
Once you try it, you might not go back to store bought. It’s smooth, creamy, and really simple to put together.
Why This Recipe Is a Keeper
Rich and Creamy – Whipped coconut cream creates a smooth, luxurious texture that feels like classic ice cream.
Beautiful Vanilla Flavor – Vanilla bean paste and vanilla extract give every scoop a warm, fragrant, bakery-style taste.
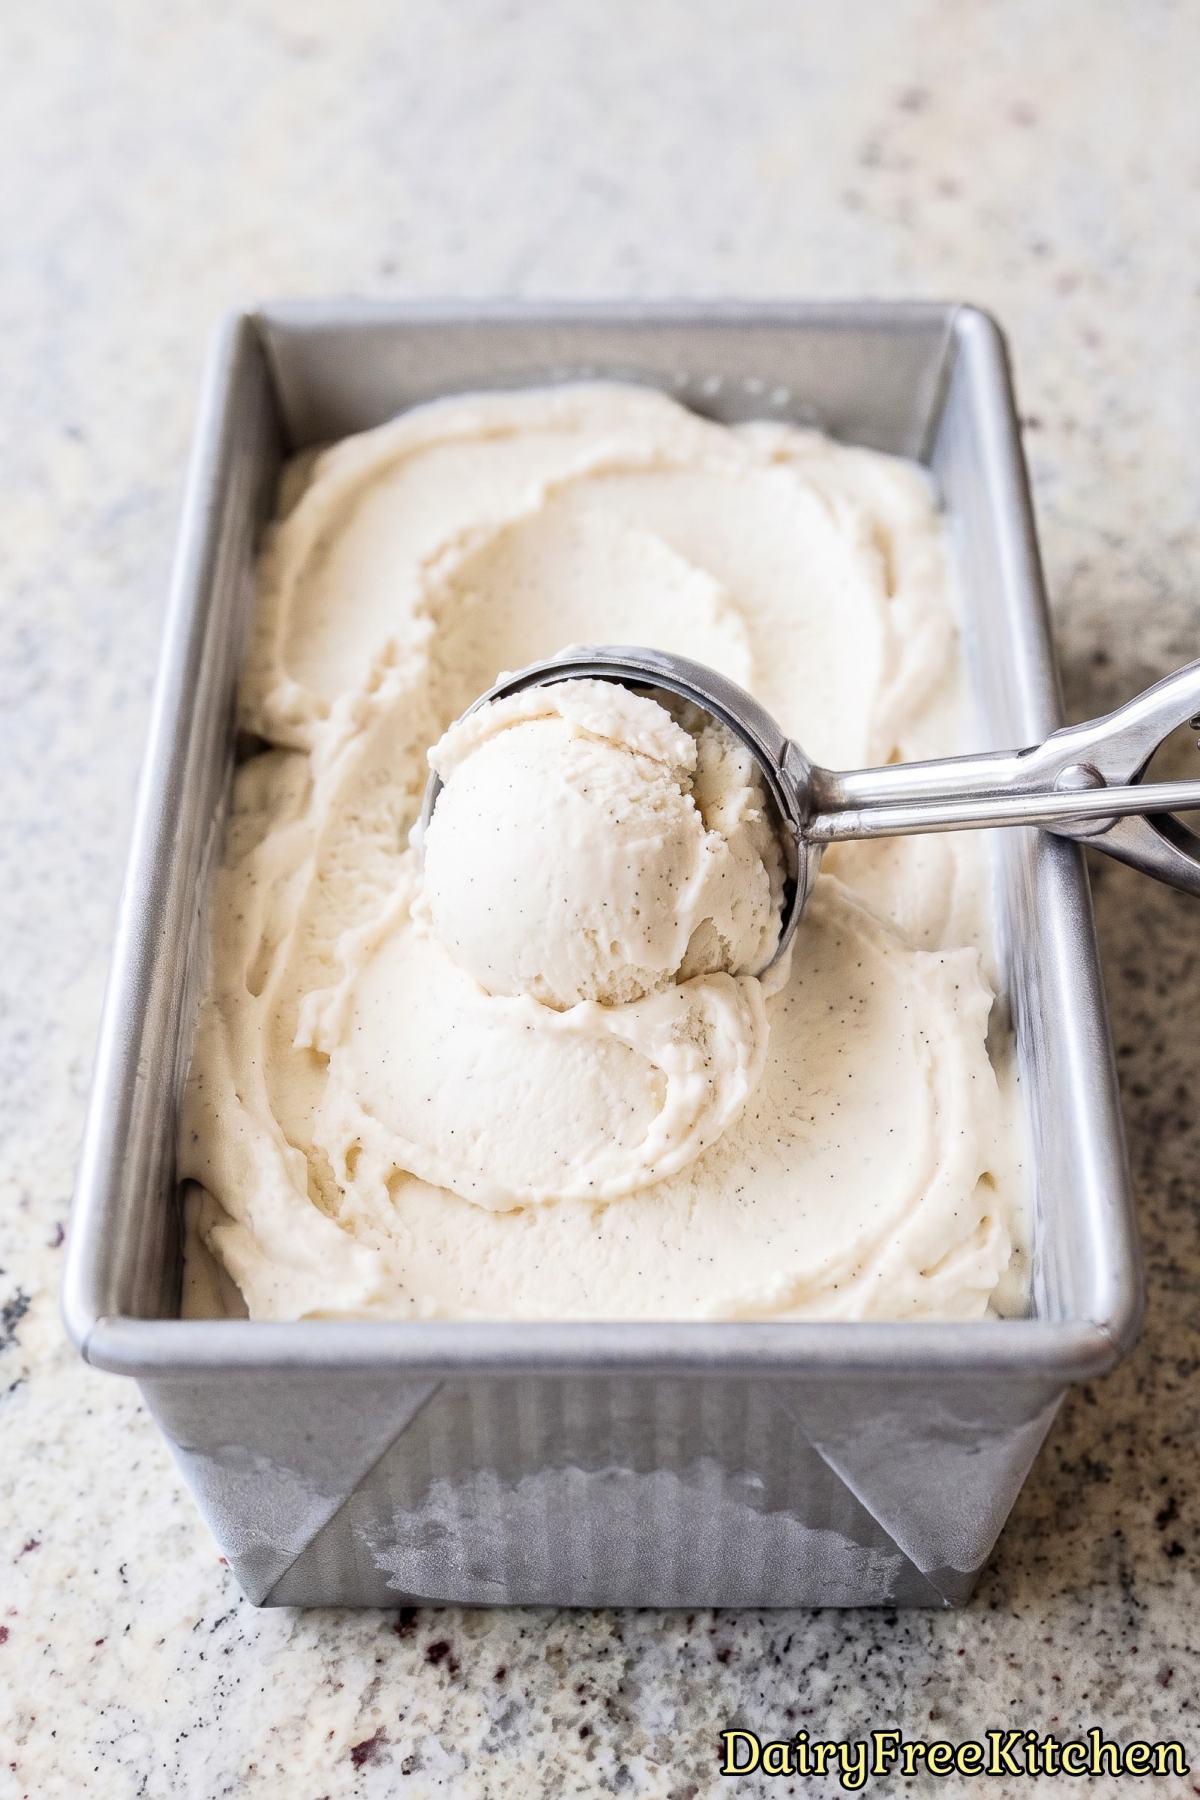
Perfectly Sweet – Sweetened condensed coconut milk adds balanced sweetness while keeping the ice cream wonderfully rich.
No Ice Cream Maker – You only need a mixer, a bowl, and a loaf pan to make this creamy frozen treat.
Here’s What You’ll Need
- 2 cans (13.5 oz each) Coconut Cream, Chilled Overnight
- 1 can (11.25 oz) Sweetened Condensed Coconut Milk
- 1 tbsp Vanilla Bean Paste
- 1 tsp Vanilla Extract
- 1/4 tsp Salt
How to Make It
Step 1
Scoop the thick coconut cream from the chilled cans into a large cold bowl, leaving the watery liquid behind. Beat for 2-3 minutes until smooth and fluffy.
Step 2
In a separate bowl, whisk the sweetened condensed coconut milk with the vanilla bean paste, vanilla extract and salt.
Step 3
Fold the condensed milk mixture into the whipped coconut cream until completely combined with no streaks.
Step 4
Transfer to a 9×5 inch loaf pan, smooth the top, press plastic wrap directly onto the surface and freeze for at least 6 hours.
Step 5
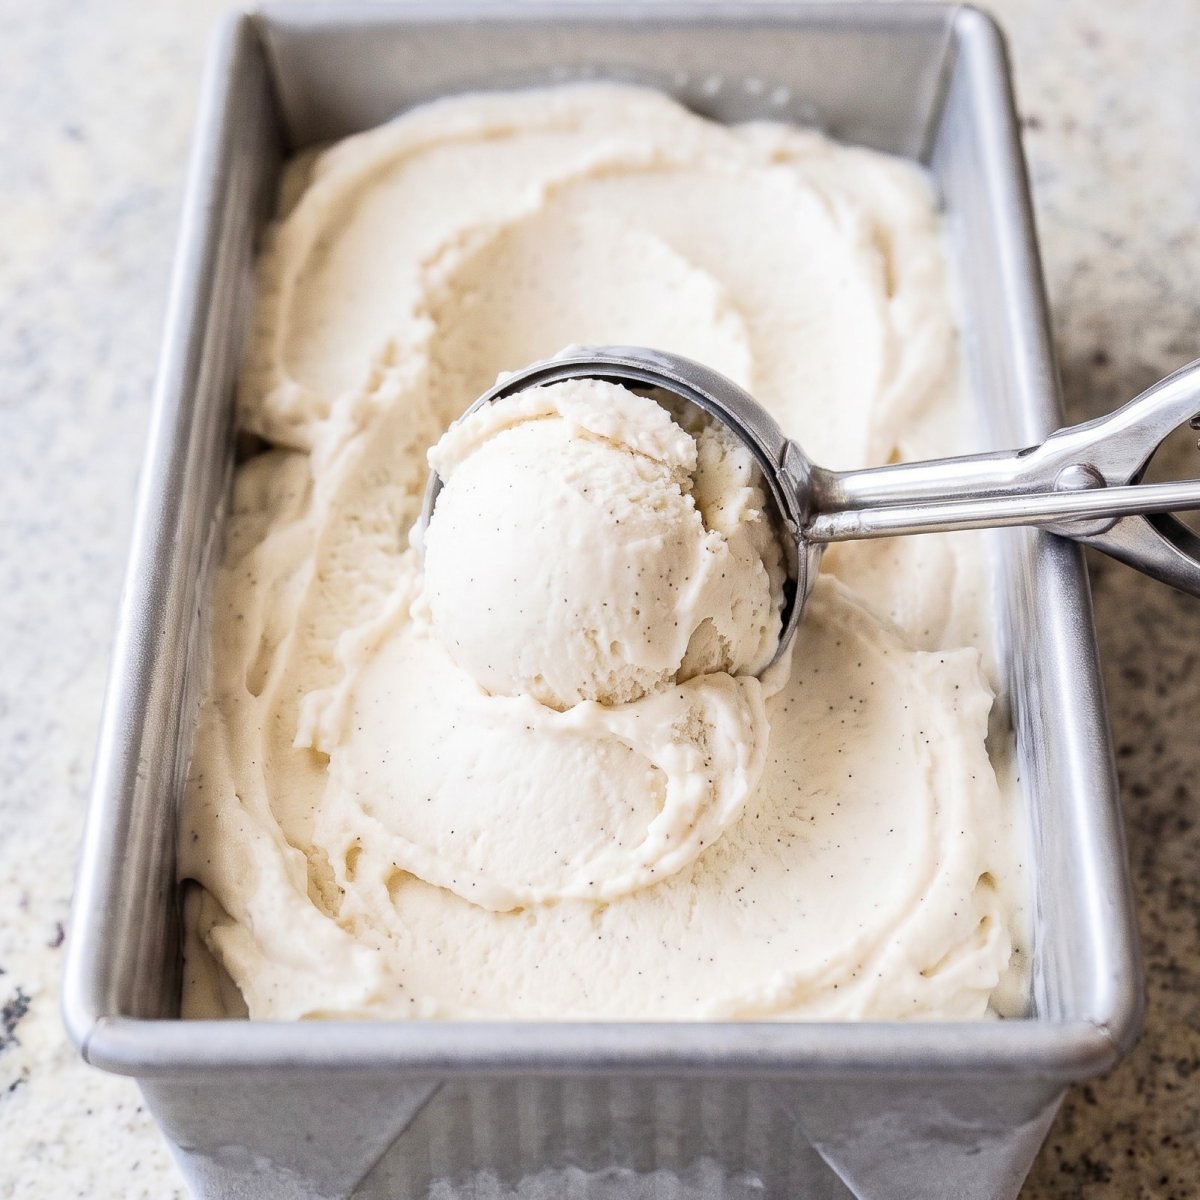
Let the ice cream sit at room temperature for 10 minutes before scooping into cones or bowls.
Recipe Tips
Chill the Coconut Cream Well
Chill the unopened cans for at least 12 hours so the thick coconut cream has enough time to separate from the liquid.
Keep the cans upright and do not shake them before opening. Pouring or shaking can mix the liquid back into the cream and make it harder to whip.
Use Only the Thick Cream
Open each chilled can carefully and scoop the firm coconut cream into the bowl, leaving the clear or watery liquid behind.
If the cream looks soft, place it in the refrigerator for another few hours before whipping. Extra liquid will make the ice cream less creamy and less firm.
Start With Cold Equipment
Place your mixing bowl and whisk attachment in the freezer for about 10 minutes before you start.
The cold equipment helps the coconut cream stay firm while it becomes smooth and fluffy. This is especially helpful if your kitchen is warm.
What to Make Next
- Dairy Free Cinnamon Roll Swirl Ice Cream
- Dairy Free Hot Fudge Brownie Sundae Cups
- Dairy Free Maple Pecan Bread Pudding
- Dairy Free Molten Chocolate Lava Cakes
- Dairy Free Sticky Toffee Pudding
Popular Questions
Why do I need to chill the coconut cream overnight?
Chilling helps the thick coconut cream separate from the watery liquid, which makes it easier to whip into a smooth and fluffy base.
For the best texture, chill the cans overnight and use a cold bowl when you begin mixing.

Dairy Free No Churn Vanilla Bean Ice Cream
Equipment
- electric mixer
- 9x5-inch loaf pan
Ingredients
- 2 cans Coconut Cream, Chilled Overnight
- 1 can Sweetened Condensed Coconut Milk
- 1 tbsp Vanilla Bean Paste
- 1 tsp Vanilla Extract
- 1/4 tsp Salt
Instructions
- Scoop the thick coconut cream from the chilled cans into a large cold bowl, leaving the watery liquid behind. Beat for 2-3 minutes until smooth and fluffy.
- In a separate bowl, whisk the sweetened condensed coconut milk with the vanilla bean paste, vanilla extract and salt.
- Fold the condensed milk mixture into the whipped coconut cream until completely combined with no streaks.
- Transfer to a 9x5 inch loaf pan, smooth the top, press plastic wrap directly onto the surface and freeze for at least 6 hours.
- Let the ice cream sit at room temperature for 10 minutes before scooping into cones or bowls.