Tiramisu is one of those desserts that feels fancy, but it’s actually pretty simple to put together at home.
Today I want to show you how I make a dairy free version that tastes just as rich and creamy as the classic one.
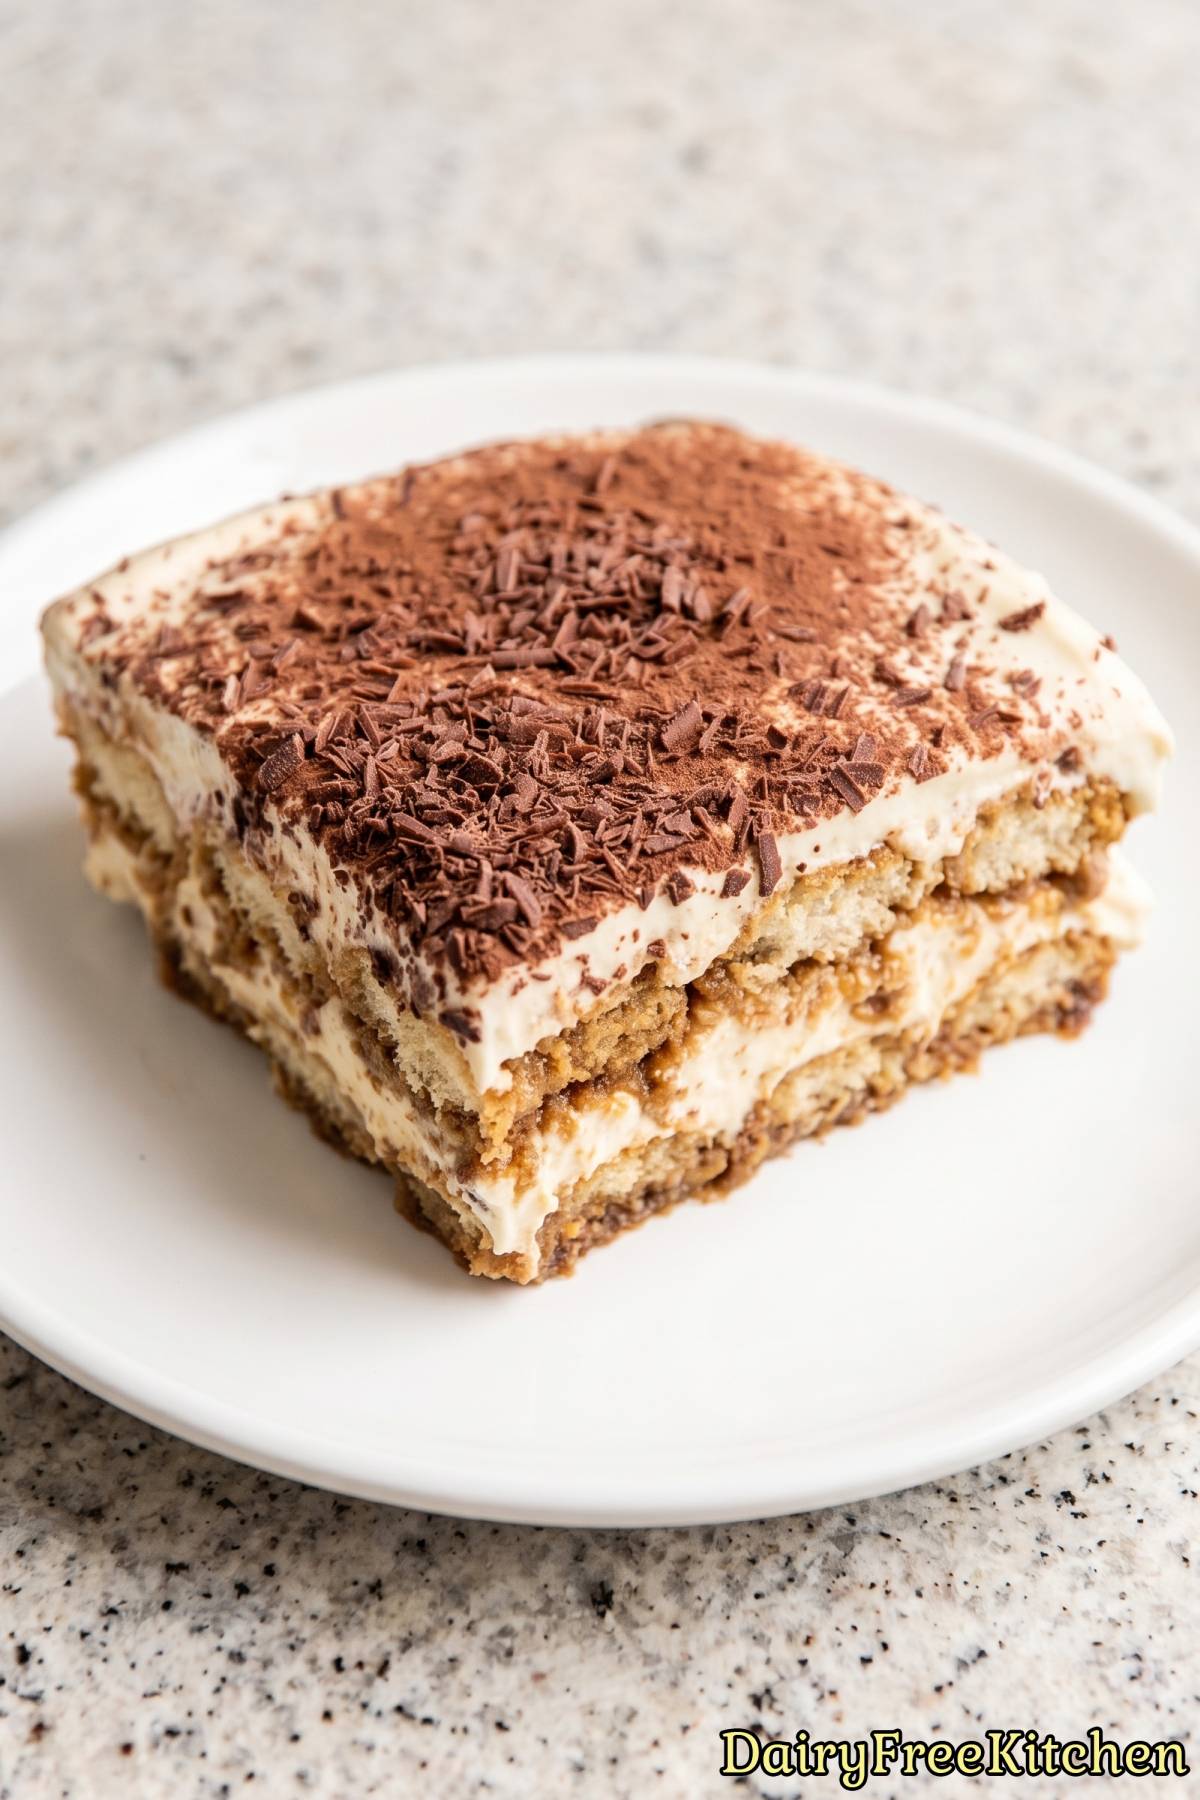
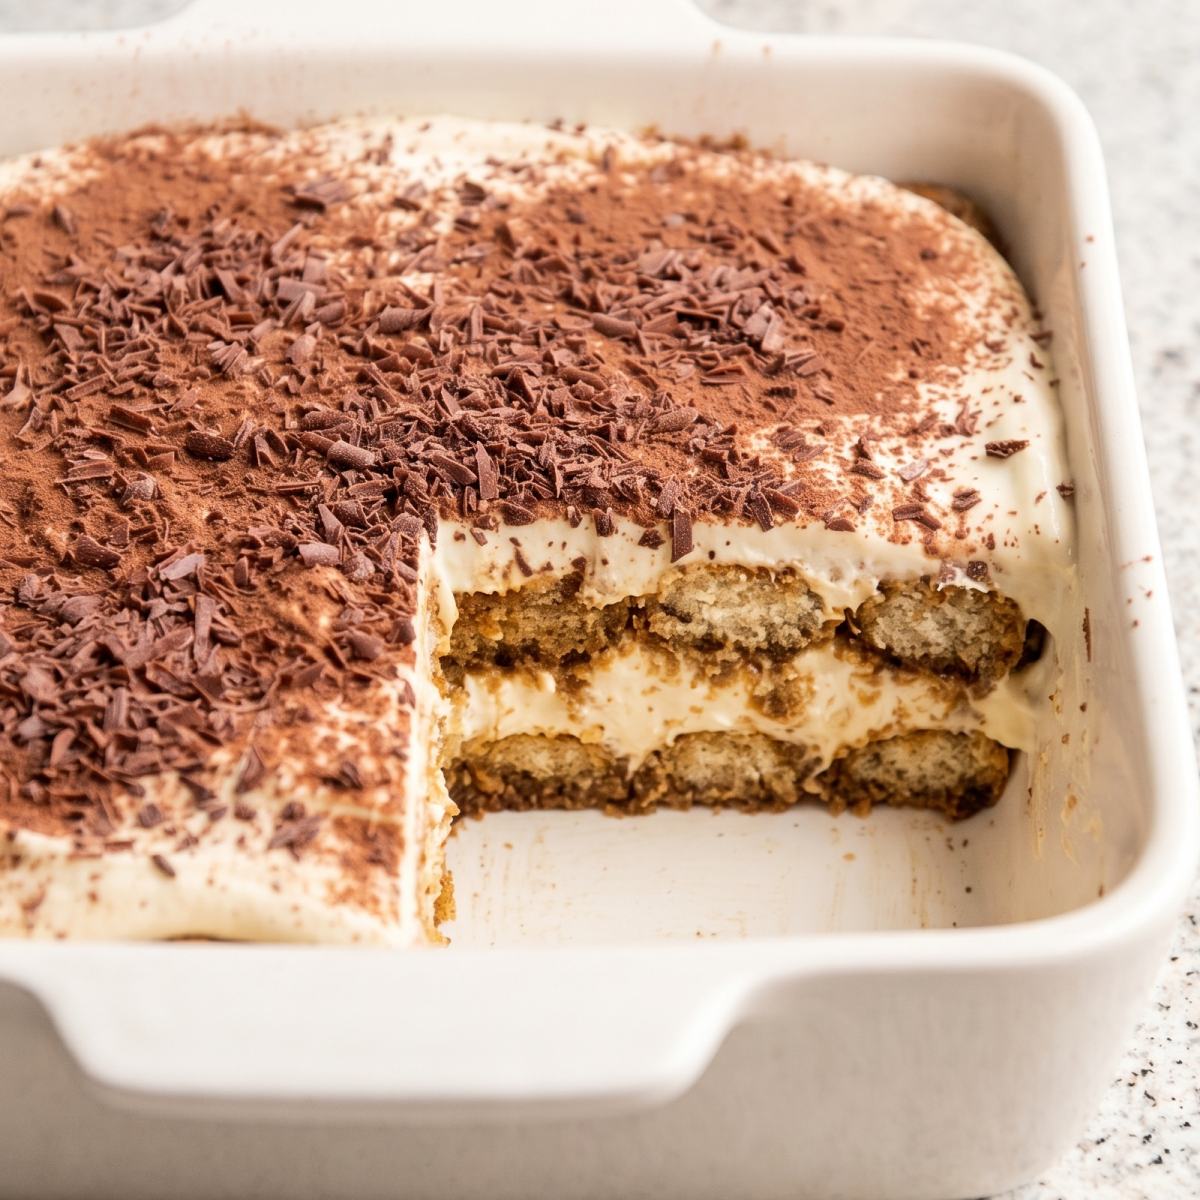
The layers of coffee soaked cookies and smooth cream come together into something really special.
And the best part is that it’s completely dairy free, so you can enjoy it even if regular cream and cheese aren’t an option for you.
I love making this a day ahead since it needs time in the fridge to set, which means less work when it’s time to serve.
Why This Recipe Is a Keeper
Rich Coffee Flavor – The espresso soaks into every ladyfinger and gives each bite a deep, bold coffee taste that feels grown up and special.
Fully Dairy Free – Every part uses dairy free swaps, so you get classic tiramisu without any milk, cream, or cheese from a cow.
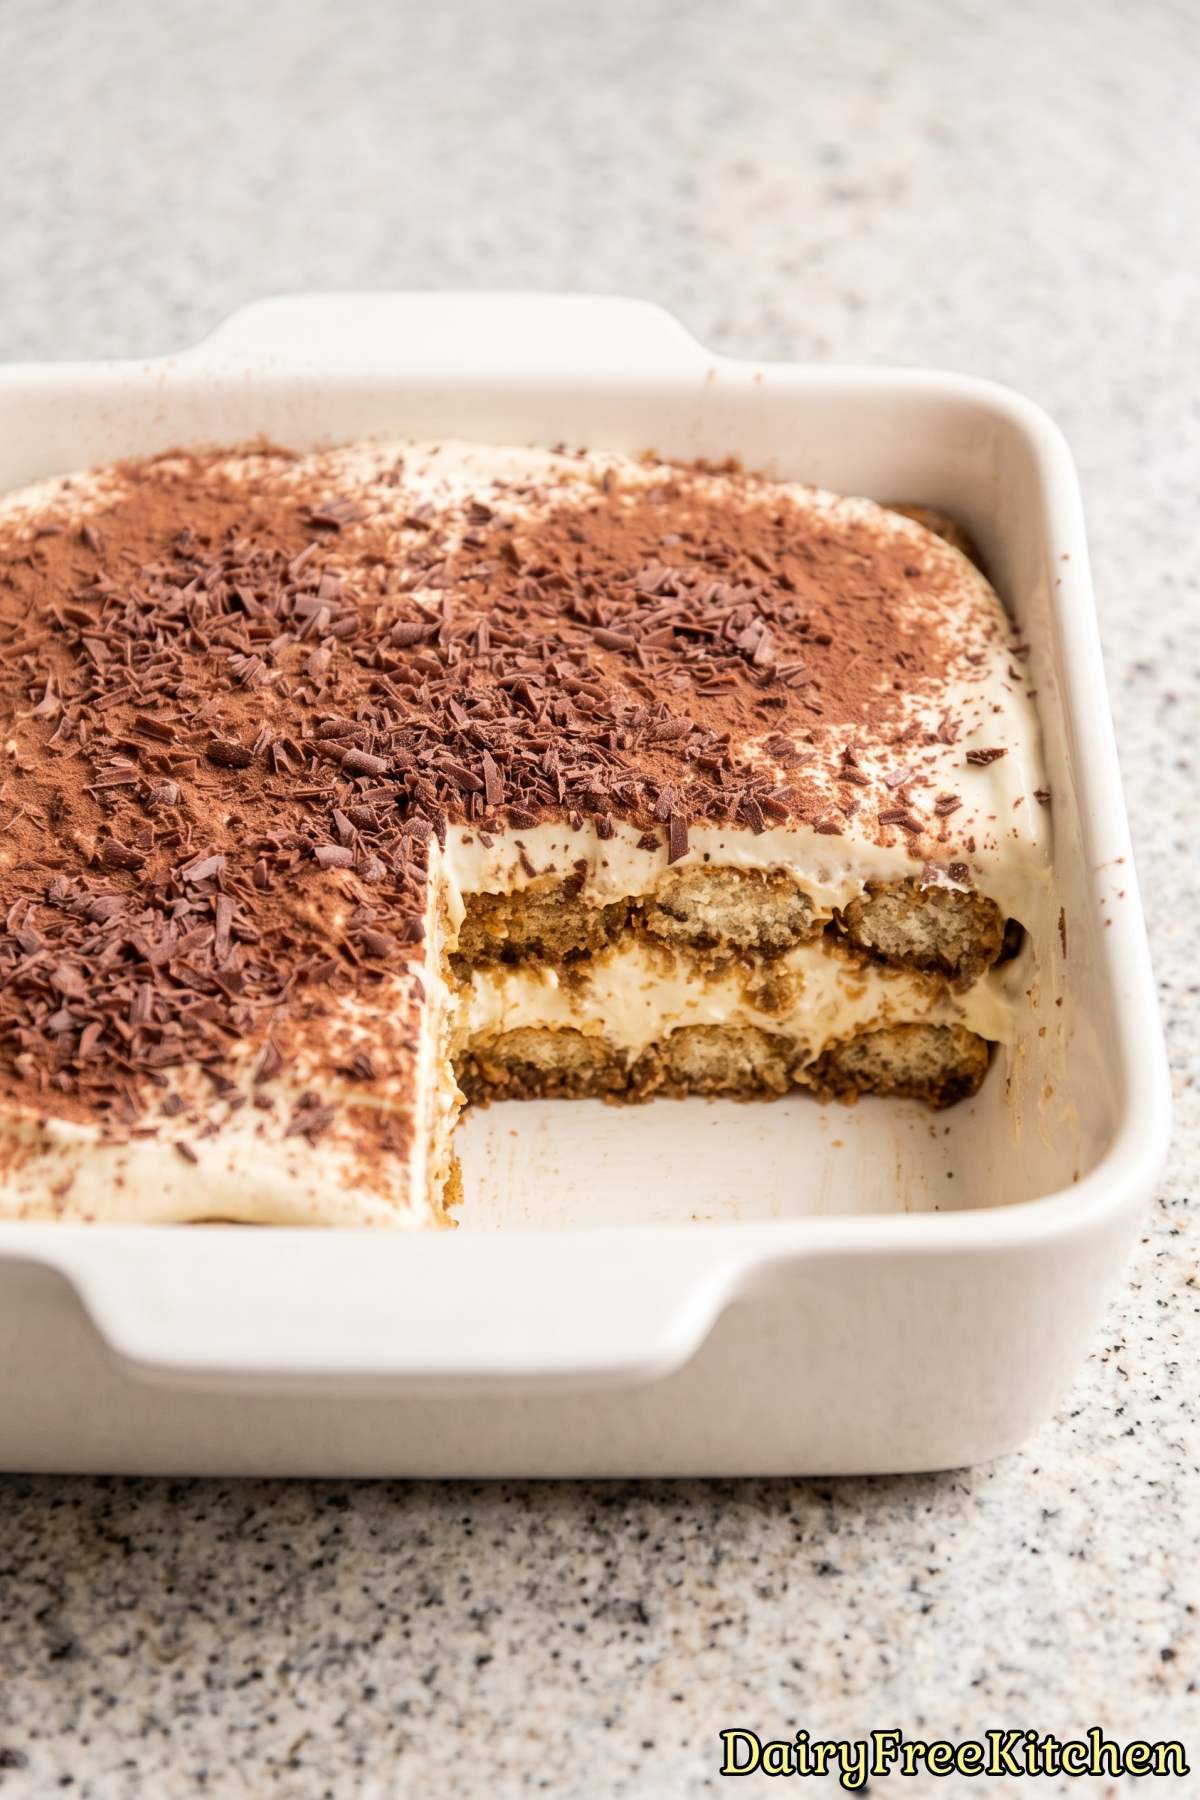
Light and Creamy Texture – Folding whipped dairy free cream into the cream cheese makes a filling that is fluffy, smooth, and melts in your mouth.
No Baking Needed – You just mix, dip, layer, and chill, so your oven stays off the whole time and cleanup stays simple.
Here’s What You’ll Need
For The Espresso Dip
- 1 1/2 cups Brewed Espresso
- 2 tbsp Granulated Sugar
- 1 tsp Vanilla Extract
For The Cream Filling
- 16 oz Dairy-Free Cream Cheese
- 3/4 cup Powdered Sugar
- 2 tsp Vanilla Extract
- 1 cup Cold Dairy-Free Whipping Cream
- 1/4 tsp Fine Salt
For Assembly
- 24 Dairy-Free Ladyfinger Cookies
- 2 tbsp Unsweetened Cocoa Powder
- 2 oz Dairy-Free Dark Chocolate
How to Make It
Step 1
Stir the warm espresso with the granulated sugar and 1 teaspoon vanilla until dissolved. Pour it into a shallow bowl and cool completely.
Step 2
Beat the dairy-free cream cheese, powdered sugar, 2 teaspoons vanilla, and salt until smooth and creamy.
Step 3
Whip the dairy-free whipping cream in a separate chilled bowl until it holds firm peaks. Fold it into the cream cheese mixture in two additions.
Step 4
Briefly dip half of the ladyfingers into the cooled espresso, about 1 second per side. Arrange them in a snug layer across the bottom of an 8-inch square dish.
Step 5
Spread half of the cream filling over the ladyfingers and dust it lightly with cocoa powder.
Step 6
Add another layer of espresso-dipped ladyfingers and cover with the remaining cream filling. Smooth the top, cover, and refrigerate for at least 8 hours.
Step 7
Dust the tiramisu with the remaining cocoa powder and finely grate the dark chocolate over the top just before serving.
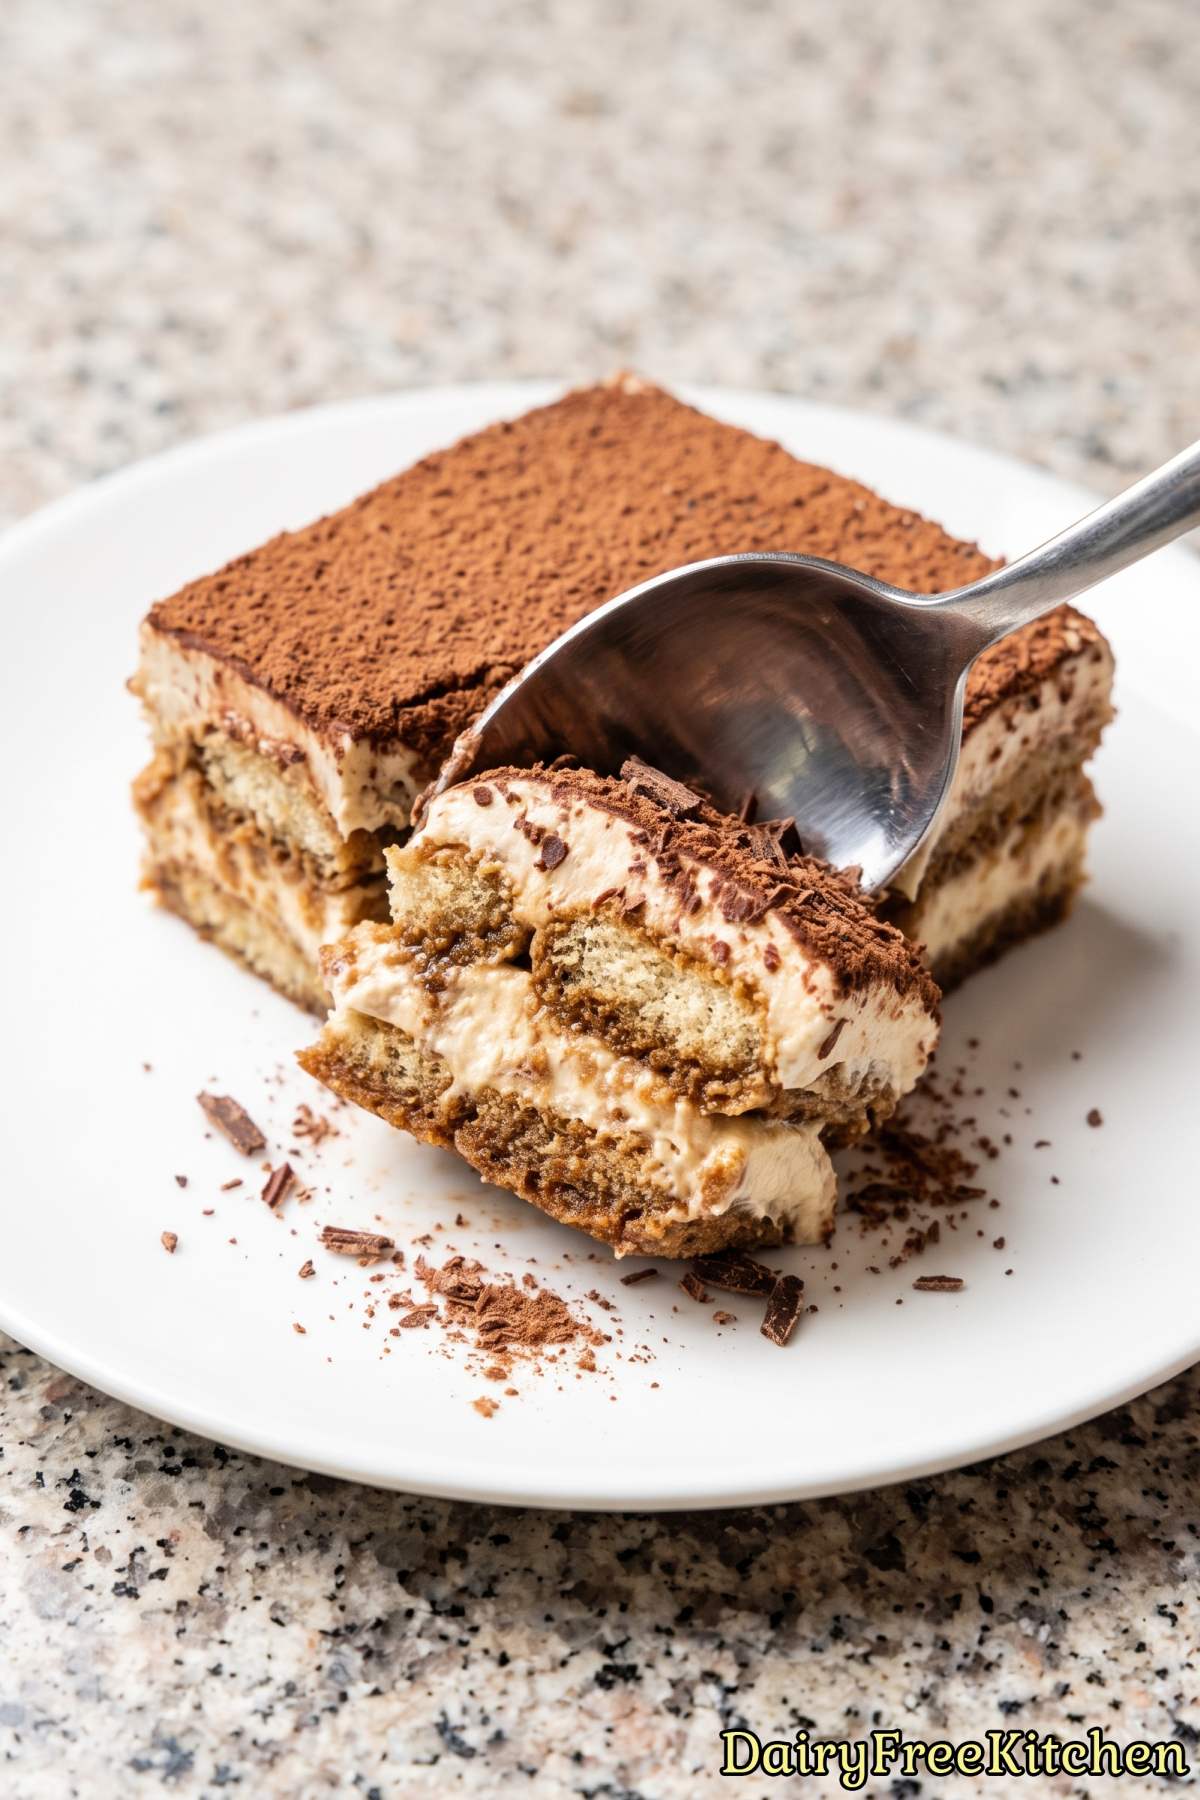
Recipe Tips
Cool the Espresso Completely Before Dipping
The espresso needs to be fully cooled down to room temperature before you dip anything into it. If it’s still warm, it will make the ladyfingers fall apart way too fast.
From my experience, I like to make the espresso mixture first and stick it in the fridge while I work on the cream filling. By the time the filling is ready, the espresso is nice and cold.
Dip the Ladyfingers Quick, Not Long
One second per side is all you need, and I really mean that. Dairy-free ladyfingers soak up liquid fast, and if you leave them in too long they turn to mush.
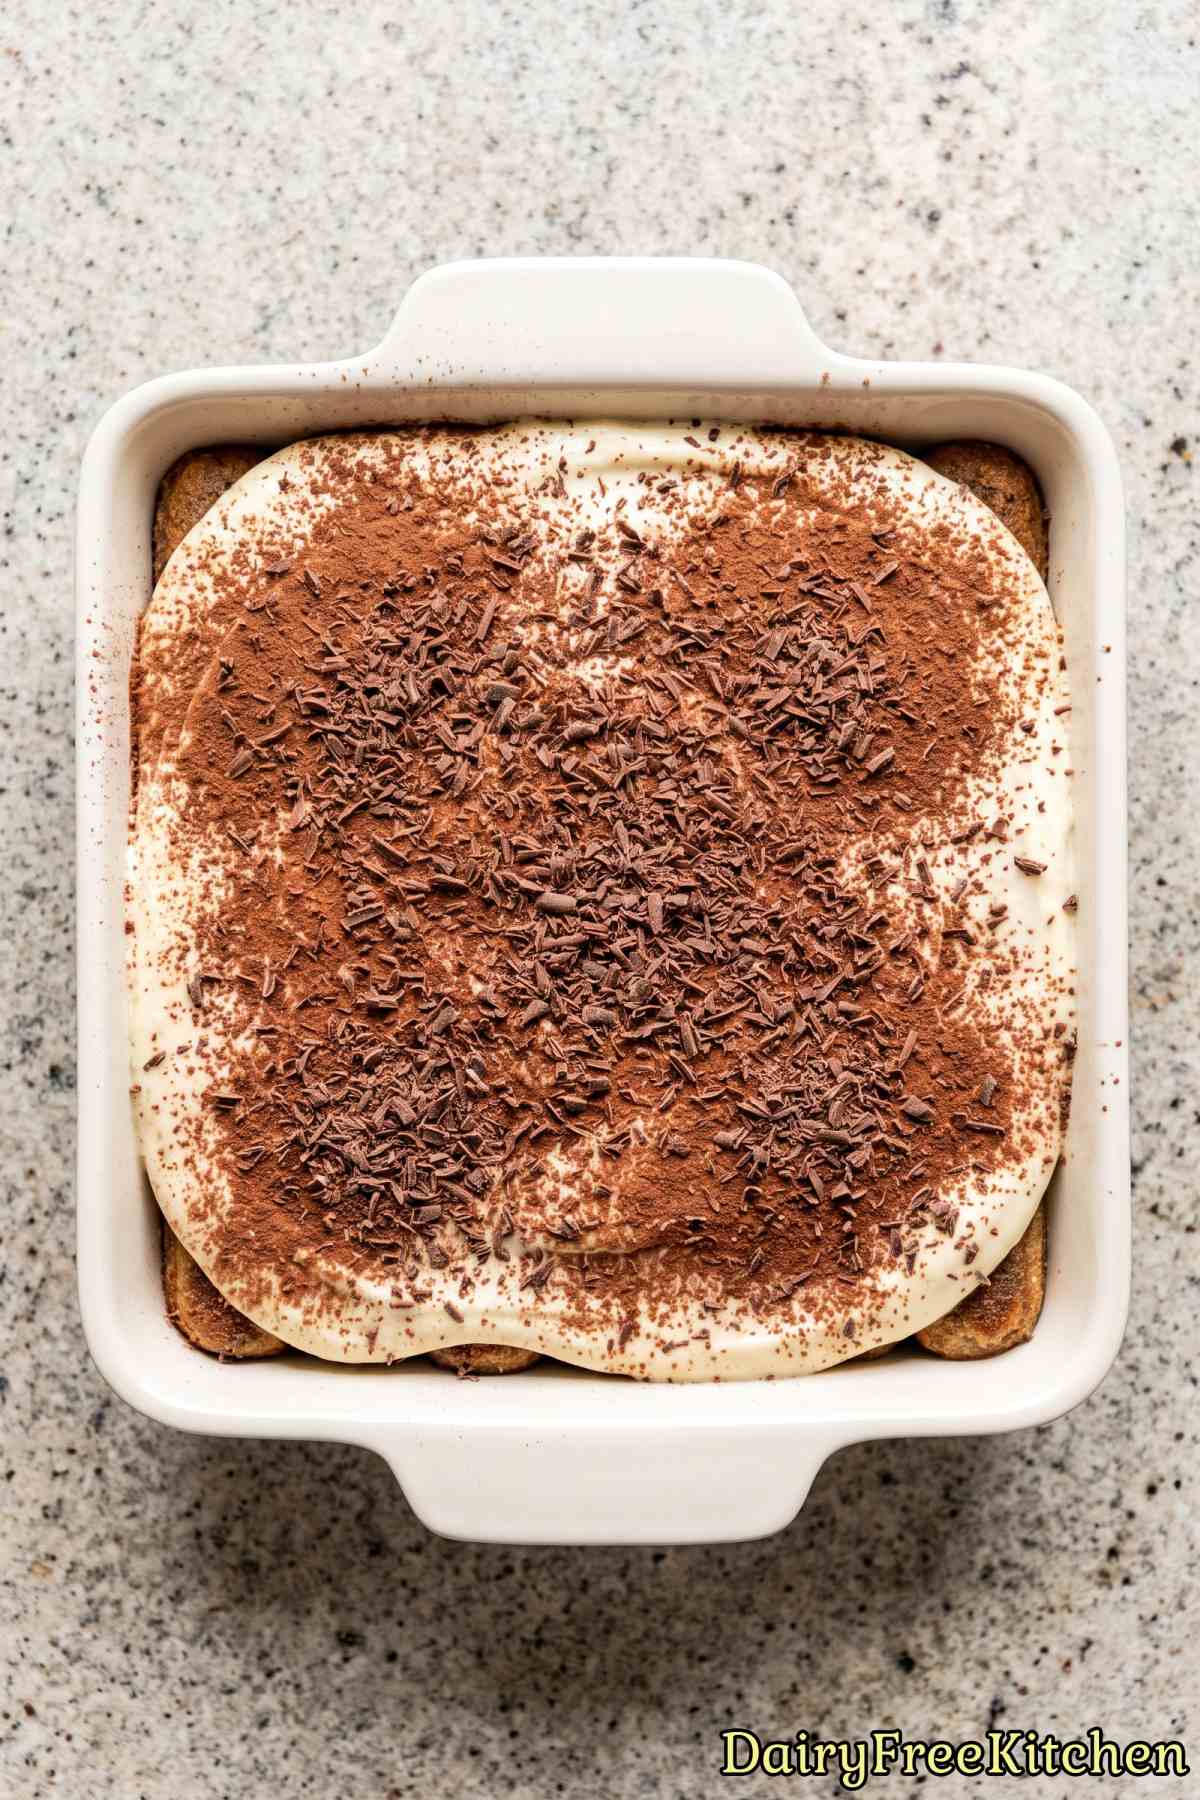
You want the cookie to still have a little bite to it before you lay it down. It will keep soaking up moisture from the cream as it sits in the fridge, so it softens perfectly on its own overnight.
My favorite trick here is to dip one side, flip it, dip the other, and lay it straight into the dish without stopping.
Make Sure Everything Is Cold When You Whip the Cream
Dairy-free whipping cream is fussier than regular cream, so the colder everything is, the better it whips up. I put the bowl and the beaters in the freezer for about 15 minutes before I start.
Use the cream straight from the fridge, never at room temperature. Cold cream holds firm peaks much easier and gives your filling that light, airy body.
If your cream just won’t thicken, it’s usually because it got too warm or the brand doesn’t whip well, so pick one that says it’s made for whipping on the label.
Popular Questions
Why did my ladyfingers turn soggy and fall apart?
The most common reason is dipping them for too long, so stick to about 1 second per side like the recipe says.
Ladyfingers soak up liquid fast, so a quick in-and-out is all you need to get that soft, coffee-flavored bite without turning them to mush.

Dairy Free Espresso Tiramisu
Equipment
- electric mixer
- box grater
Ingredients
- 1 1/2 cups Brewed Espresso
- 2 tbsp Granulated Sugar
- 1 tsp Vanilla Extract
- 16 oz Dairy-Free Cream Cheese
- 3/4 cup Powdered Sugar
- 2 tsp Vanilla Extract
- 1 cup Cold Dairy-Free Whipping Cream
- 1/4 tsp Fine Salt
- 24 Dairy-Free Ladyfinger Cookies
- 2 tbsp Unsweetened Cocoa Powder
- 2 oz Dairy-Free Dark Chocolate
Instructions
- Stir the warm espresso with the granulated sugar and 1 teaspoon vanilla until dissolved. Pour it into a shallow bowl and cool completely.
- Beat the dairy-free cream cheese, powdered sugar, 2 teaspoons vanilla, and salt until smooth and creamy.
- Whip the dairy-free whipping cream in a separate chilled bowl until it holds firm peaks. Fold it into the cream cheese mixture in two additions.
- Briefly dip half of the ladyfingers into the cooled espresso, about 1 second per side. Arrange them in a snug layer across the bottom of an 8-inch square dish.
- Spread half of the cream filling over the ladyfingers and dust it lightly with cocoa powder.
- Add another layer of espresso-dipped ladyfingers and cover with the remaining cream filling. Smooth the top, cover, and refrigerate for at least 8 hours.
- Dust the tiramisu with the remaining cocoa powder and finely grate the dark chocolate over the top just before serving.