Banoffee pie has always been one of my favorite desserts, and I wanted a version that skips the dairy completely.
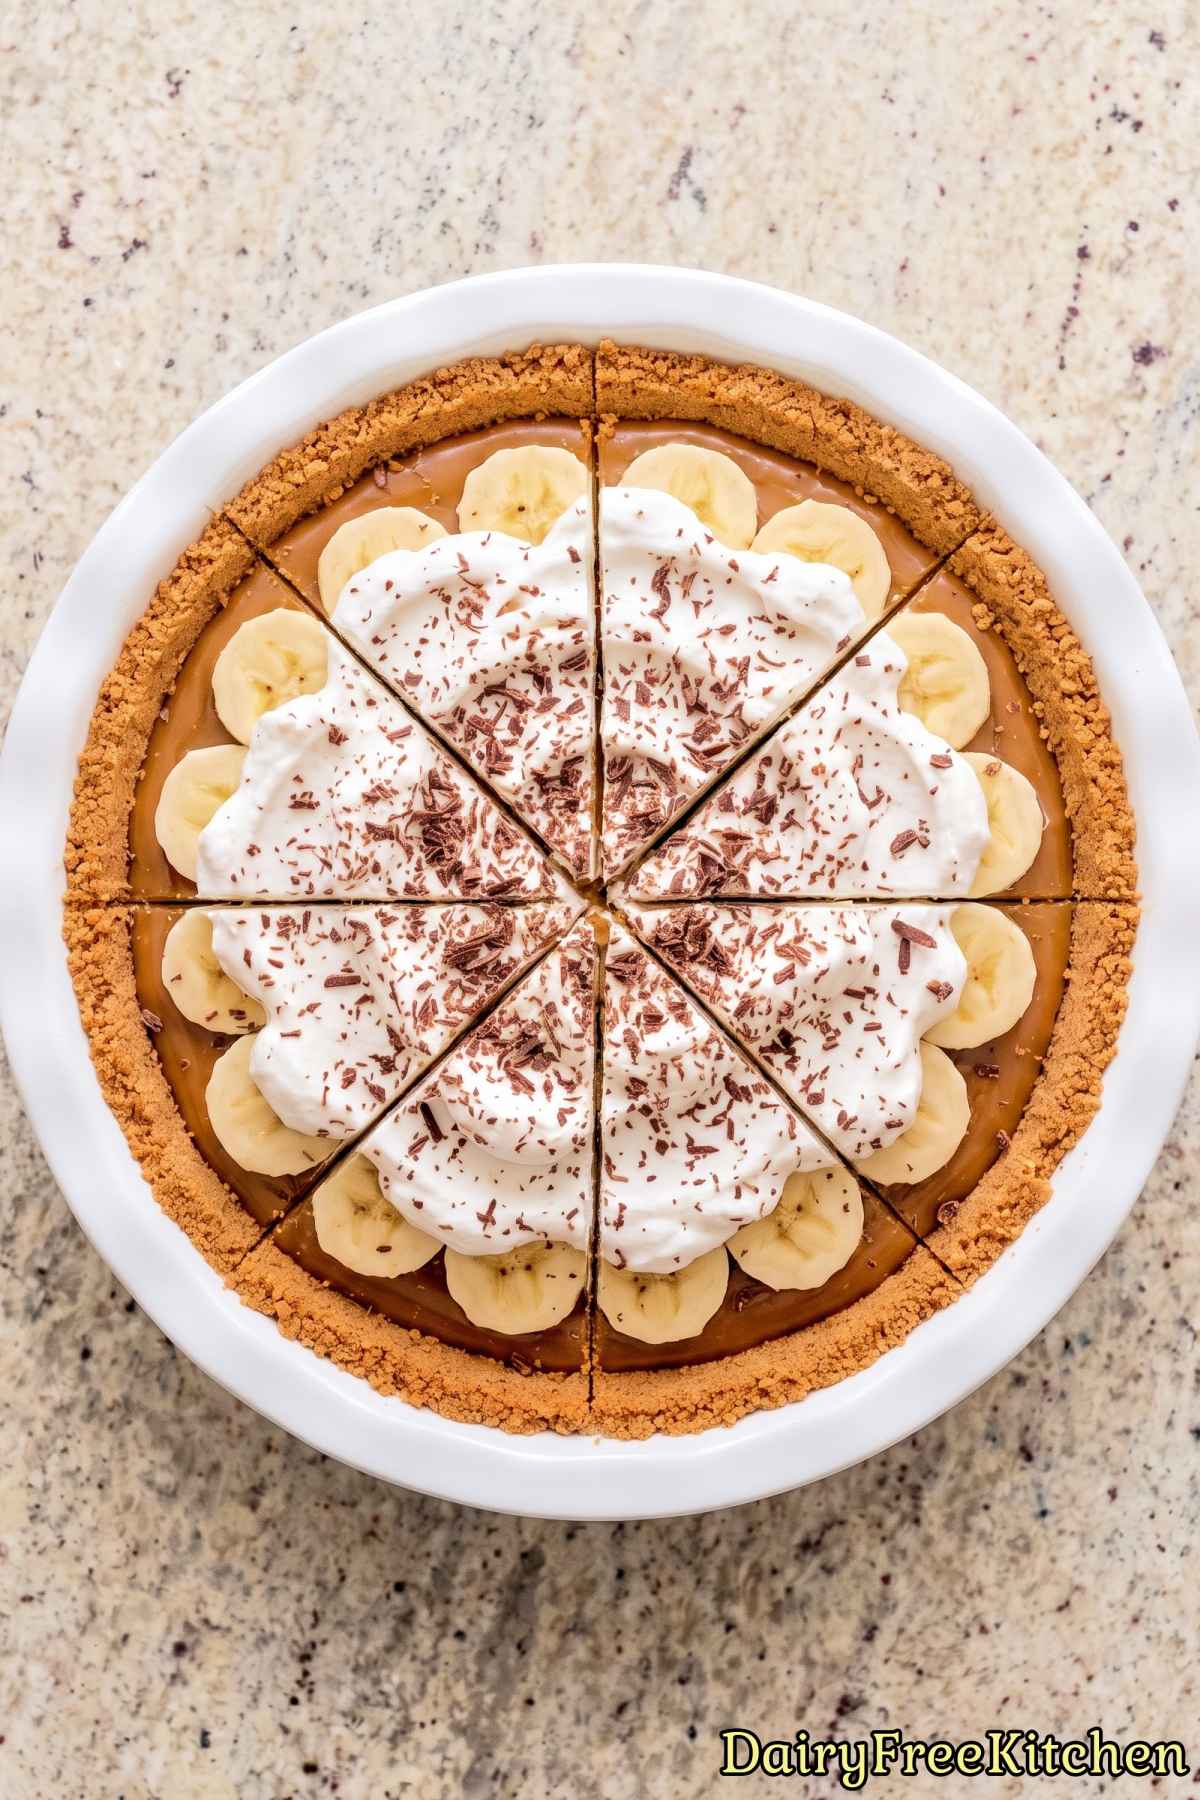
The good news is that you don’t lose anything by making it dairy free. The toffee is rich, the cream is fluffy, and the whole thing still tastes just as good.
Instead of regular condensed milk, I make the toffee from coconut milk and brown sugar cooked down slowly on the stove. It turns thick and golden and really does taste like classic toffee.
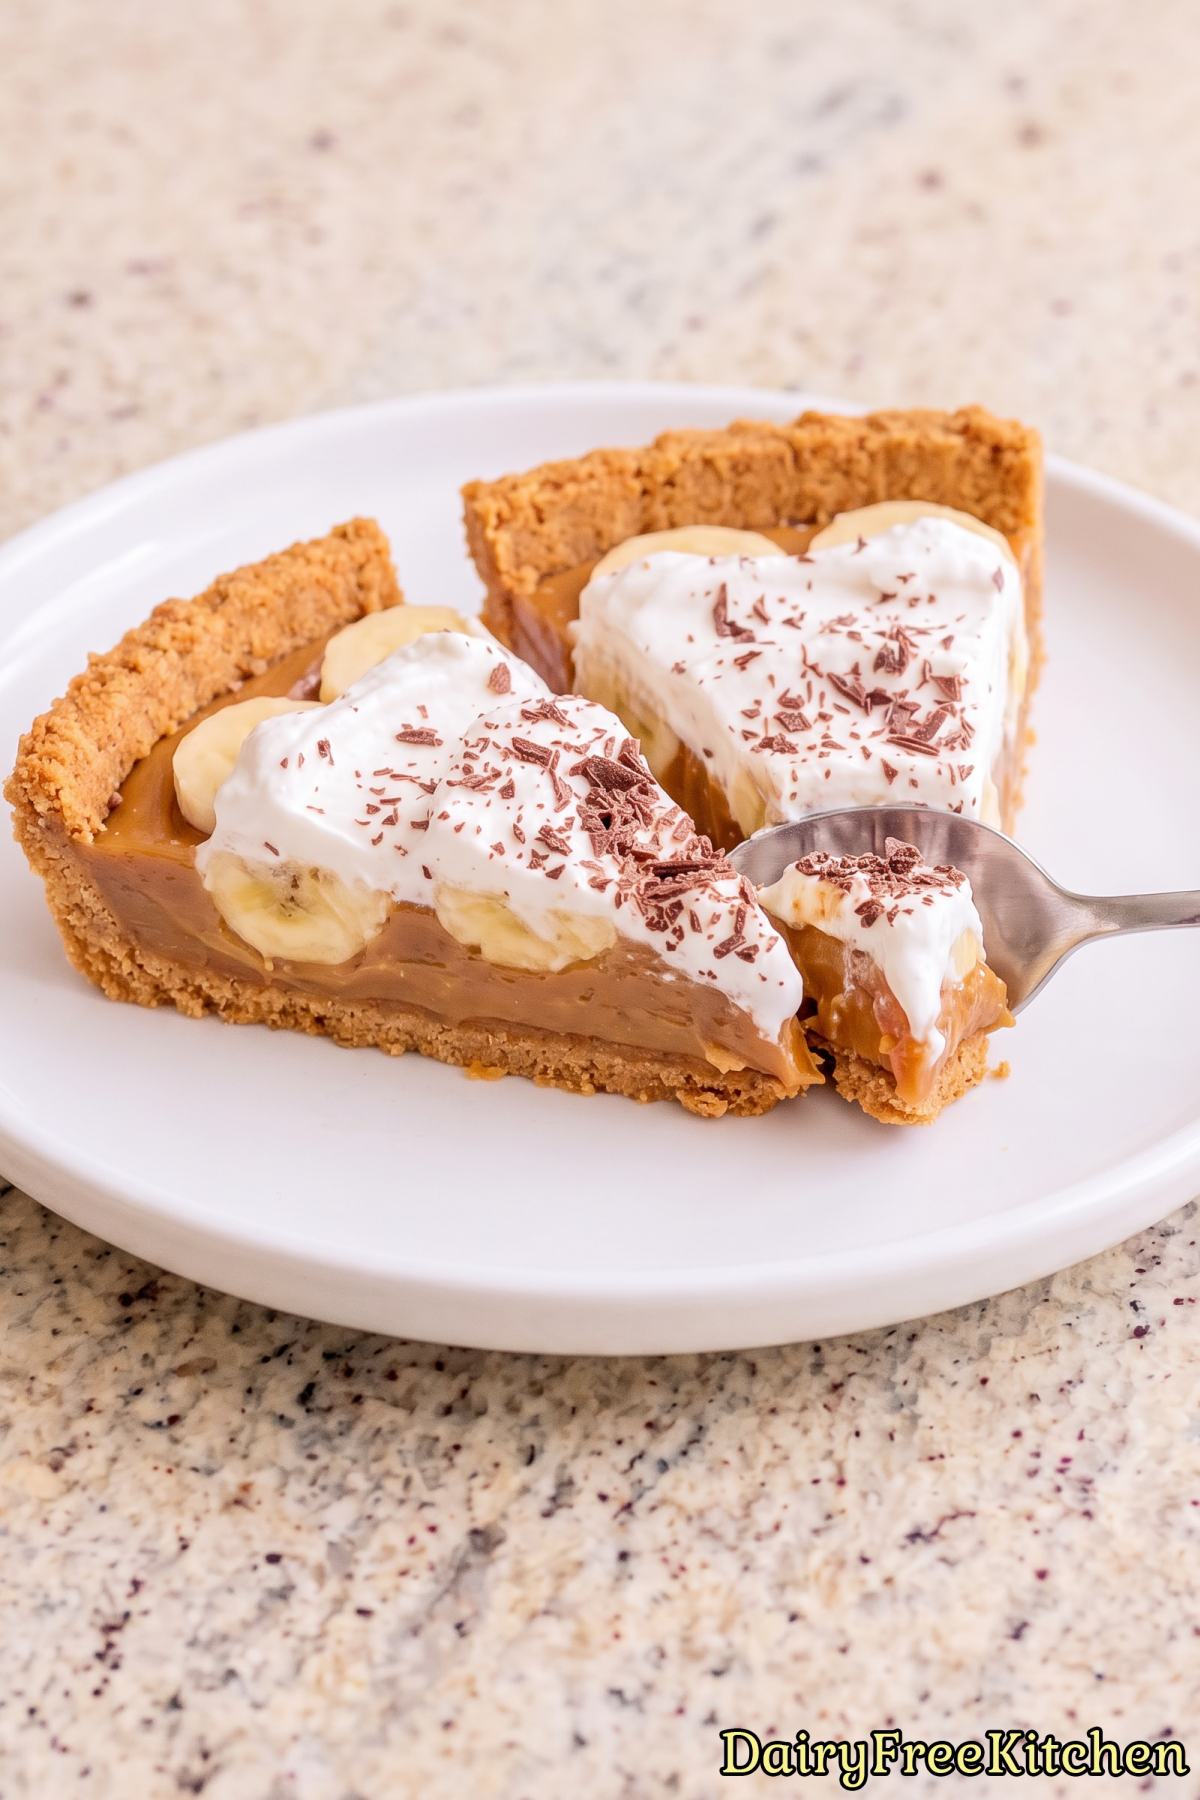
The topping is whipped coconut cream, which holds its shape well and feels light over the bananas.
If you have been missing banoffee pie because of dairy, this one is worth a try.
Why This Recipe Is a Keeper
Deep Golden Toffee – Slow cooked coconut milk and brown sugar create a rich, buttery tasting layer with caramel depth.
Creamy Banana Contrast – Sweet, ripe bananas add fresh flavor and soft texture against the chewy toffee.
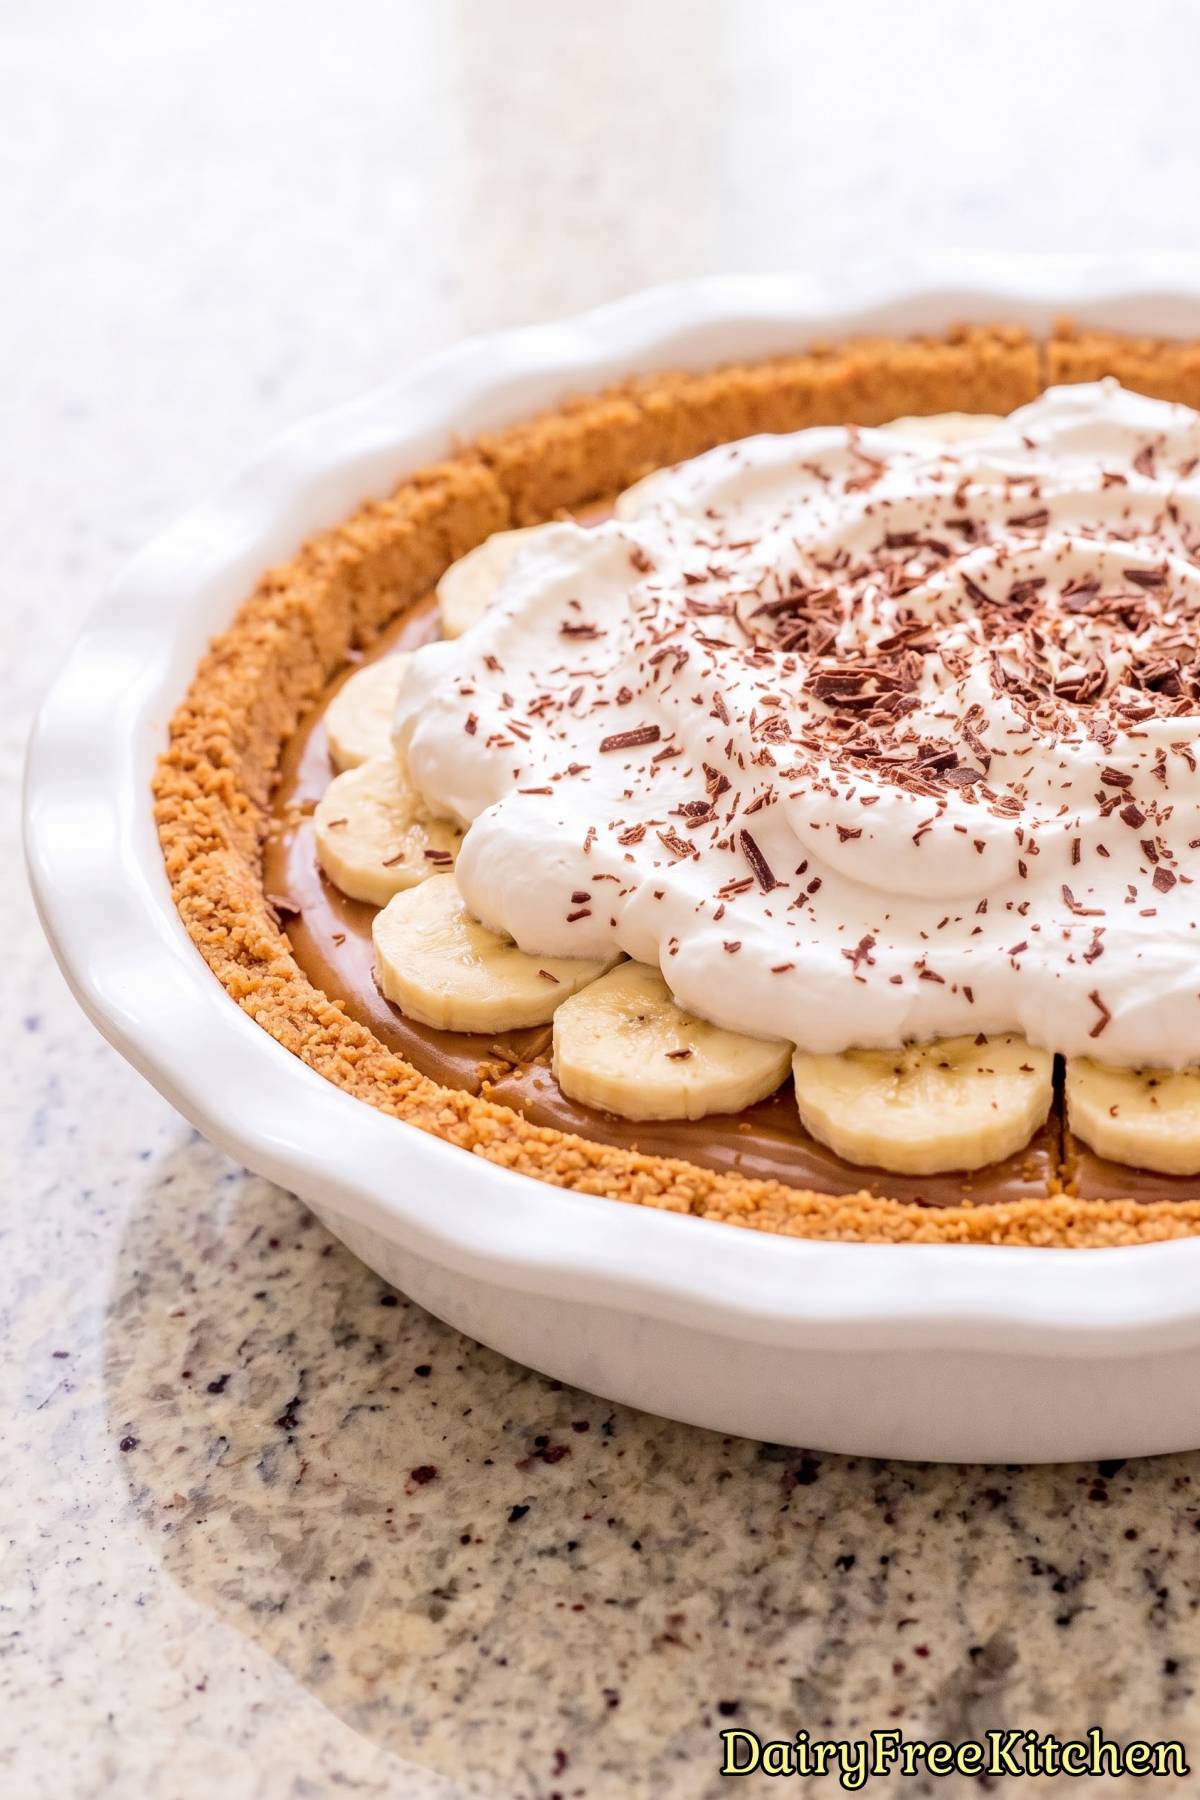
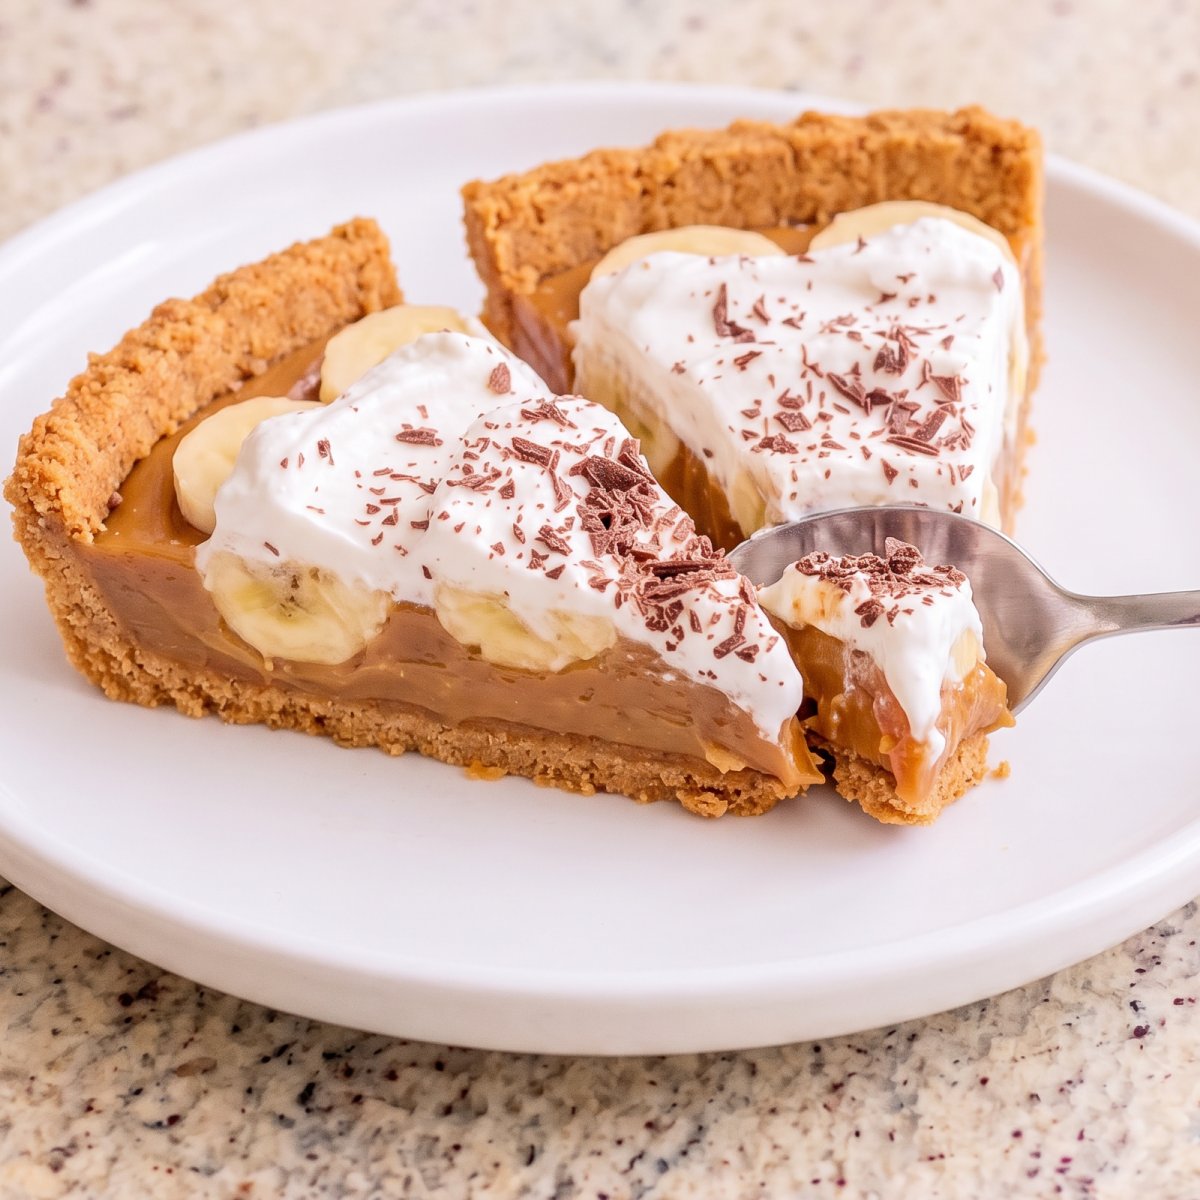
Cloudlike Topping – Whipped coconut cream makes the pie light, fluffy, and beautifully balanced after the rich filling.
Perfect Crunch – The buttery graham cracker crust adds a crisp, crumbly base that holds every creamy layer.
Here’s What You’ll Need
For the Crust
- 2 1/2 cups Graham Cracker Crumbs
- 1/2 cup Vegan Butter, melted
For the Toffee Filling
- 1 can (13.5 oz) Full Fat Coconut Milk
- 3/4 cup Brown Sugar, packed
- 1/4 tsp Salt
- 1 tsp Vanilla Extract
For the Topping
- 3 ripe Bananas
- 2 cans (13.5 oz each) Coconut Cream, chilled overnight
- 1/3 cup Powdered Sugar
- 1 tsp Vanilla Extract
- 1 oz Dairy Free Dark Chocolate, grated
How to Make It
Step 1
Stir the graham cracker crumbs and melted vegan butter together, then press firmly into the bottom and up the sides of a 9-inch pie dish. Chill for 30 minutes.
Step 2
Combine the coconut milk, brown sugar, and salt in a saucepan and bring to a simmer over medium heat. Cook, stirring often, for 25 to 35 minutes until it turns into a thick, deep golden toffee that coats the back of a spoon.
Stir in the vanilla and let it cool for 15 minutes.
Step 3
Spread the toffee evenly into the chilled crust and refrigerate for 1 hour until set.
Step 4
Slice the bananas and arrange them in an even layer over the toffee.
Step 5
Scoop the thick solid coconut cream from the chilled cans into a bowl, leaving the watery liquid behind. Whip with the powdered sugar and vanilla for 2 to 3 minutes until fluffy.
Step 6
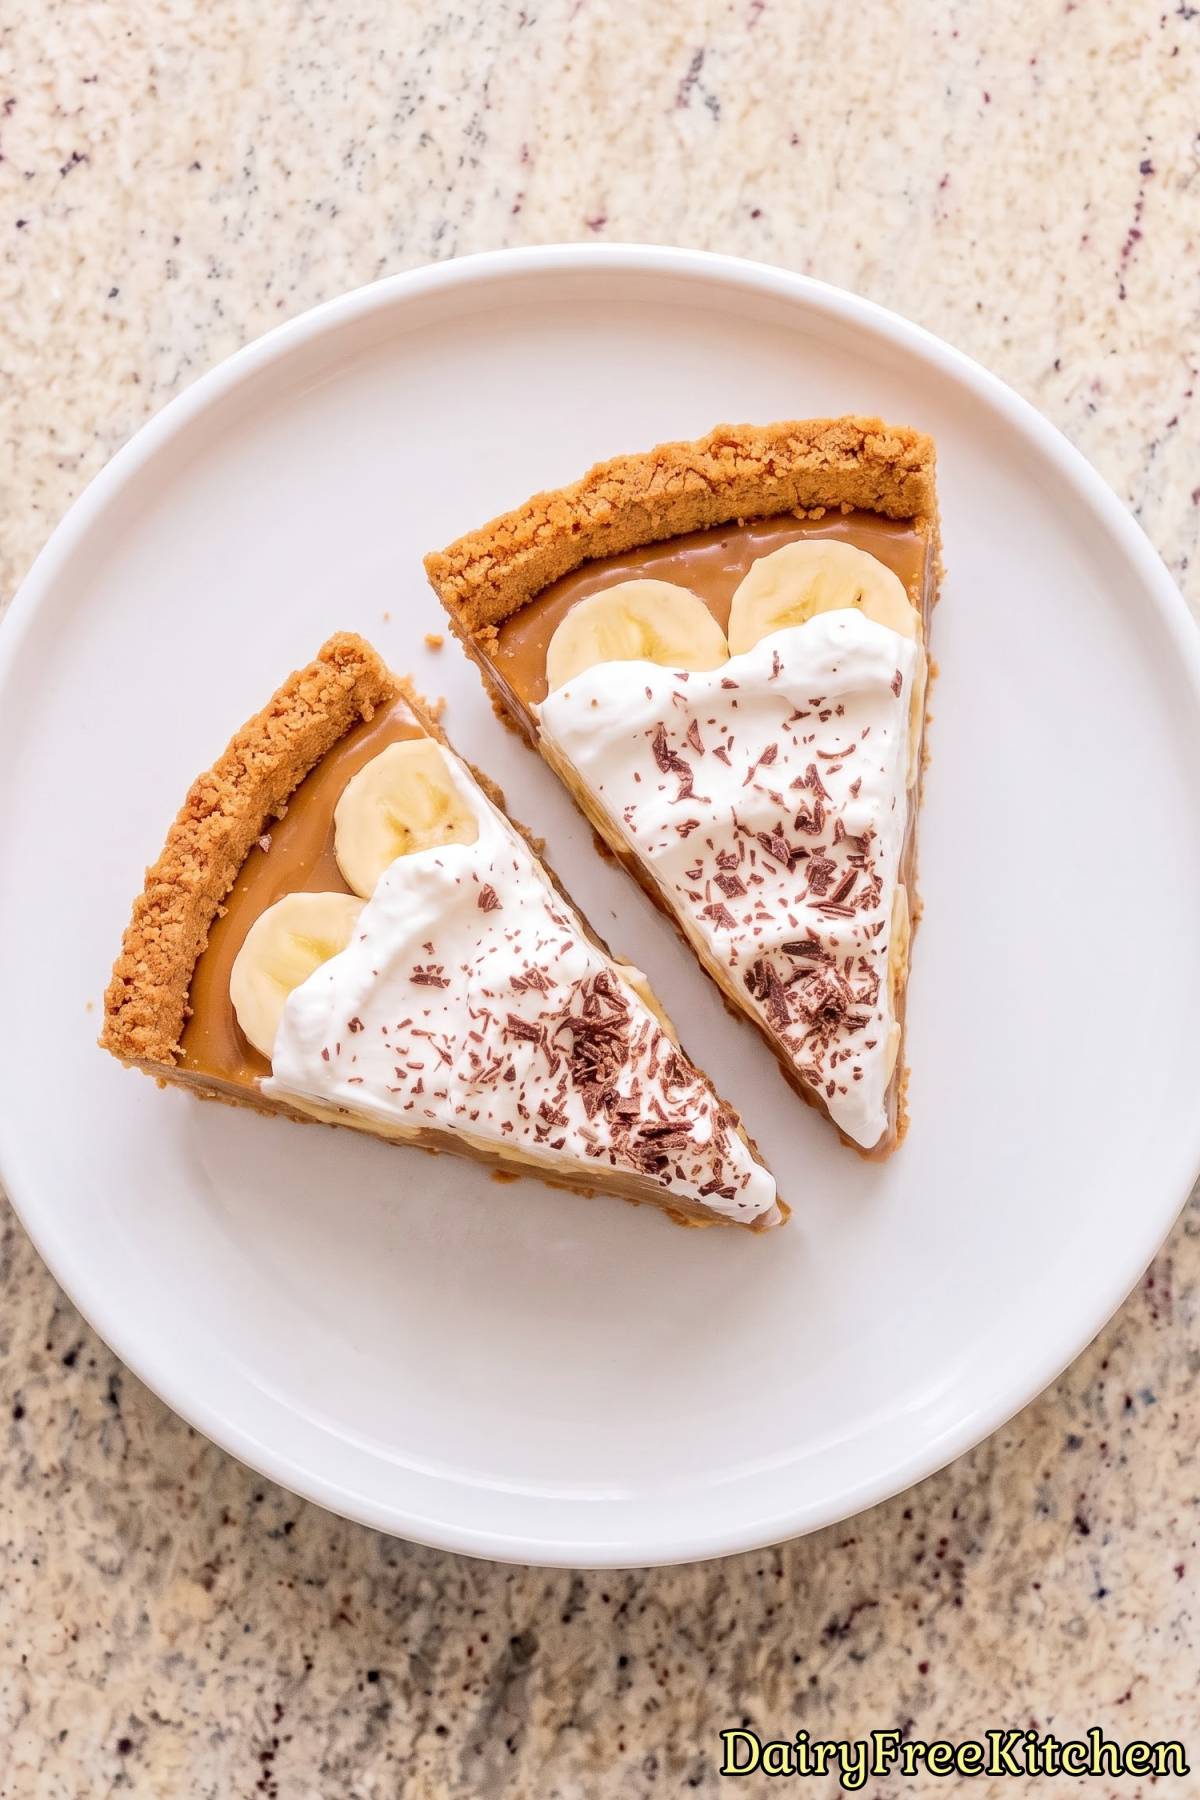
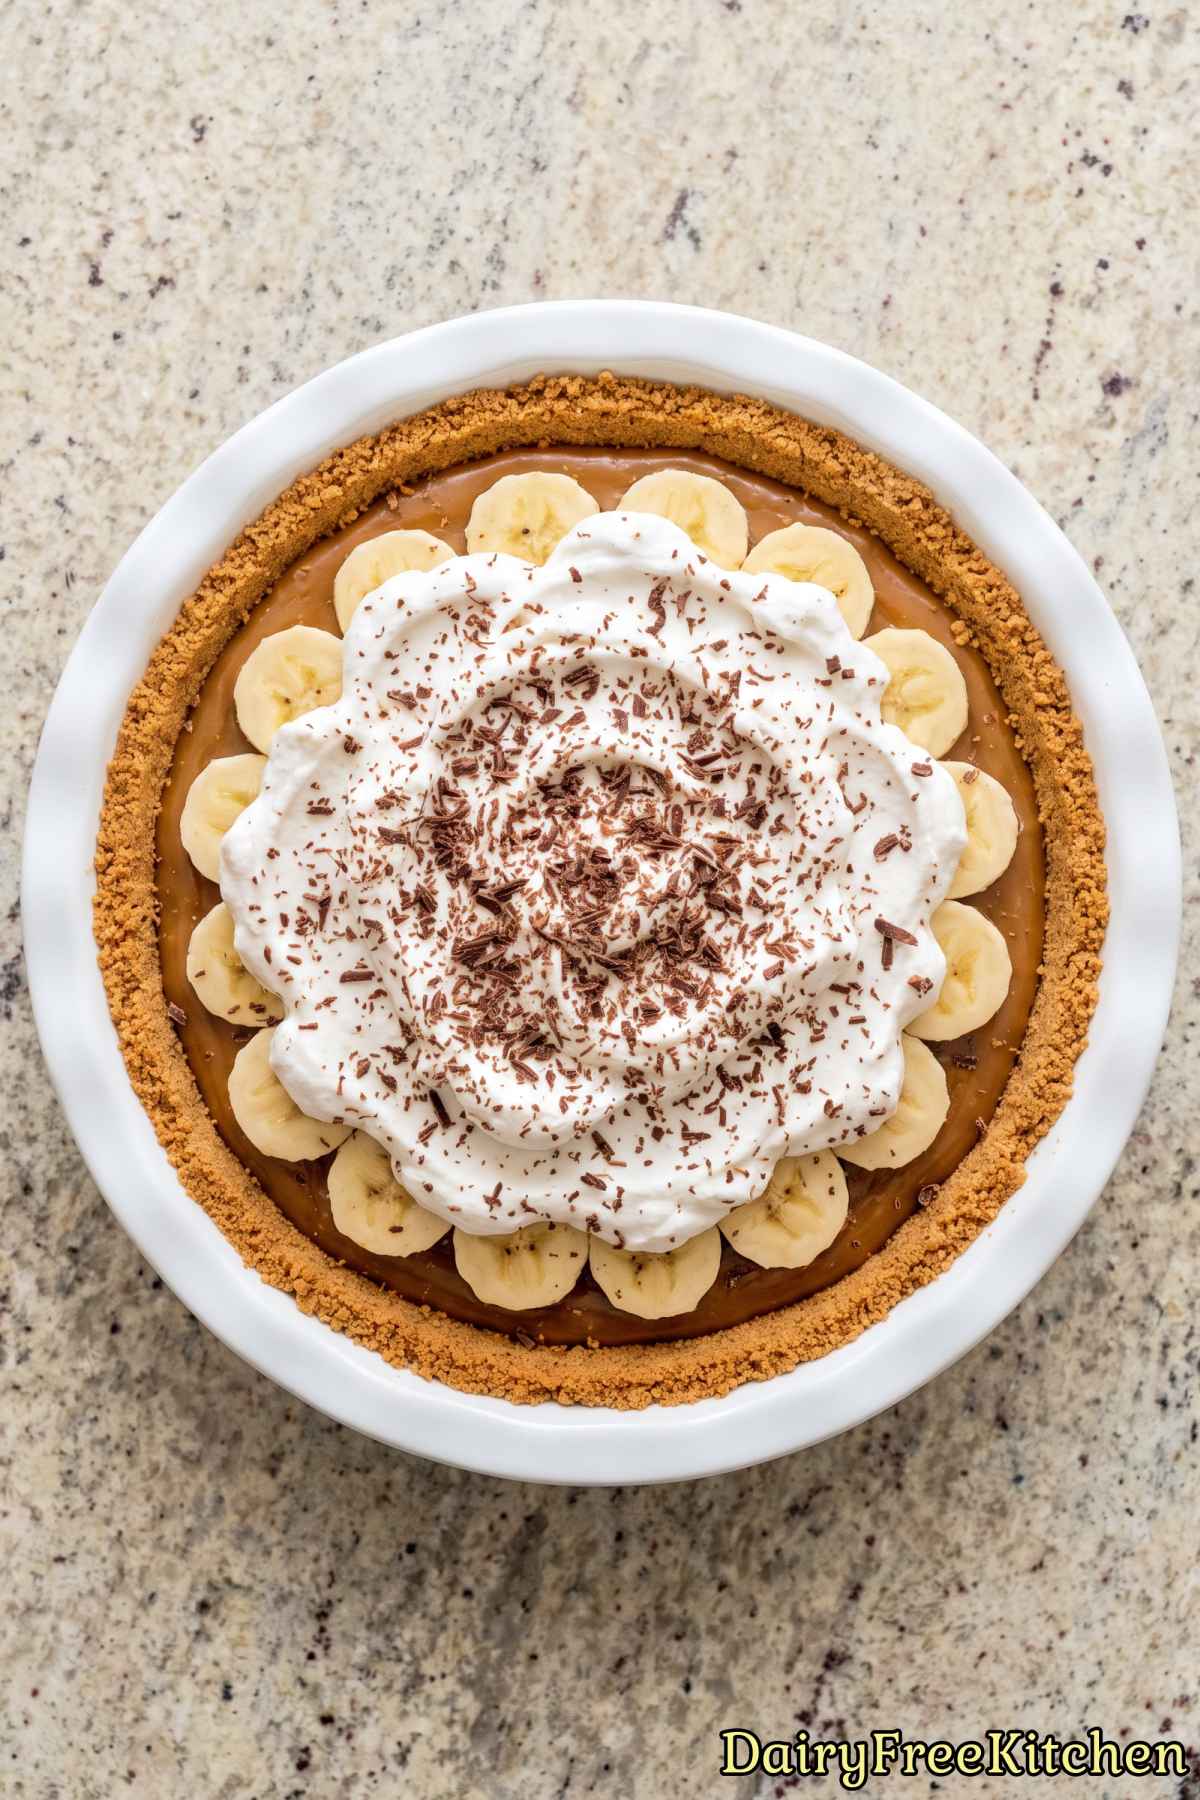
Pile the whipped cream over the bananas, top with grated dairy free chocolate, and keep chilled until serving.
Recipe Tips
Press The Crust Firmly
Mix the crumbs and melted vegan butter until every crumb looks evenly coated. Press the mixture firmly across the bottom and up the sides of the pie dish, especially along the edges.
I recommend using the bottom of a glass or a measuring cup to create a compact, even crust. Chill it for the full 30 minutes so it stays firm when you add the warm toffee.
Cook The Toffee Slowly
Keep the coconut milk mixture at a steady simmer over medium heat, not a rapid boil. Stir often and scrape across the bottom of the pan so the sugar does not settle or catch.
The toffee is ready when it is deep golden, noticeably thick, and coats the back of a spoon. It will continue to thicken as it cools, so do not wait for it to become completely firm in the saucepan.
Cool The Toffee Before Layering
Take the saucepan off the heat before stirring in the vanilla, then let the toffee cool for about 15 minutes. It should still be pourable but no longer hot.
Pouring very hot toffee into the crust can soften the vegan butter and make the crust less firm. Spread the toffee gently into an even layer, then chill it until set before adding the bananas.
What to Make Next
- Dairy Free Banana Split Ice Cream Cake
- Dairy Free Caramelized Banana Pudding
- Dairy Free Frozen Peanut Butter Cream Pie
- Dairy Free Salted Caramel Chocolate Tart
- Dairy Free Sticky Toffee Pudding
Popular Questions
Why does the coconut cream need to chill overnight?
Chilling helps the thick coconut cream separate from the liquid in the can, which makes it easier to whip into a fluffy topping.
For the best texture, use full-fat coconut cream and chill the cans for at least 8 hours before making the pie.

Dairy Free Banoffee Pie
Equipment
- 9-inch pie dish
- saucepan
- electric mixer
Ingredients
- 2 1/2 cups Graham Cracker Crumbs
- 1/2 cup Vegan Butter, melted
- 1 can (13.5 oz) Full Fat Coconut Milk
- 3/4 cup Brown Sugar, packed
- 1/4 tsp Salt
- 1 tsp Vanilla Extract
- 3 ripe Bananas
- 2 cans (13.5 oz each) Coconut Cream, chilled overnight
- 1/3 cup Powdered Sugar
- 1 tsp Vanilla Extract
- 1 oz Dairy Free Dark Chocolate, grated
Instructions
- Stir the graham cracker crumbs and melted vegan butter together, then press firmly into the bottom and up the sides of a 9-inch pie dish. Chill for 30 minutes.
- Combine the coconut milk, brown sugar, and salt in a saucepan and bring to a simmer over medium heat. Cook, stirring often, for 25 to 35 minutes until it turns into a thick, deep golden toffee that coats the back of a spoon. Stir in the vanilla and let it cool for 15 minutes.
- Spread the toffee evenly into the chilled crust and refrigerate for 1 hour until set.
- Slice the bananas and arrange them in an even layer over the toffee.
- Scoop the thick solid coconut cream from the chilled cans into a bowl, leaving the watery liquid behind. Whip with the powdered sugar and vanilla for 2 to 3 minutes until fluffy.
- Pile the whipped cream over the bananas, top with grated dairy free chocolate, and keep chilled until serving.