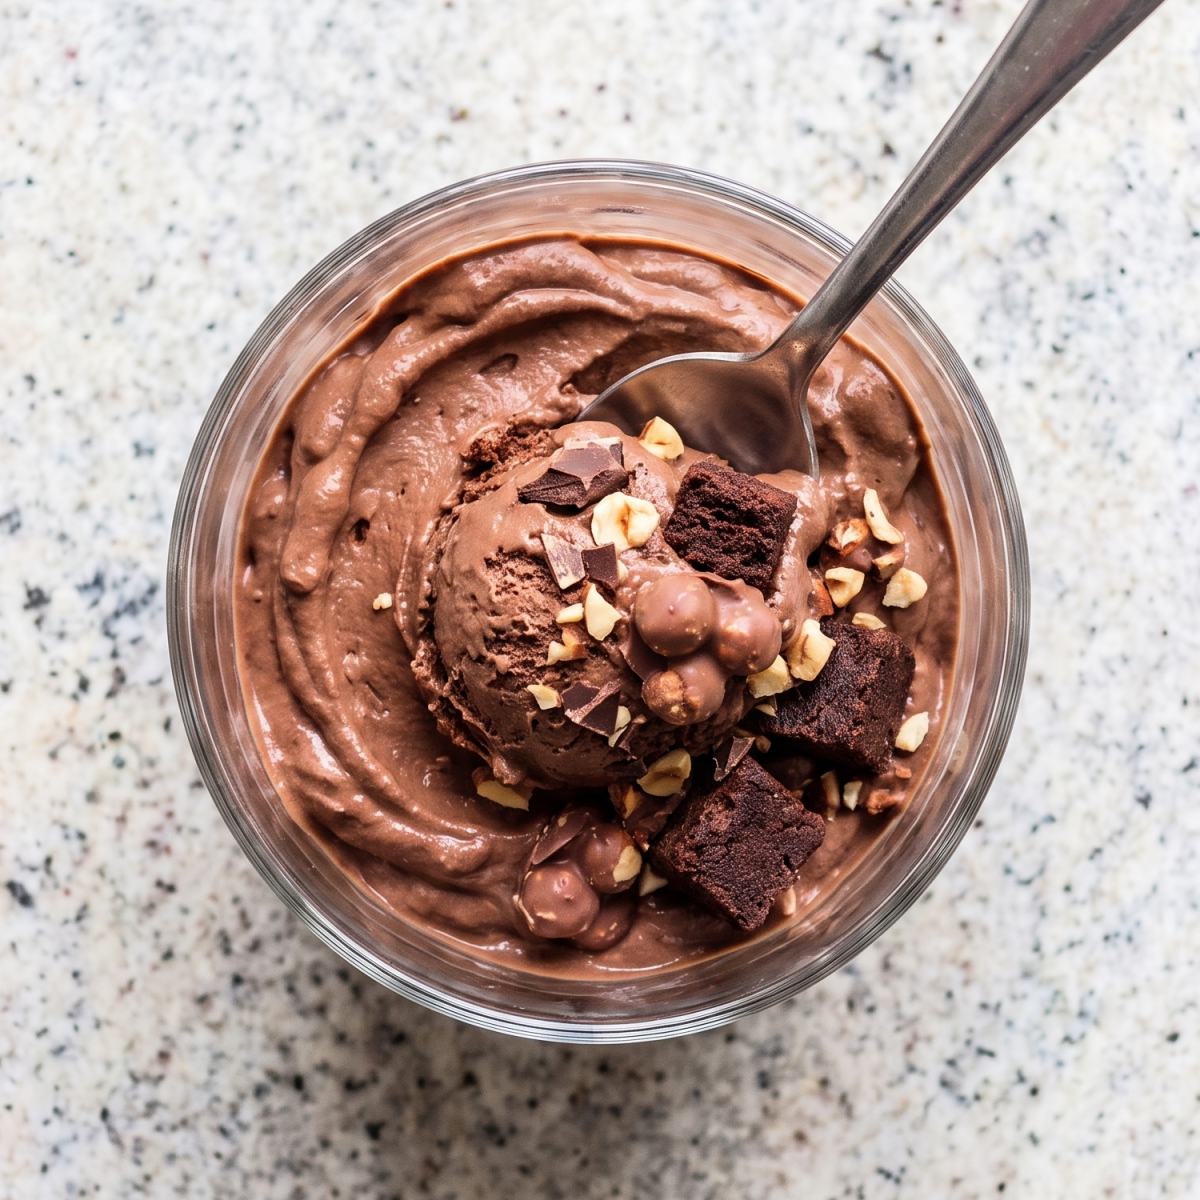
If you love chocolate and hazelnut together, this ice cream is going to be your new favorite treat. It’s rich, creamy, and full of that classic nutty chocolate flavor.
The best part is that it’s completely dairy free. You don’t need any milk or cream to get that smooth, scoopable texture that good ice cream is all about.
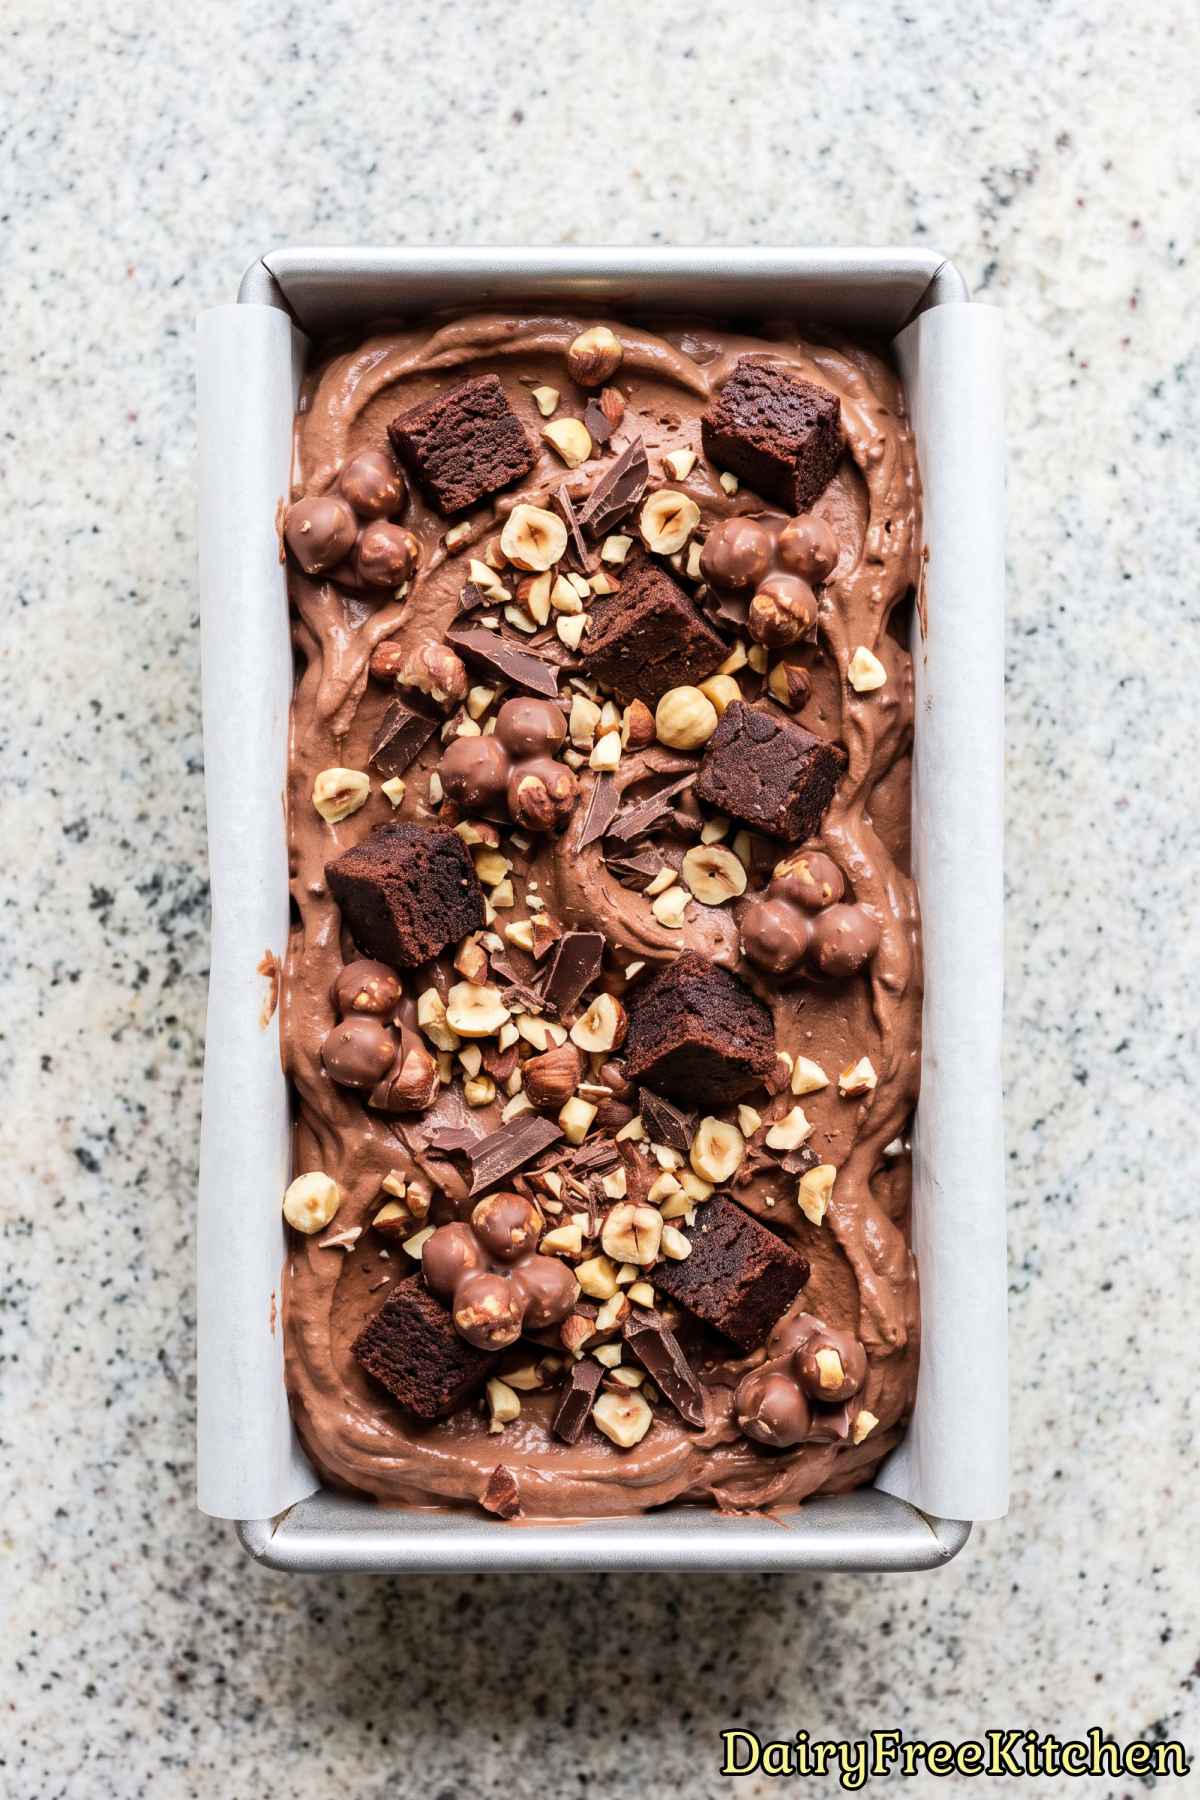
I make the base with full fat coconut cream and a little oat milk, which keeps everything soft and creamy once it’s frozen.
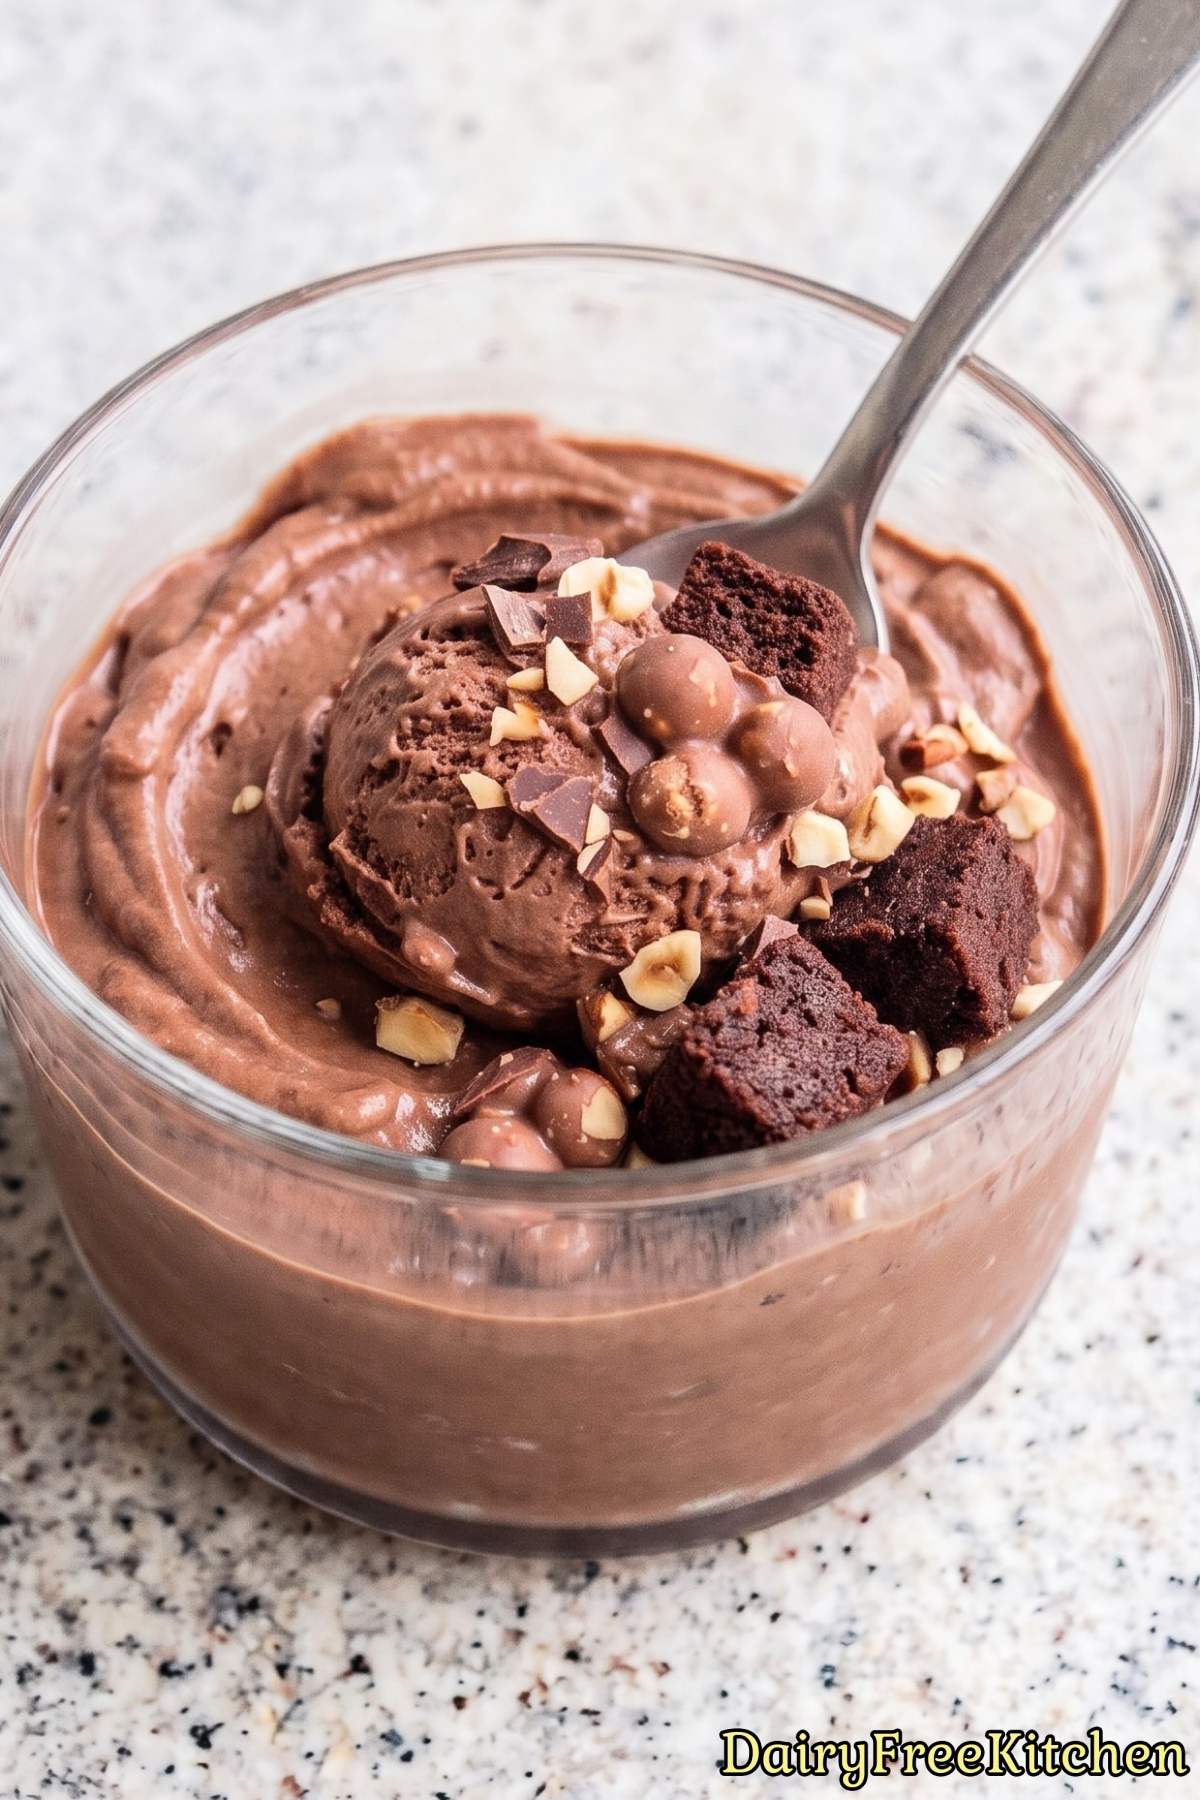
There are also chunks of dairy free brownie folded in, plus a crunchy hazelnut topping that adds a nice bite to every scoop.
It takes a bit of time between chilling and freezing, but the actual work is simple. Let me show you how I put it all together.
Why This Recipe Is a Keeper
Deep Chocolate Flavor – Cocoa and chocolate hazelnut spread create a rich, balanced flavor that tastes wonderfully indulgent.
Silky Creamy Texture – Coconut cream and oat milk create a smooth, creamy base without any dairy.
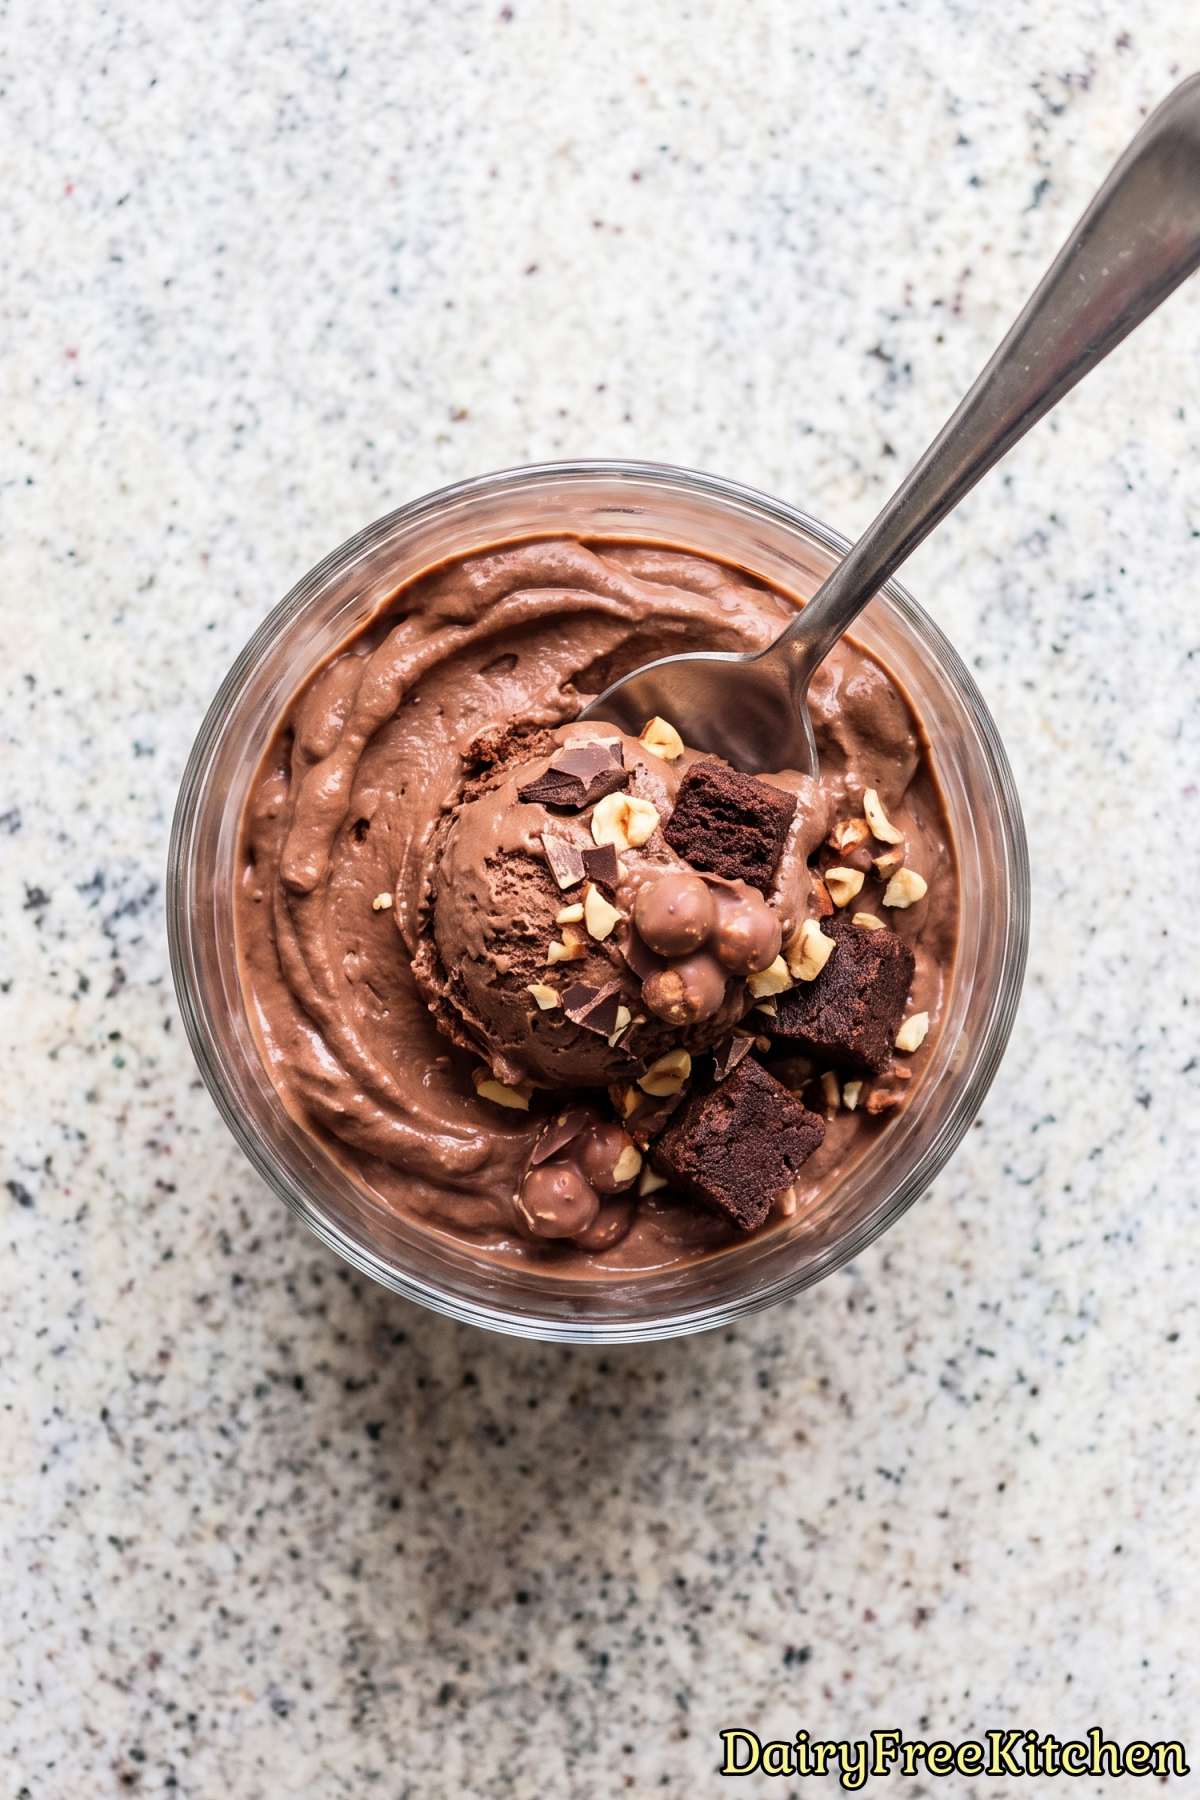
Fudgy Brownie Pieces – Soft brownie pieces add chewy texture and extra chocolate richness to every creamy scoop.
Crisp Hazelnut Topping – Chocolate-coated roasted hazelnuts bring a satisfying crisp texture that complements the soft ice cream.
Here’s What You’ll Need
For the Ice Cream Base
- 2 cups Full Fat Coconut Cream
- 1 cup Unsweetened Oat Milk
- 3/4 cup Granulated Sugar
- 1/3 cup Unsweetened Cocoa Powder
- 1/4 cup Corn Syrup
- 2 tbsp Cornstarch
- 1/2 cup Dairy Free Chocolate Hazelnut Spread
- 1/2 tsp Fine Sea Salt
- 1 tsp Vanilla Extract
For the Hazelnut Crunch
- 3/4 cup Roasted Hazelnuts, Chopped
- 1/3 cup Dairy Free Dark Chocolate, Melted
- 1 tsp Coconut Oil
For the Mix-In
- 1 cup Dairy Free Brownie, Cut Into Small Pieces
How to Make It
Step 1
Whisk the coconut cream, oat milk, sugar, cocoa powder, corn syrup, cornstarch, and sea salt in a saucepan until smooth.
Step 2
Cook the base over medium heat for 5 to 7 minutes, whisking constantly, until slightly thickened. Stir in the chocolate hazelnut spread and vanilla extract.
Step 3
Refrigerate the chocolate base in a covered container for at least 4 hours, until completely cold.
Step 4
Stir the melted dairy free chocolate with coconut oil, then toss in the chopped hazelnuts until coated. Spread the hazelnuts on parchment paper and refrigerate until crisp.
Step 5
Break the chocolate hazelnut crunch into small pieces once set.
Step 6
Churn the cold ice cream base in an ice cream maker until thick and creamy.
Step 7
Fold in the brownie pieces and half of the hazelnut crunch, then transfer the ice cream to a freezer-safe container.
Step 8
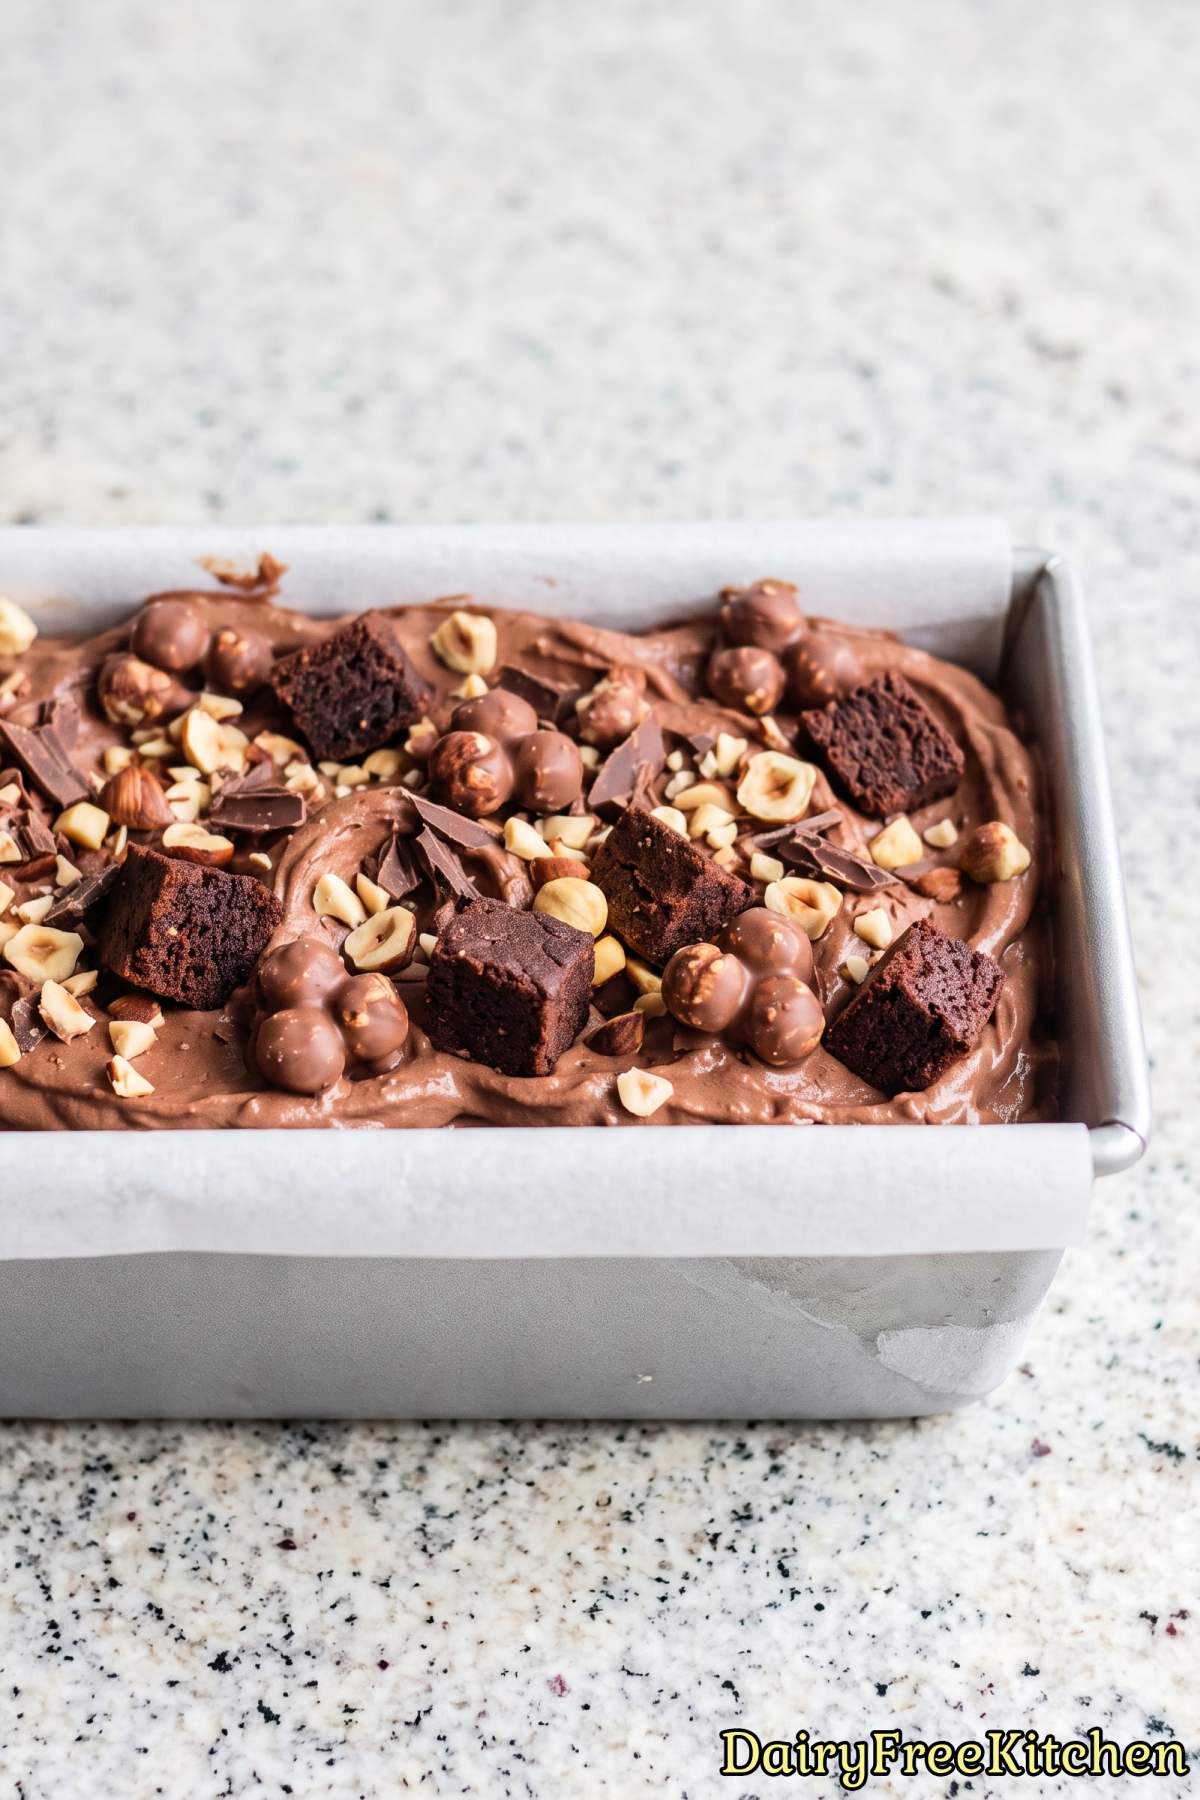
Scatter the remaining hazelnut crunch over the top, cover with parchment paper, and freeze for 4 hours.
Recipe Tips
Start With A Smooth Base
Mix the sugar, cocoa powder, cornstarch, and salt together in the saucepan before adding any liquid. This spreads the cornstarch and cocoa evenly, so they are less likely to form small lumps.
Add the oat milk a little at a time while whisking, then whisk in the coconut cream. If the coconut cream has separated in the container, mix it until smooth before measuring it.
Watch The Thickness Closely
Cooking time can vary depending on your saucepan and stove, so use the texture as your guide. The base is ready when it lightly coats a spoon and a whisk leaves a trail that stays visible for a moment.
Keep the heat at medium and whisk across the entire bottom of the pan. Once you see gentle bubbles and the base has thickened, remove it from the heat so the coconut cream stays smooth.
Add The Spread Off The Heat
I recommend adding the chocolate hazelnut spread after taking the saucepan off the heat. The warm base will melt it easily without making the mixture oily or separated.
Whisk until the color looks even and no streaks remain, then add the vanilla. For an extra smooth ice cream, pour the finished base through a fine mesh strainer before chilling it.
What to Make Next
- Dairy Free Chocolate Hazelnut Wafer Crunch Ice Cream
- Dairy Free Chocolate Mint Ice Cream Sandwiches
- Dairy Free Hot Fudge Brownie Sundae Cups
- Dairy Free Molten Chocolate Lava Cakes
- Dairy Free Red Velvet Cheesecake Ice Cream
Popular Questions
Why does the ice cream base need to be completely chilled before churning?
A fully chilled base churns more smoothly and reaches a creamy texture faster. If the base is still warm, the ice cream maker may struggle to thicken it, and the finished ice cream can turn out icy.
For the best result, chill the base for at least 4 hours or prepare it the day before.

Dairy Free Chocolate Hazelnut Brownie Ice Cream
Equipment
- ice cream maker
Ingredients
- 2 cups Full Fat Coconut Cream
- 1 cup Unsweetened Oat Milk
- 3/4 cup Granulated Sugar
- 1/3 cup Unsweetened Cocoa Powder
- 1/4 cup Corn Syrup
- 2 tbsp Cornstarch
- 1/2 cup Dairy Free Chocolate Hazelnut Spread
- 1/2 tsp Fine Sea Salt
- 1 tsp Vanilla Extract
- 3/4 cup Roasted Hazelnuts, Chopped
- 1/3 cup Dairy Free Dark Chocolate, Melted
- 1 tsp Coconut Oil
- 1 cup Dairy Free Brownie, Cut Into Small Pieces
Instructions
- Whisk the coconut cream, oat milk, sugar, cocoa powder, corn syrup, cornstarch, and sea salt in a saucepan until smooth.
- Cook the base over medium heat for 5 to 7 minutes, whisking constantly, until slightly thickened. Stir in the chocolate hazelnut spread and vanilla extract.
- Refrigerate the chocolate base in a covered container for at least 4 hours, until completely cold.
- Stir the melted dairy free chocolate with coconut oil, then toss in the chopped hazelnuts until coated. Spread the hazelnuts on parchment paper and refrigerate until crisp.
- Break the chocolate hazelnut crunch into small pieces once set.
- Churn the cold ice cream base in an ice cream maker until thick and creamy.
- Fold in the brownie pieces and half of the hazelnut crunch, then transfer the ice cream to a freezer-safe container.
- Scatter the remaining hazelnut crunch over the top, cover with parchment paper, and freeze for 4 hours.