I have always loved the mix of rich coffee and crunchy candy in frozen desserts.
Most store versions rely heavily on heavy cream, which can be tough on your stomach if you cannot eat milk products.
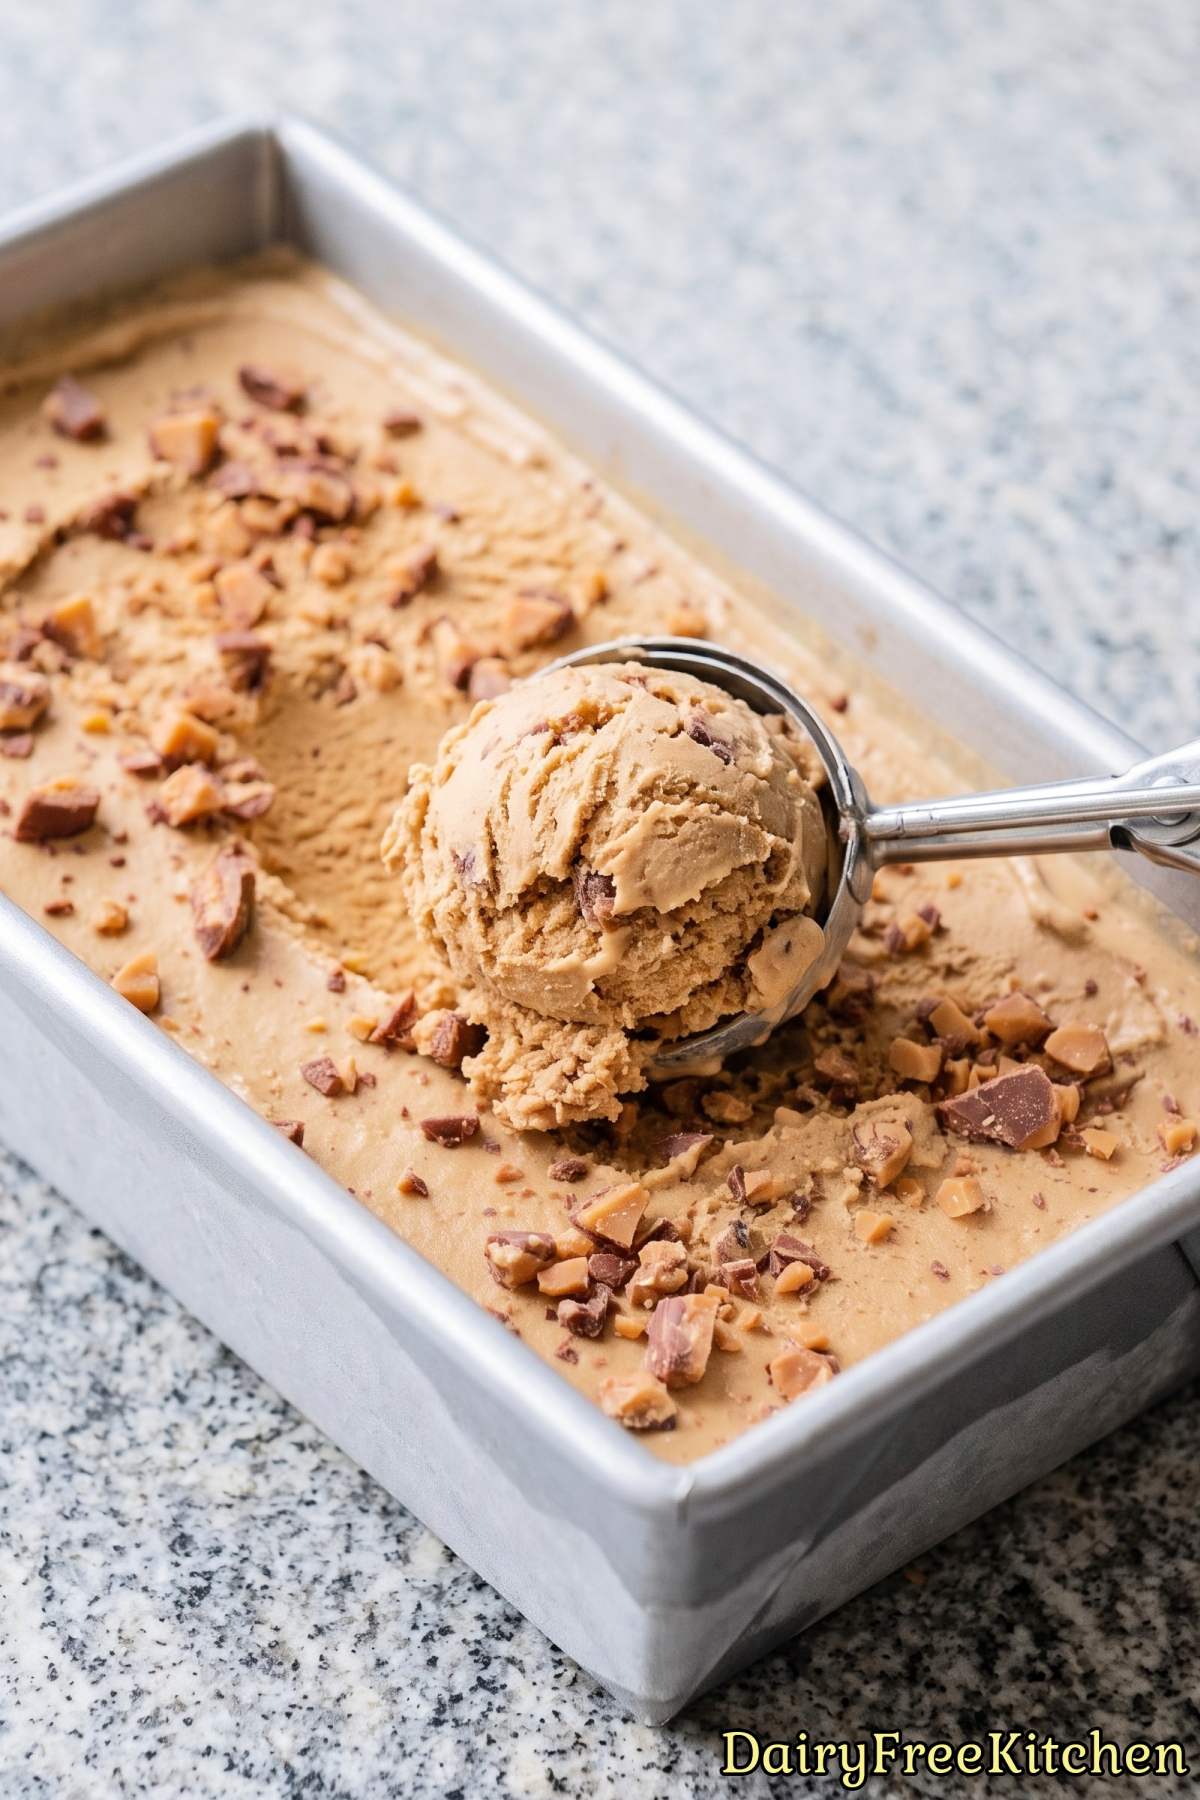
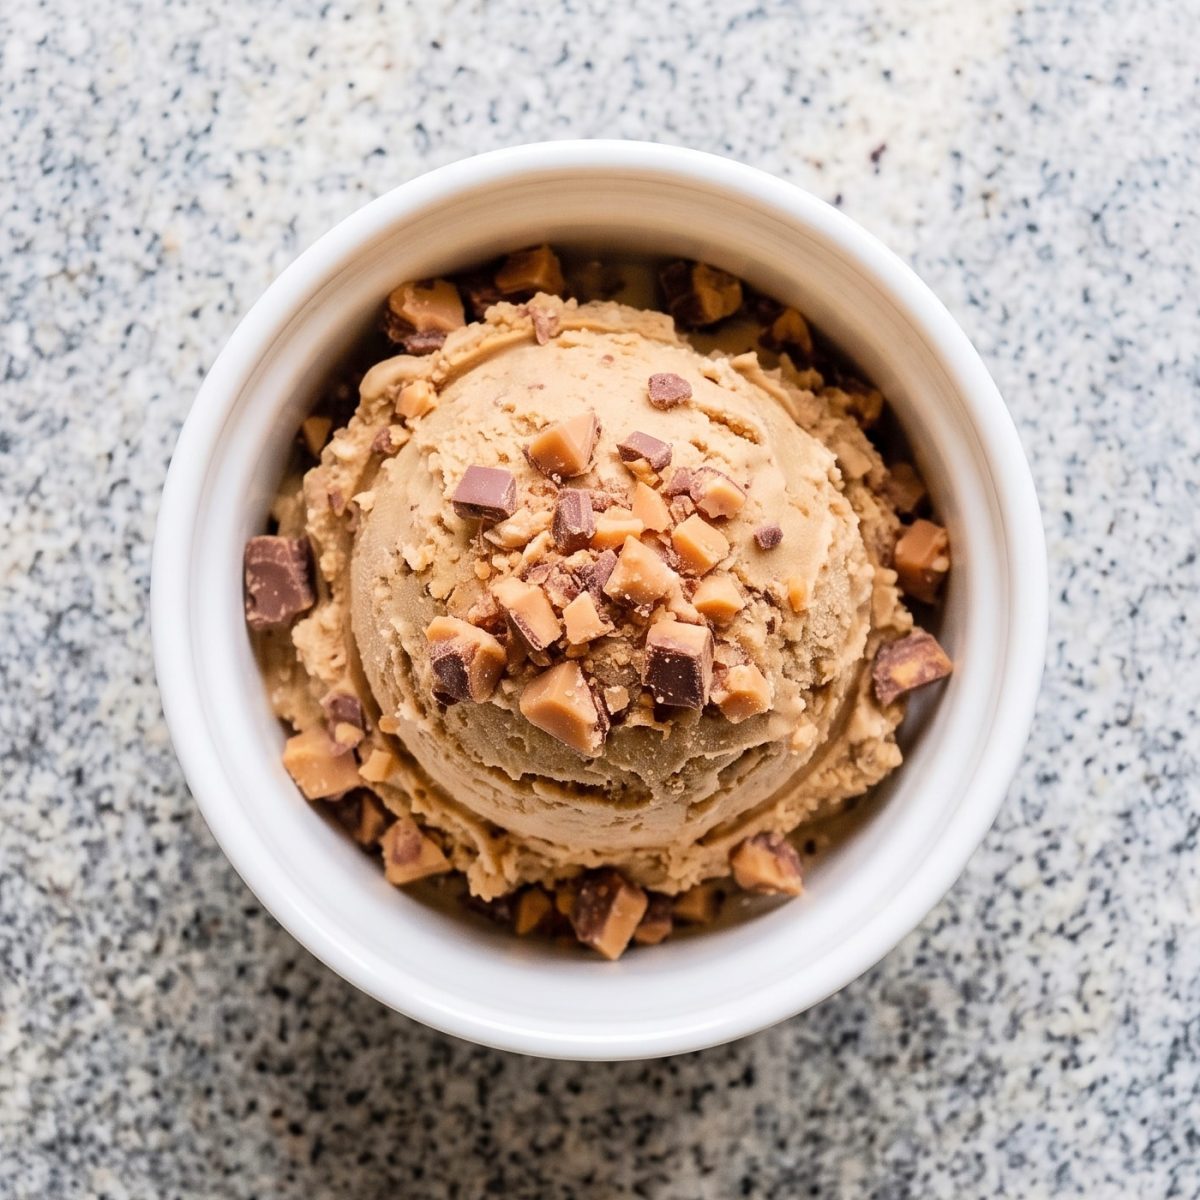
That is why I made this dairy free coffee toffee crunch ice cream right at home.
It gives you that bold espresso flavor paired with homemade chocolate toffee bits in every scoop.
You get all the smooth creaminess of classic ice cream without using any real dairy at all.
Why This Recipe Is a Keeper
Incredible Texture Contrast – Every smooth bite of ice cream is packed with crisp, crunchy homemade candy pieces that keep things exciting.
Real Coffee Flavor – Bold espresso powder gives this scoop an authentic cafe taste without being overly sweet or artificial.
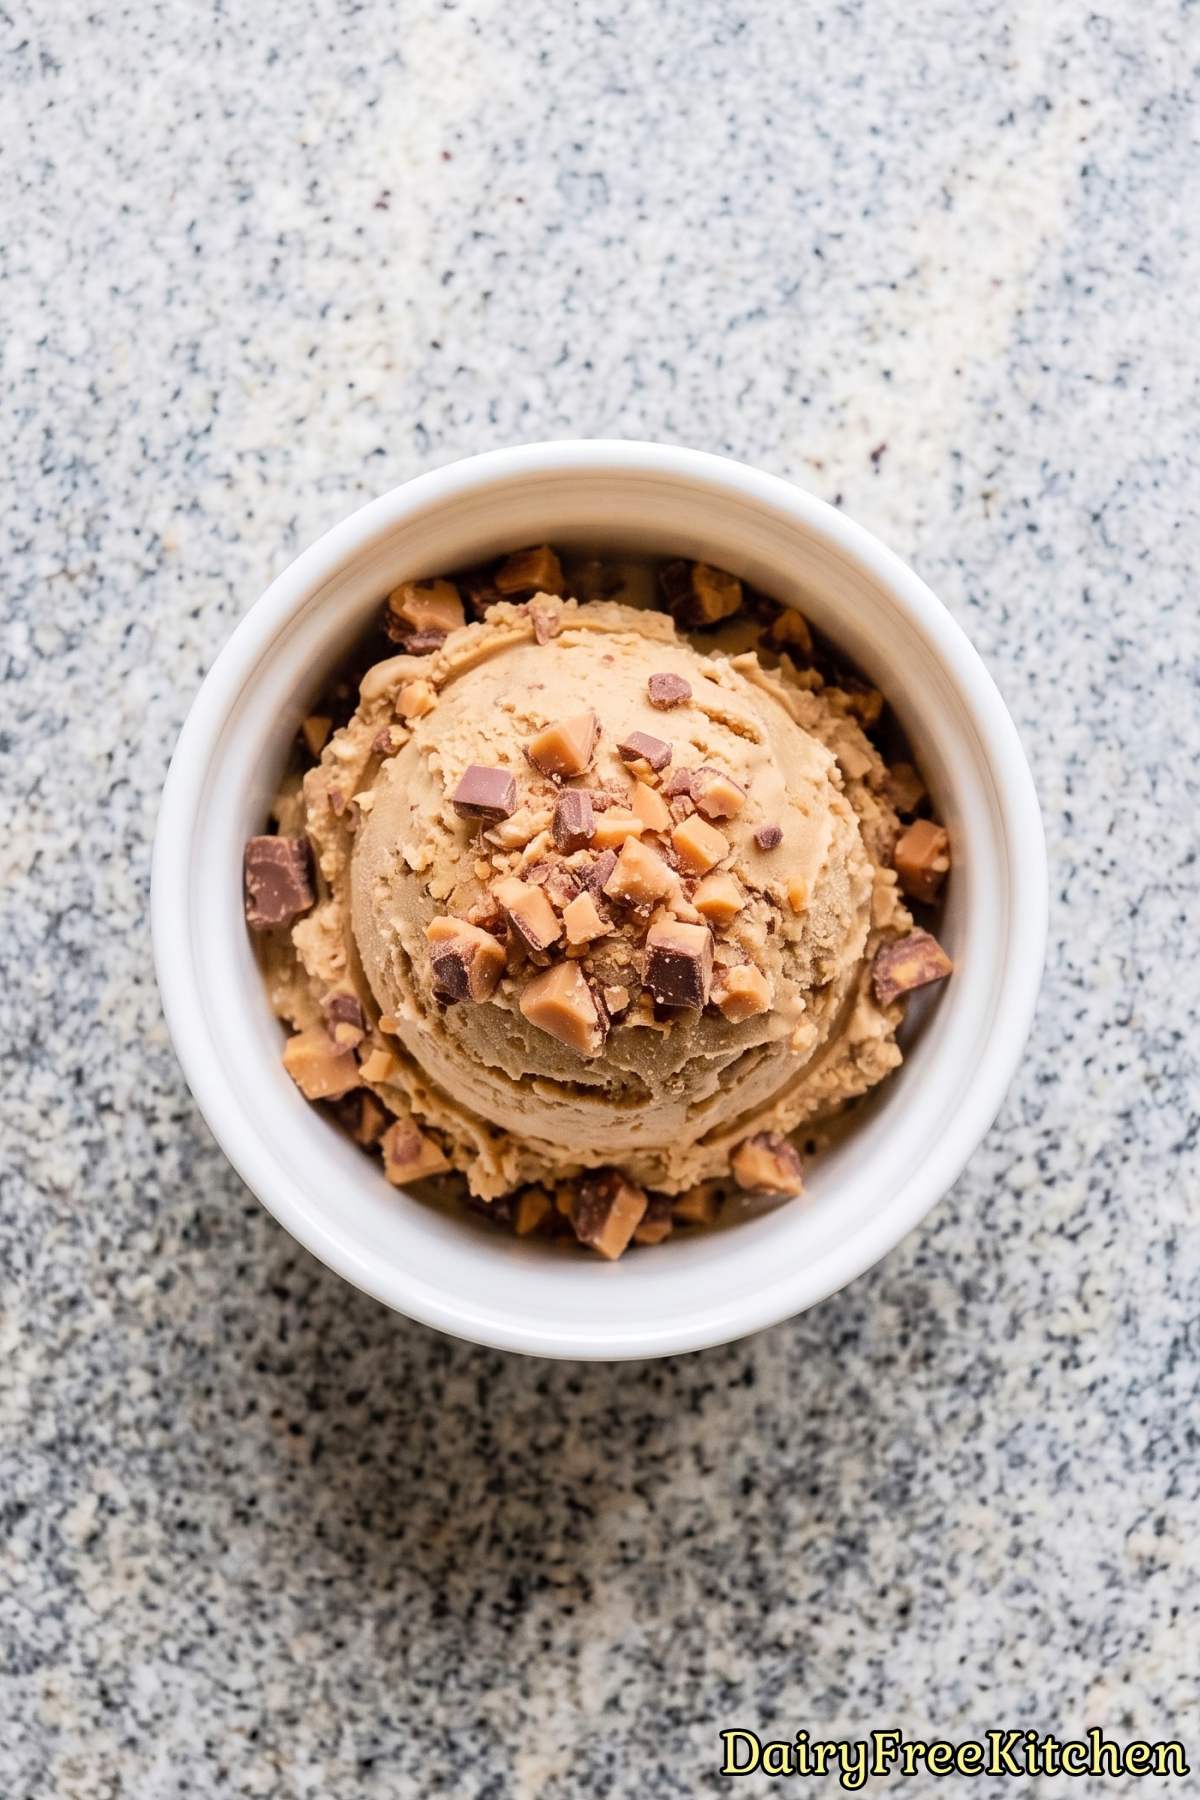
Ultra Rich and Creamy – Full-fat coconut milk and cornstarch combine to create a velvety treat that rivals traditional dairy ice cream.
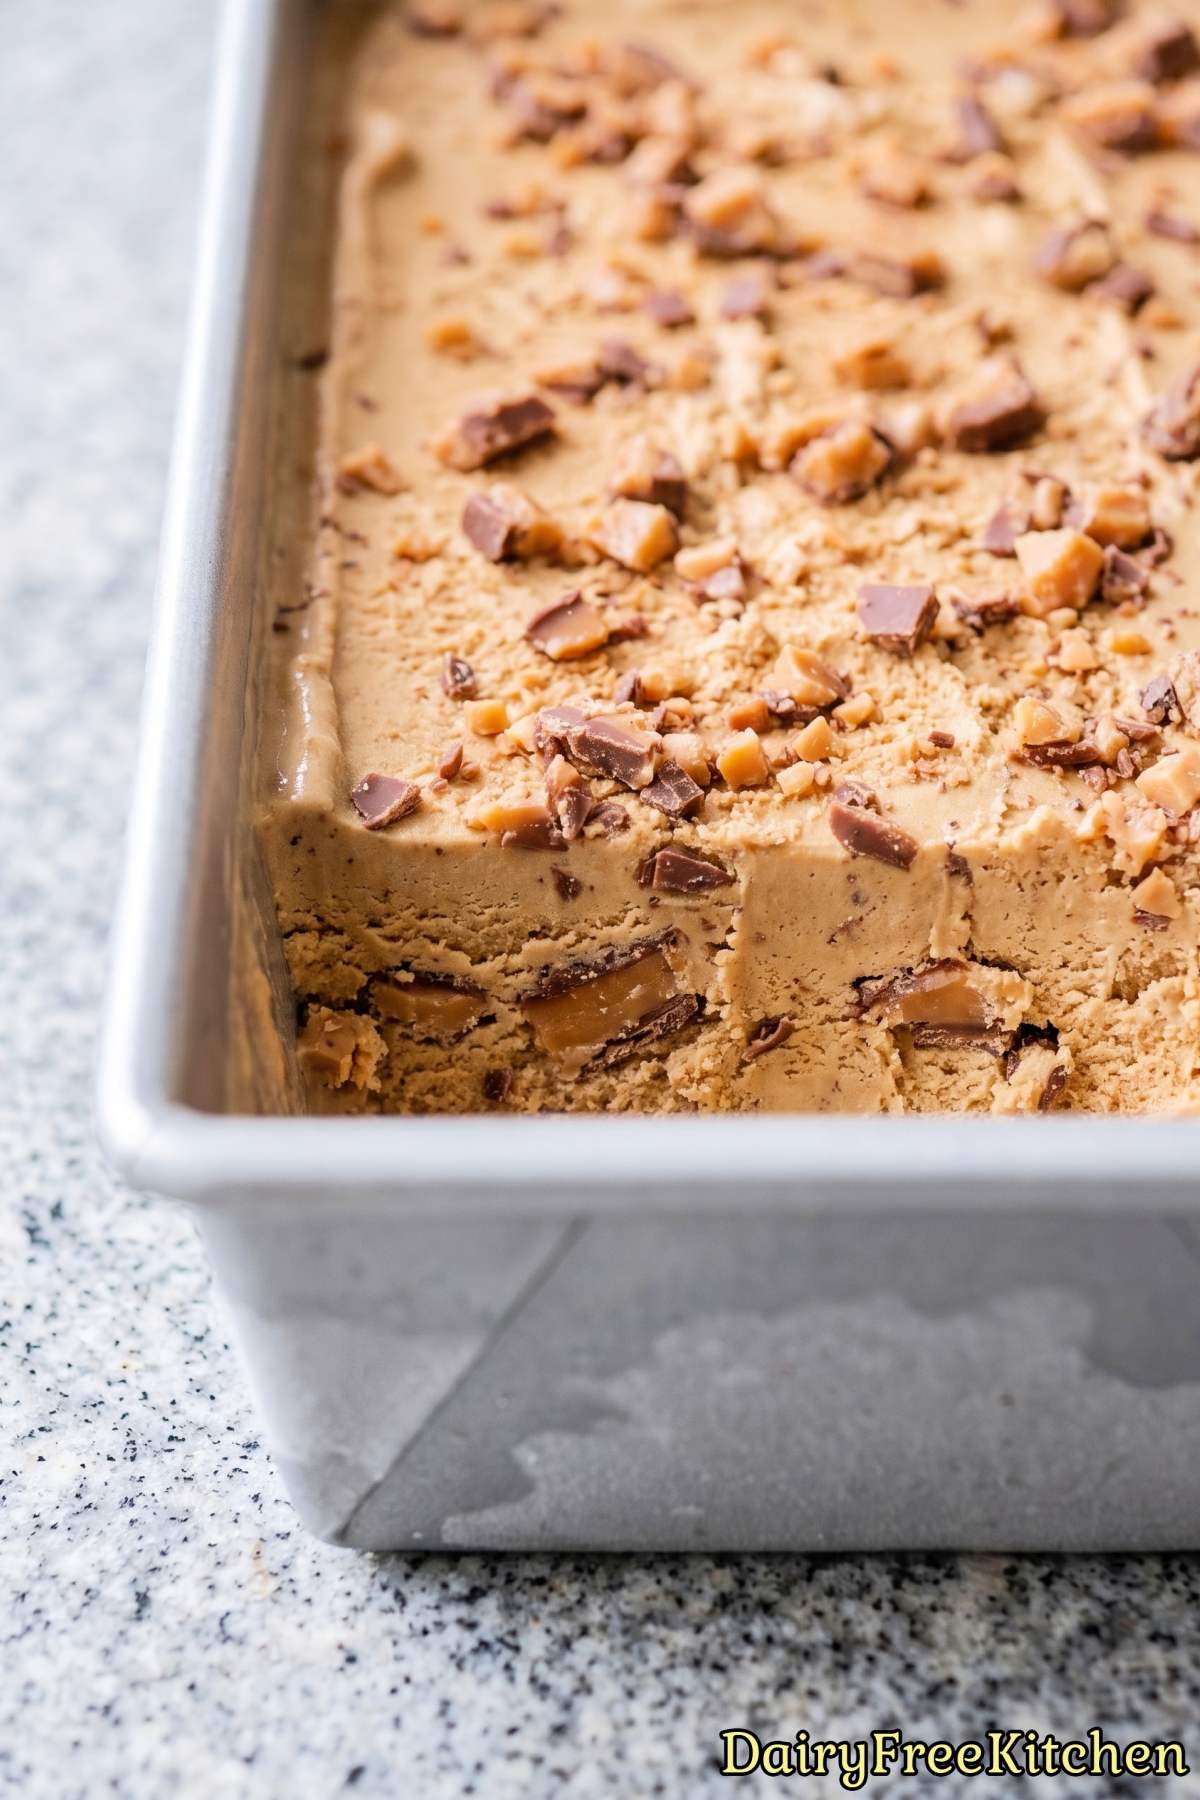
Chocolate Covered Goodness – Melting rich chocolate directly over warm toffee creates sweet layers that stay crisp inside every scoop.
Here’s What You’ll Need
For the Toffee
- 1/2 cup Dairy Free Butter (Stick Style)
- 1/2 cup Granulated Sugar
- 1 tbsp Light Corn Syrup
- 1 tbsp Water
- 1/4 tsp Salt
- 1/2 cup Dairy Free Chocolate Chips
For the Coffee Base
- 2 cans (13.5 oz each) Full-Fat Coconut Milk
- 1/2 cup Granulated Sugar
- 1/4 cup Packed Light Brown Sugar
- 2 tbsp Light Corn Syrup
- 2 tbsp Instant Espresso Powder
- 1 tbsp Cornstarch
- 1/4 tsp Salt
- 2 tsp Vanilla Extract
How to Make It
Step 1
Line a baking sheet with parchment paper. In a heavy saucepan over medium heat, melt the butter with the sugar, corn syrup, water, and salt, stirring until the sugar dissolves.
Keep cooking, stirring often, for 8 to 12 minutes, until the toffee turns deep amber and reaches 300°F on a candy thermometer. If the butter starts to separate, whisk vigorously until it comes back together, then pour the toffee onto the parchment and spread it thin.
Step 2
Scatter the chocolate chips over the hot toffee, wait 2 minutes for them to soften, then spread into an even layer. Let it cool until hard, refrigerate for 20 minutes to set the chocolate, then place it in a zip-top bag and tap with a rolling pin to break it into small bits.
Step 3
In a medium saucepan, whisk together the granulated sugar, brown sugar, espresso powder, cornstarch, and salt. Whisk in the coconut milk and corn syrup, then cook over medium heat, whisking constantly, for 5 to 7 minutes, until the base simmers and thickens slightly.
Step 4
Remove from the heat and stir in the vanilla. Pour into a bowl, press plastic wrap onto the surface, and refrigerate for at least 6 hours or overnight.
Step 5
Pour the chilled coffee base into an ice cream maker bowl that has been frozen for at least 24 hours. Churn for 20 to 25 minutes, until thick and creamy.
Step 6
Quickly fold about three quarters of the toffee bits into the churned ice cream, saving the rest for topping.
Step 7
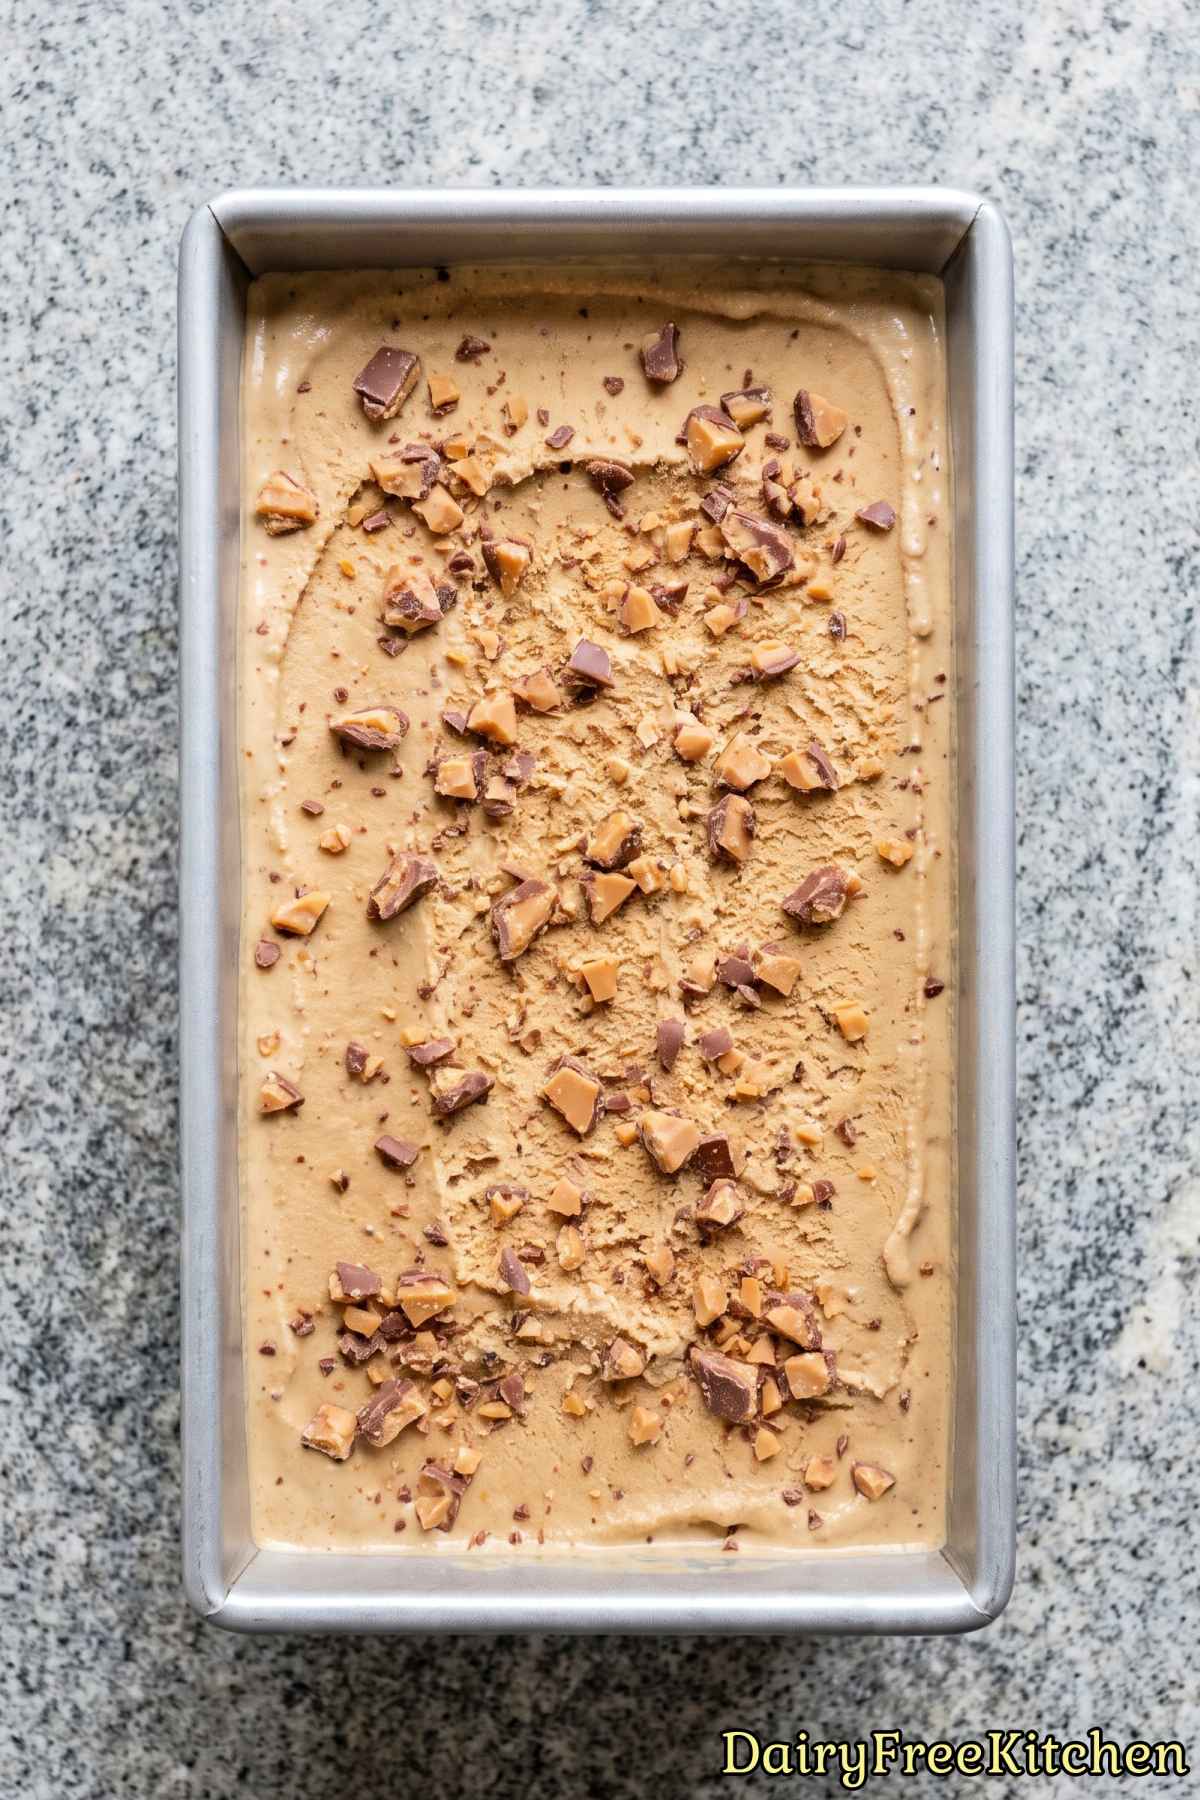
Spread into a 9×5-inch loaf pan, sprinkle with the remaining toffee, cover tightly, and freeze for 4 to 6 hours, until firm. Let sit at room temperature for 10 minutes before scooping.
Recipe Tips
Pick the Right Dairy-Free Butter
I recommend sticking to firm, block-style dairy-free butter rather than the kind sold in tubs.
Tub butters contain extra water and oil, which will cause your toffee to separate into a greasy puddle. Stick versions have the proper fat balance to hold the candy together as it cooks.
Save Separated Toffee With Warm Water
Plant-based butter can sometimes split when it gets close to 300 degrees. If you see a slick of clear oil floating on top, don’t worry.
From my experience, taking the pan off the heat and vigorously whisking in one teaspoon of warm water will quickly bring the candy back together.
Blend Your Coconut Milk First
Canned coconut milk usually separates into thick cream on top and thin liquid on the bottom. You’ll get the best results if you whisk or blend the cans completely smooth before measuring and cooking.
This step ensures the fat distributes evenly throughout the pot, giving your ice cream that rich, velvety texture instead of an icy bite.
What to Make Next
- Dairy Free Espresso Tiramisu
- Dairy Free Honeycomb Crunch Ice Cream
- Dairy Free Mocha Almond Fudge Ice Cream
- Dairy Free Salted Caramel Pretzel Ice Cream
- Dairy Free Sticky Toffee Pudding
Popular Questions
Can I use dairy-free butter from a tub instead of sticks?
Stick-style dairy-free butter is essential for making toffee because tub butter has a much higher water content. Extra water can keep your candy from hardening and will likely cause the mixture to separate.
Look for solid baking sticks with high fat content to ensure your toffee turns out crisp and buttery.

Dairy Free Coffee Toffee Crunch Ice Cream
Equipment
- candy thermometer
- ice cream maker
- loaf pan
Ingredients
- 1/2 cup Dairy Free Butter (Stick Style)
- 1/2 cup Granulated Sugar
- 1 tbsp Light Corn Syrup
- 1 tbsp Water
- 1/4 tsp Salt
- 1/2 cup Dairy Free Chocolate Chips
- 2 cans (13.5 oz each) Full-Fat Coconut Milk
- 1/2 cup Granulated Sugar
- 1/4 cup Packed Light Brown Sugar
- 2 tbsp Light Corn Syrup
- 2 tbsp Instant Espresso Powder
- 1 tbsp Cornstarch
- 1/4 tsp Salt
- 2 tsp Vanilla Extract
Instructions
- Line a baking sheet with parchment paper. In a heavy saucepan over medium heat, melt the butter with the sugar, corn syrup, water, and salt, stirring until the sugar dissolves. Keep cooking, stirring often, for 8 to 12 minutes, until the toffee turns deep amber and reaches 300°F on a candy thermometer. If the butter starts to separate, whisk vigorously until it comes back together, then pour the toffee onto the parchment and spread it thin.
- Scatter the chocolate chips over the hot toffee, wait 2 minutes for them to soften, then spread into an even layer. Let it cool until hard, refrigerate for 20 minutes to set the chocolate, then place it in a zip-top bag and tap with a rolling pin to break it into small bits.
- In a medium saucepan, whisk together the granulated sugar, brown sugar, espresso powder, cornstarch, and salt. Whisk in the coconut milk and corn syrup, then cook over medium heat, whisking constantly, for 5 to 7 minutes, until the base simmers and thickens slightly.
- Remove from the heat and stir in the vanilla. Pour into a bowl, press plastic wrap onto the surface, and refrigerate for at least 6 hours or overnight.
- Pour the chilled coffee base into an ice cream maker bowl that has been frozen for at least 24 hours. Churn for 20 to 25 minutes, until thick and creamy.
- Quickly fold about three quarters of the toffee bits into the churned ice cream, saving the rest for topping.
- Spread into a 9x5-inch loaf pan, sprinkle with the remaining toffee, cover tightly, and freeze for 4 to 6 hours, until firm. Let sit at room temperature for 10 minutes before scooping.