Pineapple upside down cake has always been one of my favorite classic desserts. It looks pretty on the table, and the caramelized fruit on top is hard to resist.
When I started baking without dairy, I was worried this cake would lose its soft texture. Traditional recipes usually depend on regular butter and milk to stay moist.
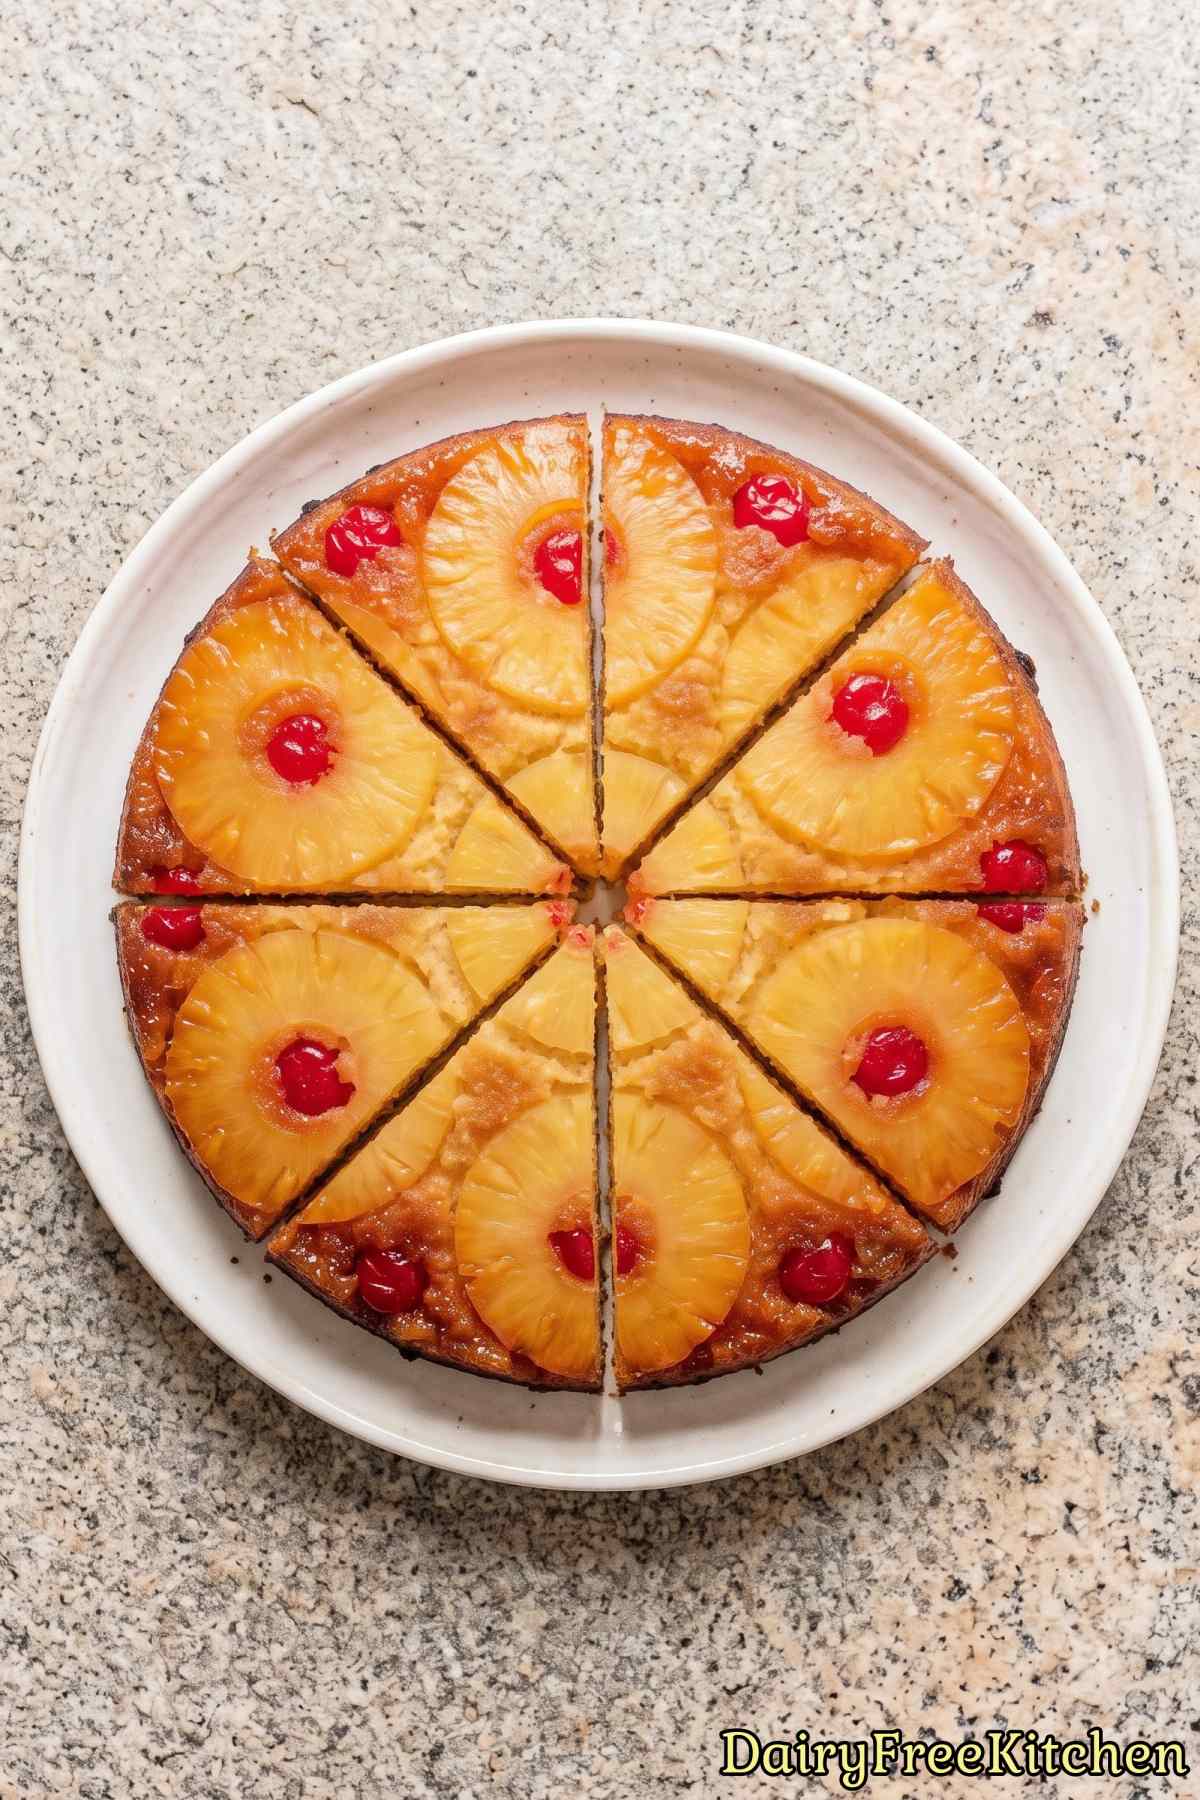
Luckily, this dairy free pineapple upside down cake turns out just as tender and fluffy as the original version. You really do not miss the dairy at all.
The sweet fruit and brown sugar create a rich topping that melts right into the sponge while it bakes. It is such a comforting treat to share with family and friends.
If you are looking for an easy dessert that fits a dairy free lifestyle, you are going to love this one. Let me show you how simple it is to put together.
Why This Recipe Is a Keeper
Incredible Moisture – Coconut milk and reserved pineapple juice keep every single bite wonderfully soft, tender, and rich.
Sweet Caramelized Fruit – Baking the pineapples under brown sugar creates a rich, sticky glaze that melts in your mouth.
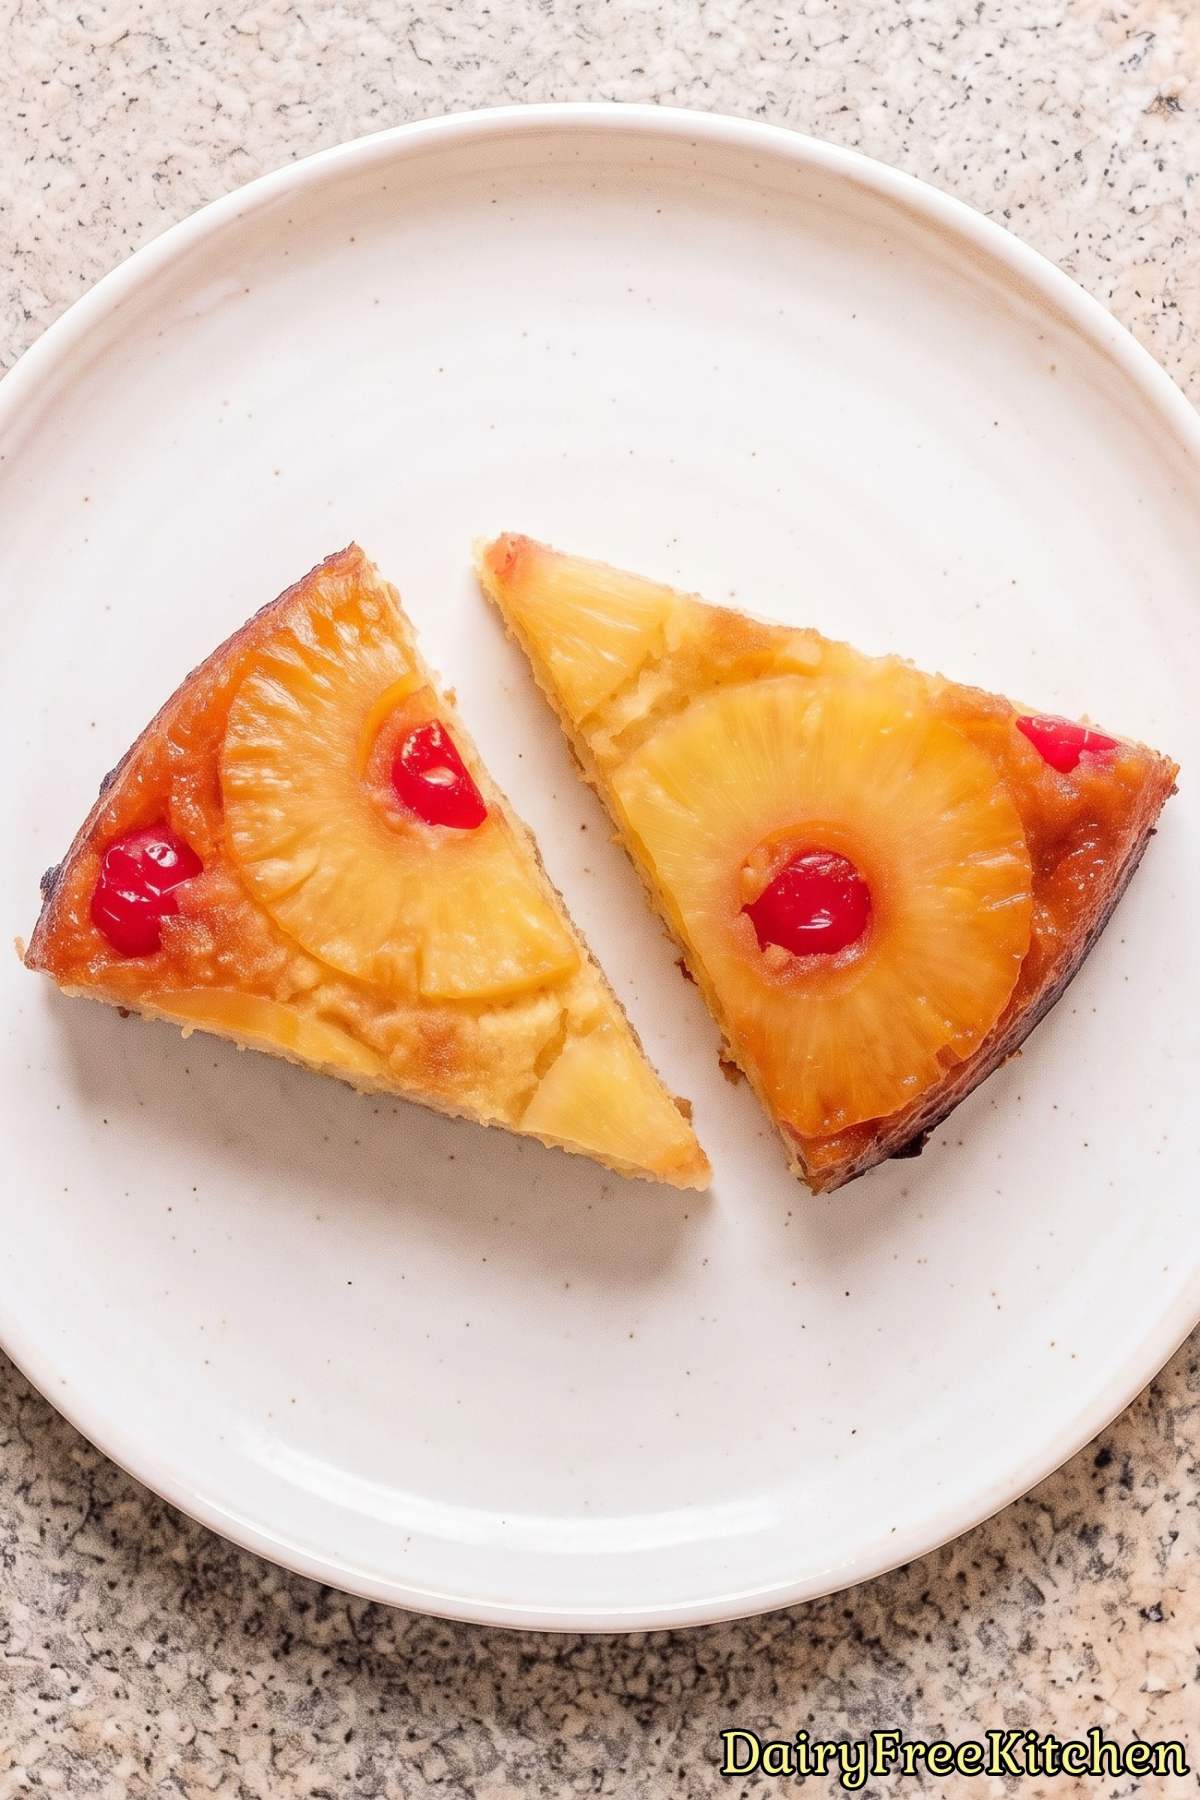
Zero Dairy Needed – You get all the classic bakery richness without using any regular butter or cow milk.
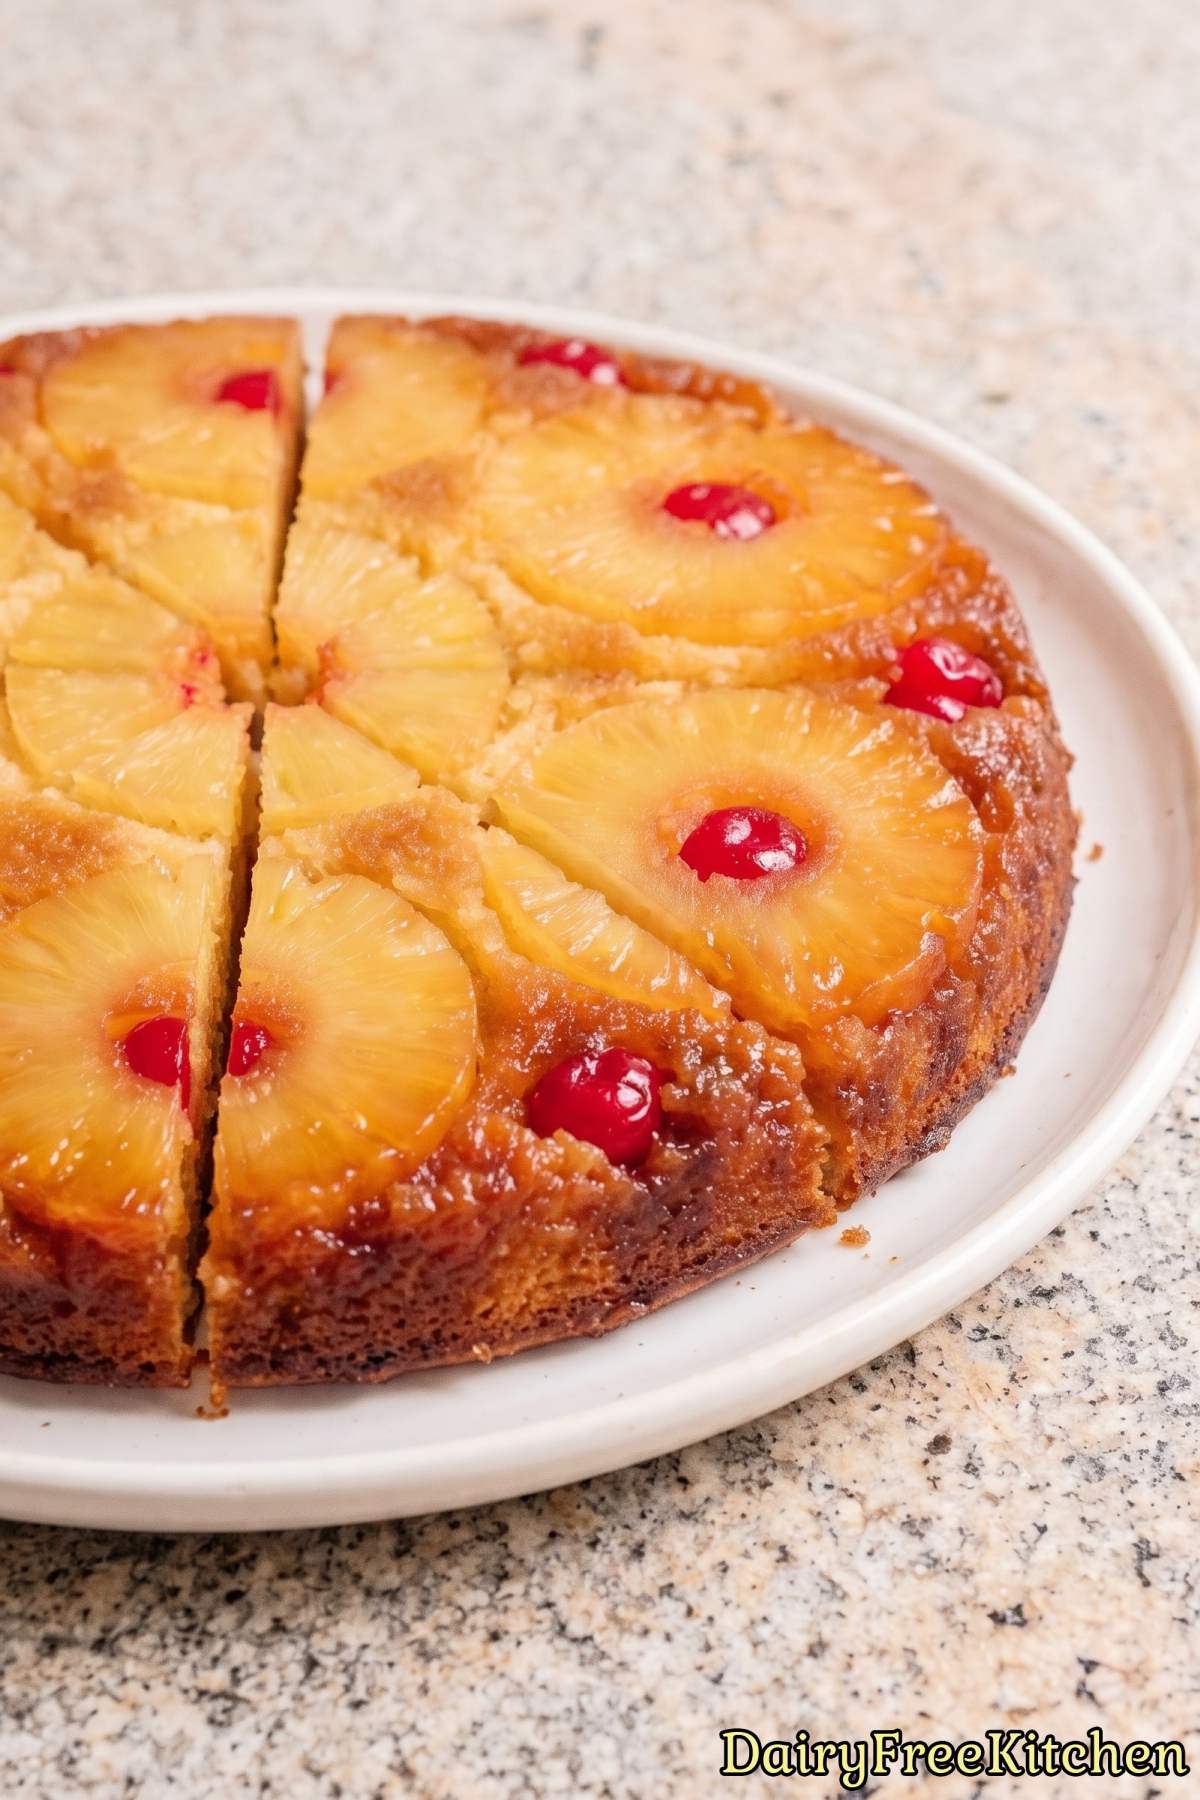
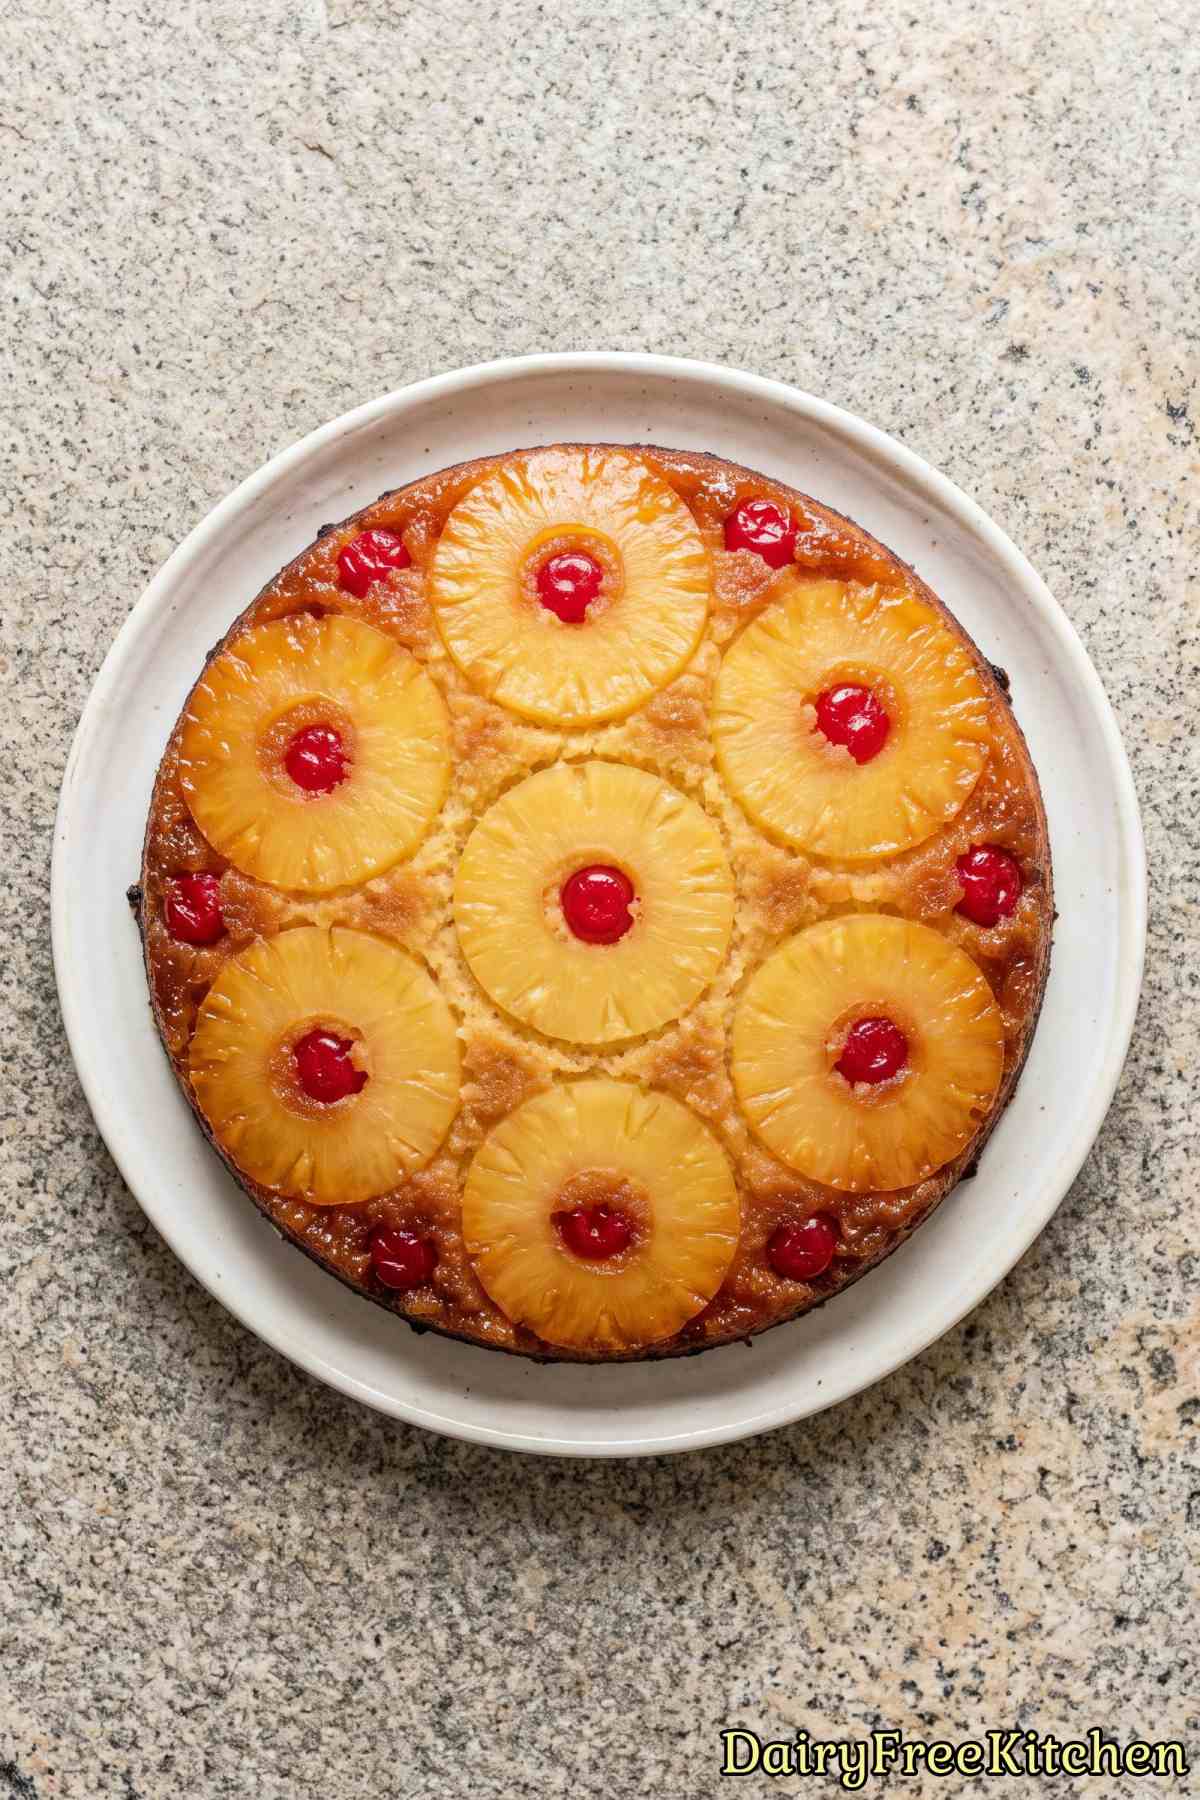
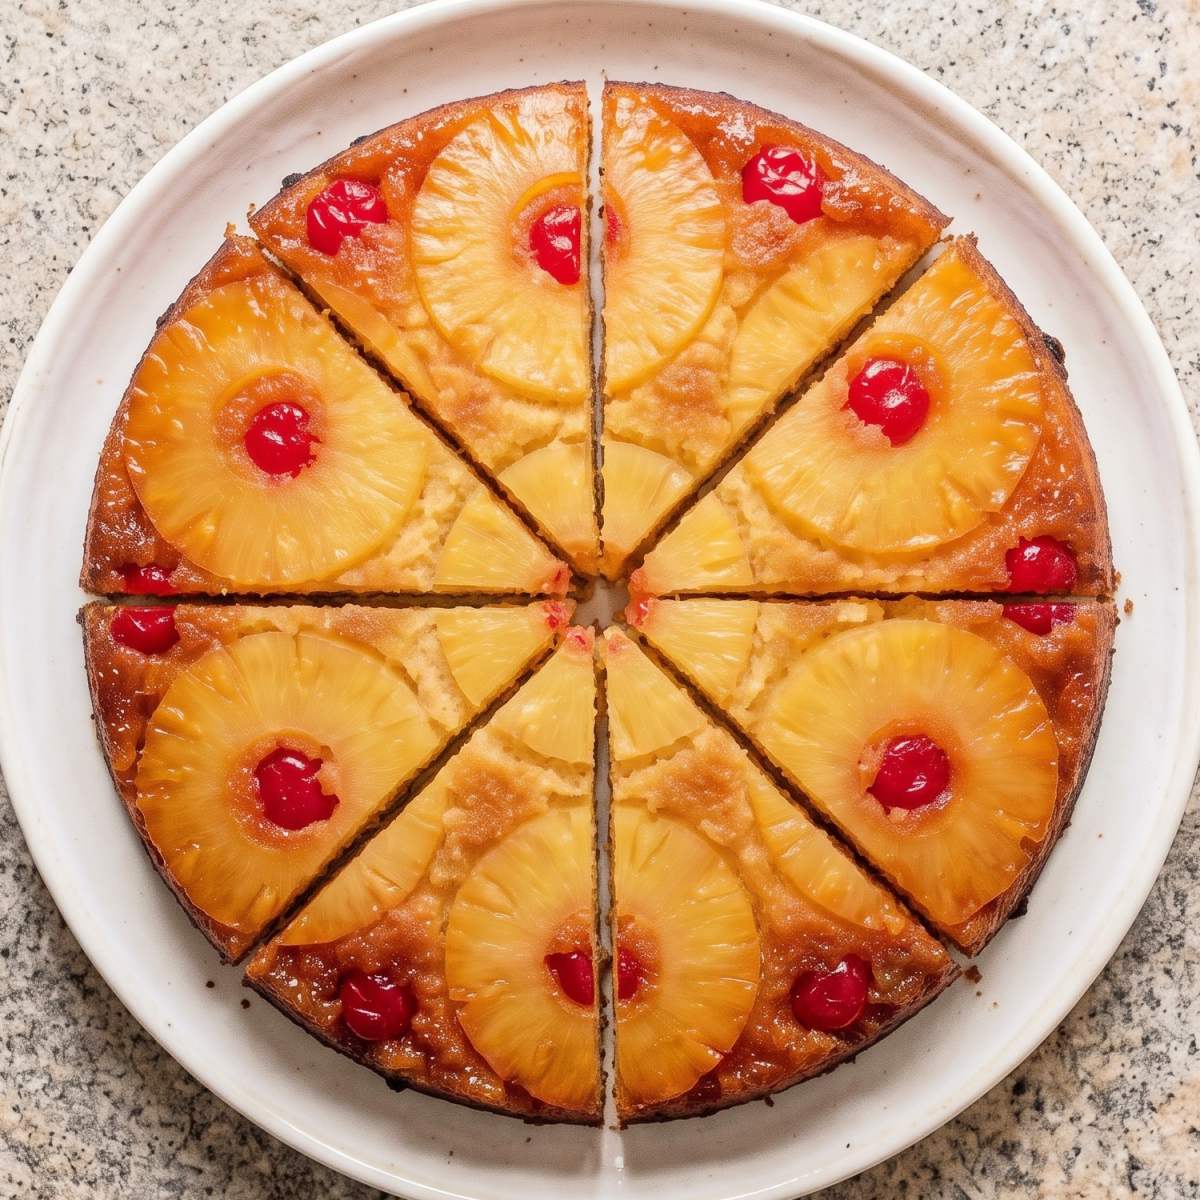
Stunning Centerpiece – Flipping the pan reveals a bright, gorgeous pattern of fruit and cherries that looks bakery fresh.
Here’s What You’ll Need
For the Topping
- 1/4 cup Dairy Free Butter, Melted
- 2/3 cup Packed Light Brown Sugar
- 1 can (20 oz) Pineapple Rings, Drained & Juice Reserved
- 10 Maraschino Cherries
For the Cake
- 1 1/2 cups All Purpose Flour
- 1 1/2 tsp Baking Powder
- 1/4 tsp Baking Soda
- 1/4 tsp Salt
- 1/2 cup Dairy Free Butter, Softened
- 3/4 cup Granulated Sugar
- 2 Large Eggs, Room Temperature
- 2 tsp Vanilla Extract
- 1/2 cup Reserved Pineapple Juice
- 1/4 cup Full Fat Canned Coconut Milk, Room Temperature
How to Make It
Step 1
Preheat the oven to 350°F and grease the sides of a 9-inch round cake pan that is at least 2 inches deep. Pour the melted butter into the bottom of the pan and sprinkle the brown sugar evenly over it.
Step 2
Pat the pineapple rings dry and arrange them in a single layer over the brown sugar. Place a cherry in the center of each ring and in any gaps between them.
Step 3
In a medium bowl, whisk together the flour, baking powder, baking soda, and salt.
Step 4
In a large bowl, beat the butter and sugar on medium-high speed for 3 minutes until fluffy. Add the eggs one at a time, then beat in the vanilla.
Step 5
Stir the reserved pineapple juice and coconut milk together. With the mixer on low, add the flour mixture in three additions, alternating with the juice mixture, then spoon the batter over the fruit and spread it gently.
Step 6
Bake for 38 to 45 minutes, until golden and a toothpick inserted in the center comes out clean.
Step 7
Cool the cake in the pan for 10 minutes, then run a thin spatula around the edge. Place a serving plate on top and carefully flip the cake over.
Lift the pan away and press any fruit that sticks back into place. Let the cake cool for 20 minutes before slicing.
Recipe Tips
Choose the Right Cake Pan
You’ll get the best results if you bake this in a standard, solid cake pan instead of a springform pan.
The melted dairy-free butter and brown sugar turn into a thin, bubbly syrup while baking. A springform pan will leak that syrup right onto the bottom of your oven.
I also recommend using a pan with walls that are at least two inches tall so the batter does not rise over the rim.
Dry the Fruit Thoroughly
From my experience, wet fruit is the number one cause of a soggy, gummy cake topping.
Place your pineapple rings and cherries between a few layers of paper towels and press down firmly to soak up all the extra moisture.
Getting the surface dry helps the fruit brown nicely in the sugar rather than boiling in excess liquid.
Use Stick Dairy-Free Butter
You’ll get the best texture if you use stick-style dairy-free butter instead of the kind that comes in a spreadable tub.
Tub butters contain extra water and oil, which can cause the caramel topping to separate and make the cake crumb too dense.
Baking sticks cream together with the sugar much better, giving your cake the light and fluffy lift it needs.
What to Make Next
- Dairy Free Coconut Key Lime Pie
- Dairy Free Hummingbird Cake
- Dairy Free No Churn Vanilla Bean Ice Cream
- Dairy Free Pineapple Upside Down Cake Ice Cream
- Dairy Free Strawberry Shortcake
Popular Questions
Can I use a springform pan for this recipe?
It is best to avoid springform pans because the melted butter and brown sugar topping will leak right through the bottom seal while baking.
Stick with a standard, solid cake pan that is at least two inches deep so the sweet syrup stays inside and caramelizes properly.

Dairy Free Pineapple Upside Down Cake
Equipment
- 9-inch round cake pan
- electric mixer
Ingredients
- 1/4 cup Dairy Free Butter, Melted
- 2/3 cup Packed Light Brown Sugar
- 1 can (20 oz) Pineapple Rings, Drained & Juice Reserved
- 10 Maraschino Cherries
- 1 1/2 cups All Purpose Flour
- 1 1/2 tsp Baking Powder
- 1/4 tsp Baking Soda
- 1/4 tsp Salt
- 1/2 cup Dairy Free Butter, Softened
- 3/4 cup Granulated Sugar
- 2 Large Eggs, Room Temperature
- 2 tsp Vanilla Extract
- 1/2 cup Reserved Pineapple Juice
- 1/4 cup Full Fat Canned Coconut Milk, Room Temperature
Instructions
- Preheat the oven to 350°F and grease the sides of a 9-inch round cake pan that is at least 2 inches deep. Pour the melted butter into the bottom of the pan and sprinkle the brown sugar evenly over it.
- Pat the pineapple rings dry and arrange them in a single layer over the brown sugar. Place a cherry in the center of each ring and in any gaps between them.
- In a medium bowl, whisk together the flour, baking powder, baking soda, and salt.
- In a large bowl, beat the butter and sugar on medium-high speed for 3 minutes until fluffy. Add the eggs one at a time, then beat in the vanilla.
- Stir the reserved pineapple juice and coconut milk together. With the mixer on low, add the flour mixture in three additions, alternating with the juice mixture, then spoon the batter over the fruit and spread it gently.
- Bake for 38 to 45 minutes, until golden and a toothpick inserted in the center comes out clean.
- Cool the cake in the pan for 10 minutes, then run a thin spatula around the edge. Place a serving plate on top and carefully flip the cake over. Lift the pan away and press any fruit that sticks back into place. Let the cake cool for 20 minutes before slicing.