Oatmeal cream pies were always one of my favorite treats to grab from the store when I was growing up.
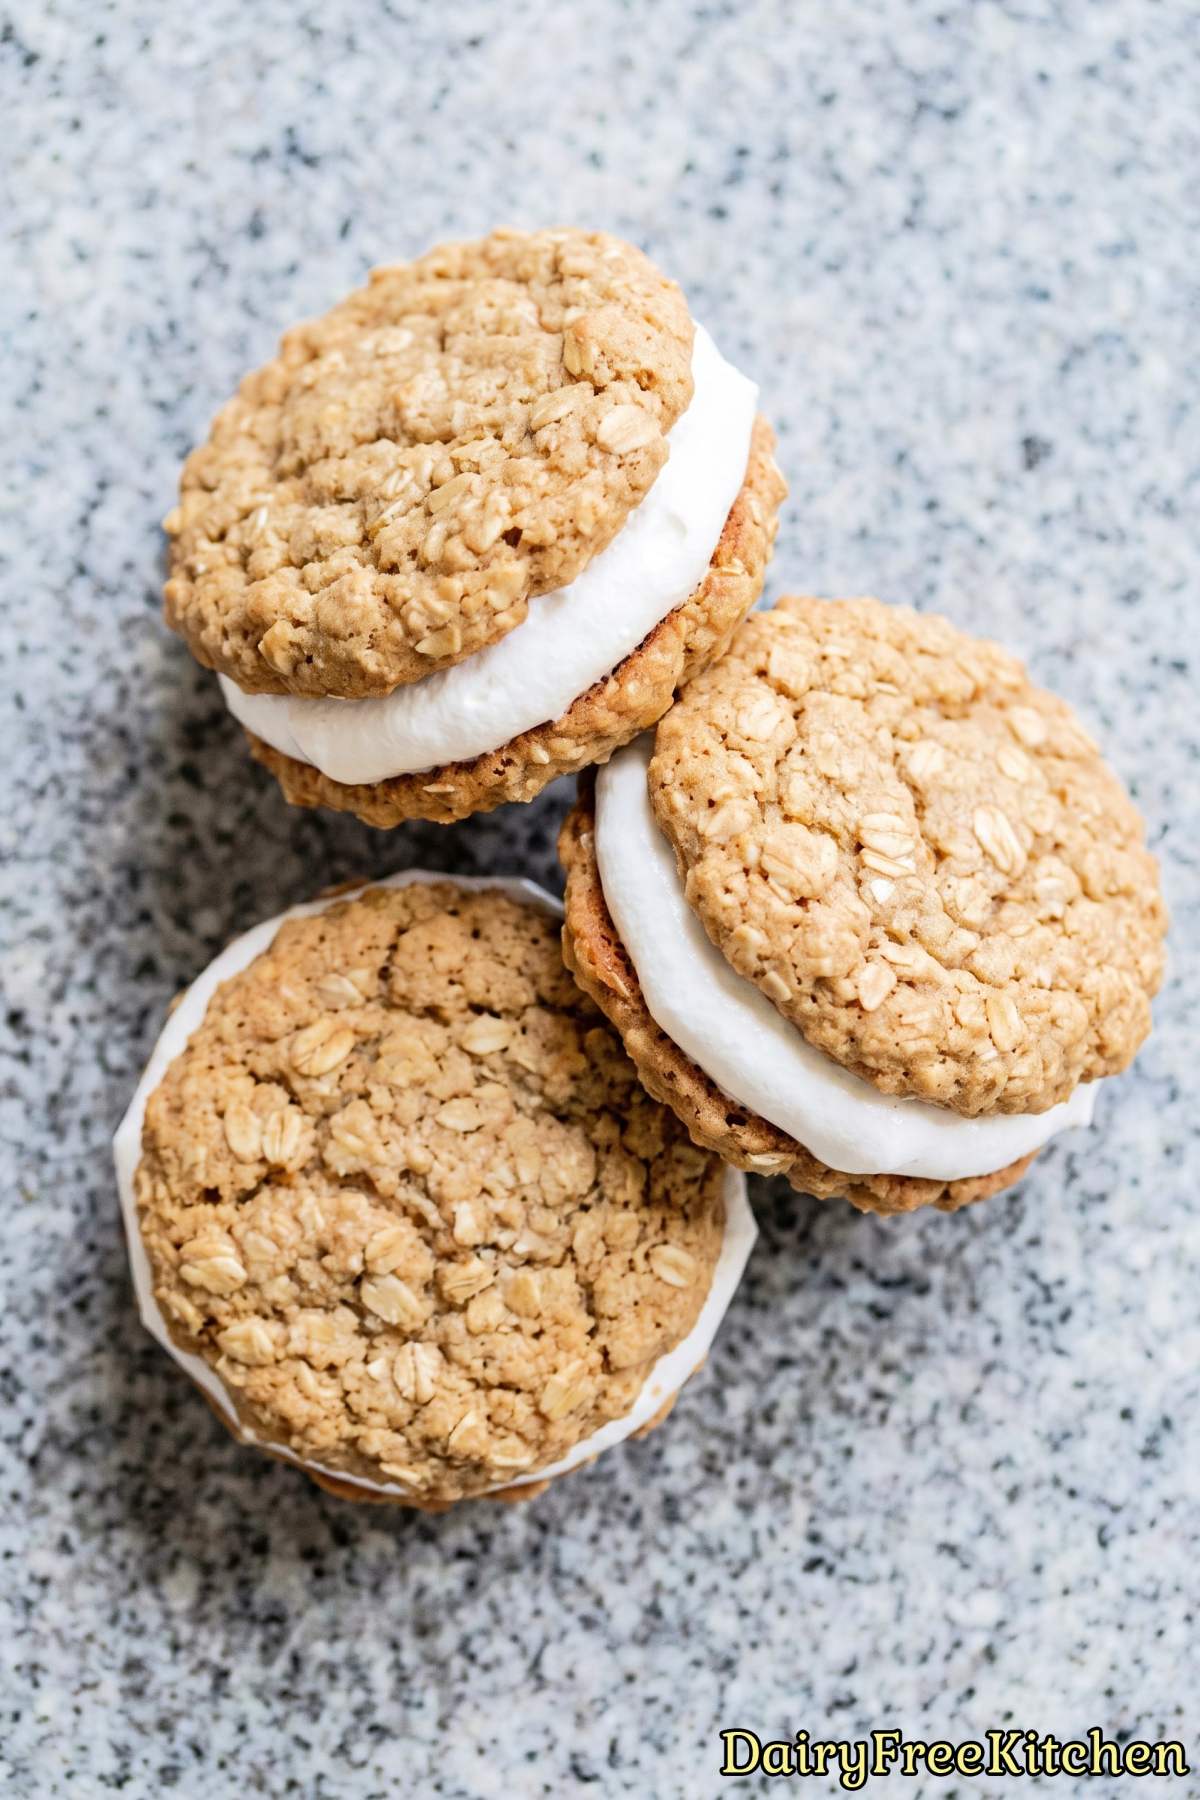
I wanted to make a homemade version that fits my current routine, so I came up with these dairy free protein oatmeal cream pies.
A lot of people avoid dairy because it upsets their stomach or makes them feel sluggish, so keeping this recipe completely dairy free makes it much easier to digest.
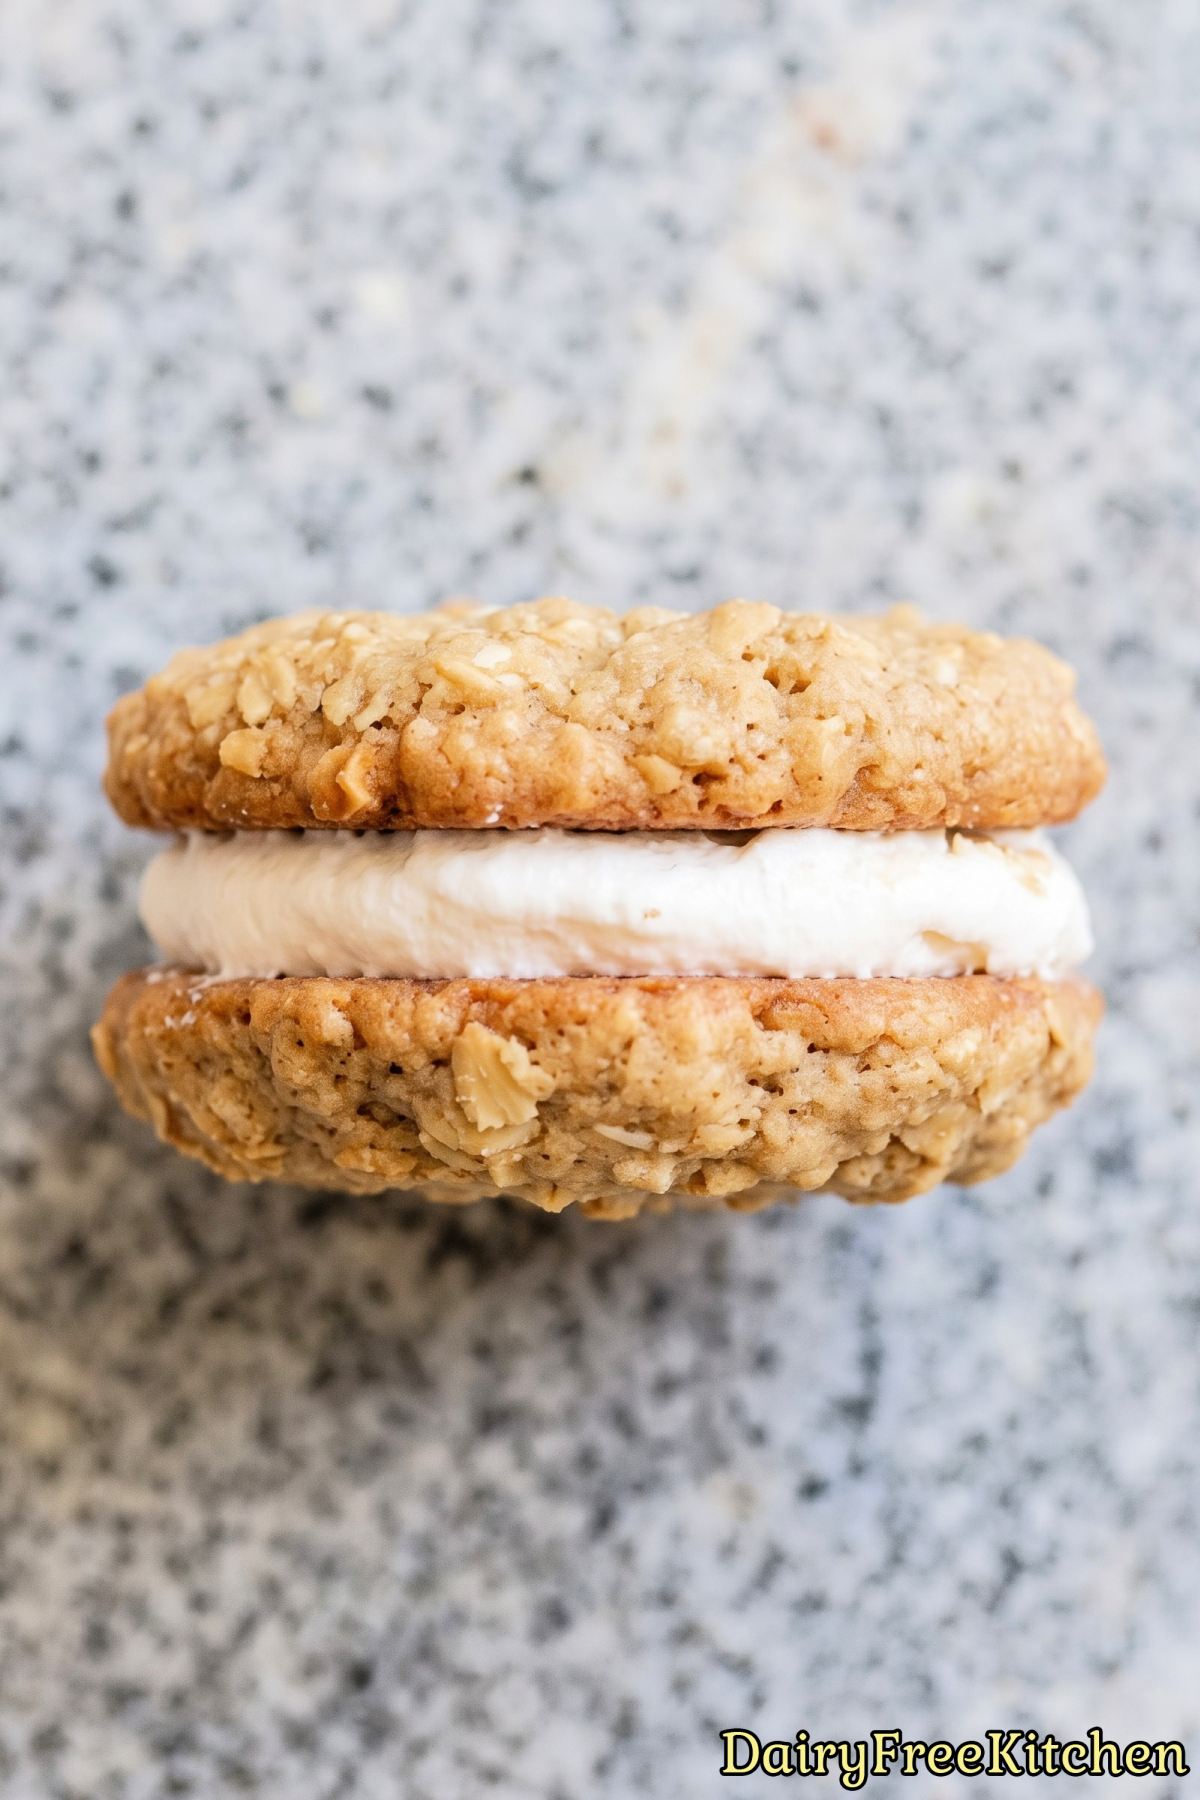
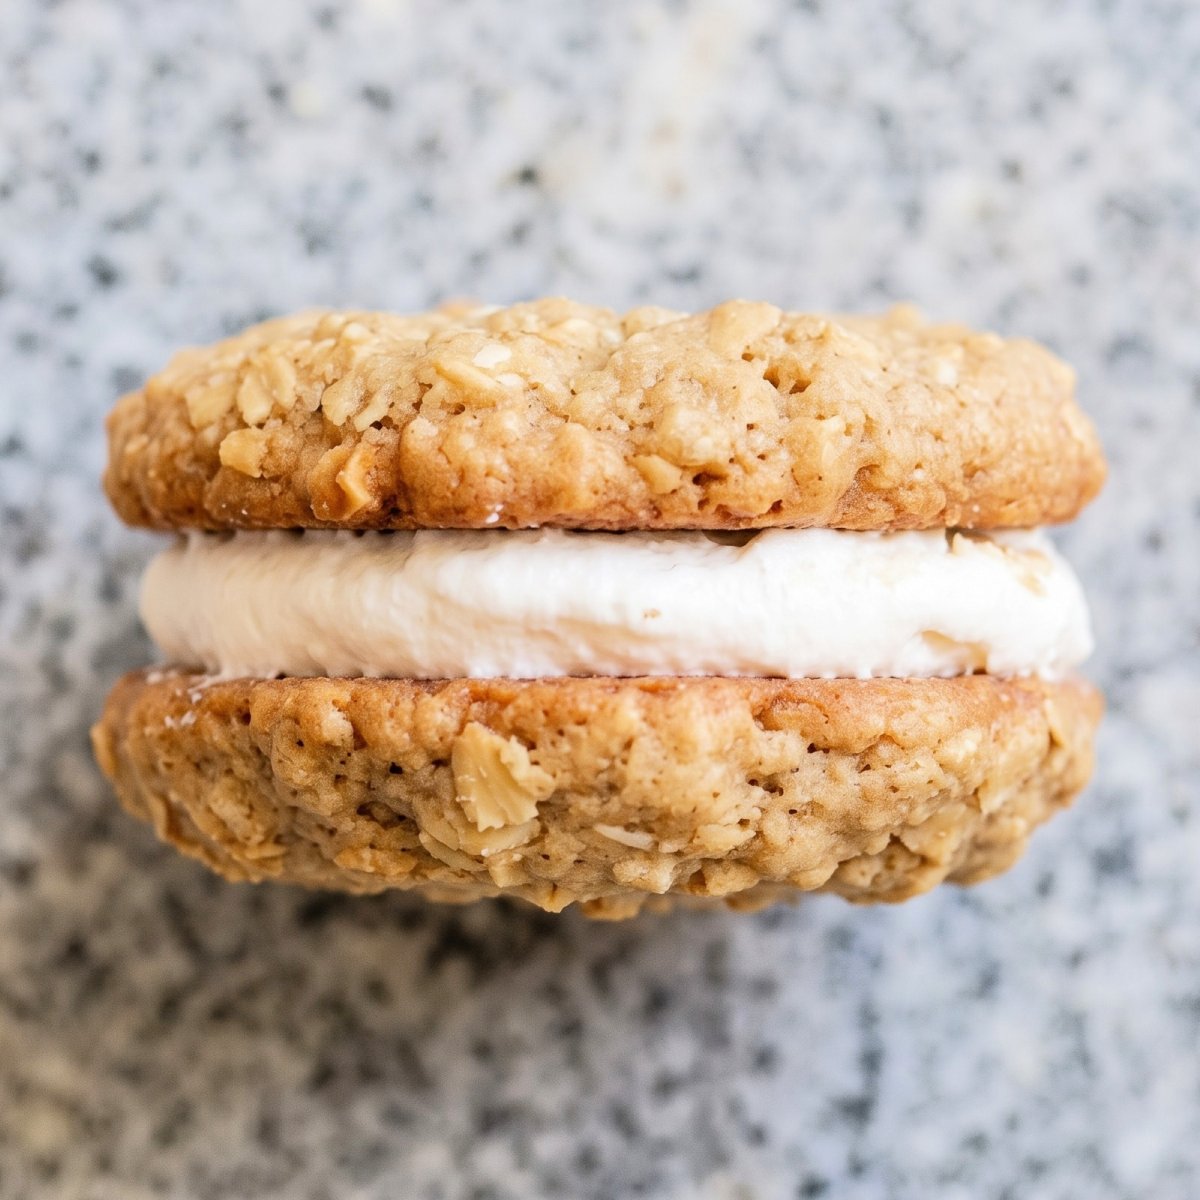
The cookies bake up remarkably soft, and the fluffy marshmallow filling gives you that classic sweet flavor in every bite.
You also get a nice boost of protein with each sandwich, which makes them much more filling than regular cookies.
Why This Recipe Is a Keeper
Nostalgic Childhood Flavor – They taste just like the classic bakery treats you loved as a kid, but completely dairy free.
Sneaky Protein Boost – You get extra muscle-building nutrition hidden directly inside both the cookies and the fluffy cream.
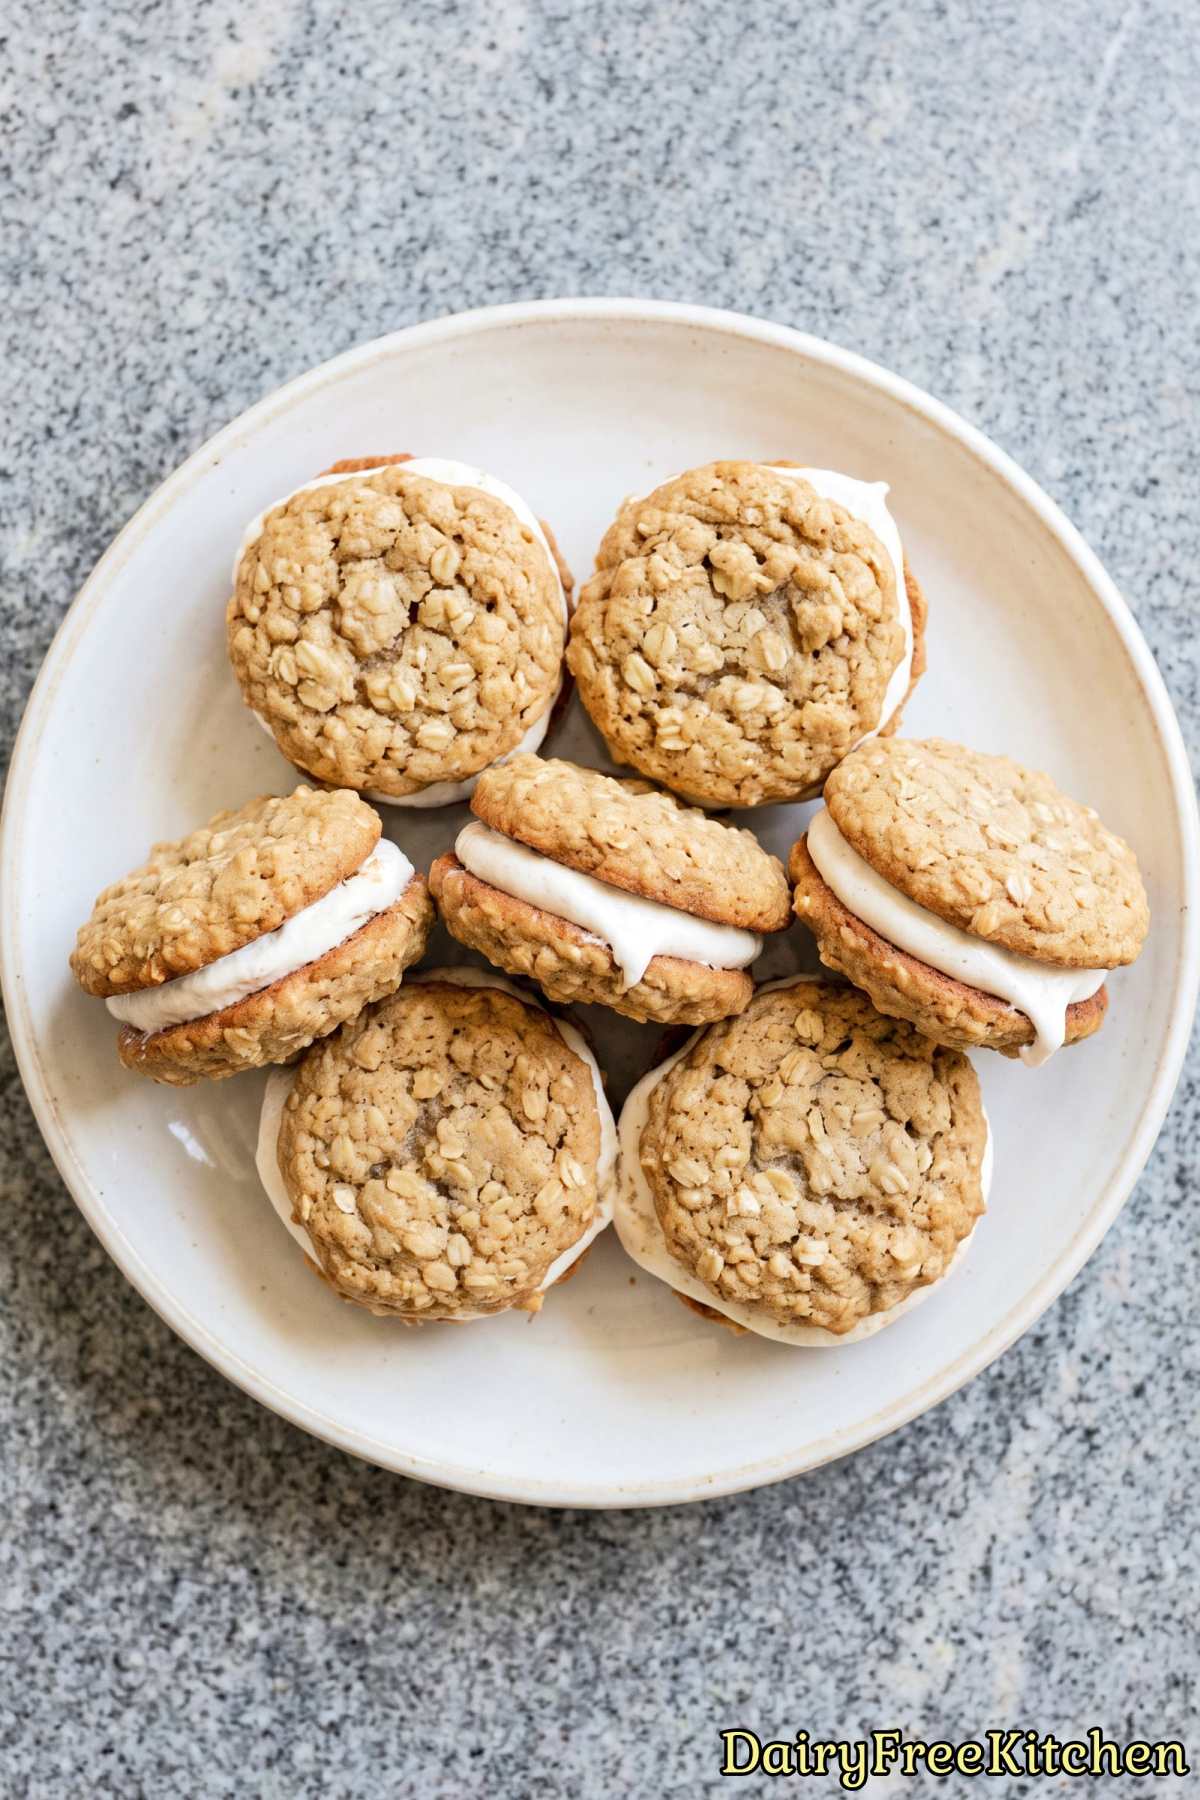
Irresistibly Soft Texture – The warm spiced oat cookies stay delightfully chewy and melt effortlessly in your mouth every single time.
Dreamy Marshmallow Center – The dairy free filling is sweet, incredibly light, and has the perfect airy whipped texture.
Here’s What You’ll Need
For the Cookies
- 1/2 cup Dairy Free Butter, Softened
- 2/3 cup Packed Dark Brown Sugar
- 1 tbsp Molasses
- 1 Large Egg, Room Temperature
- 1 tsp Vanilla Extract
- 1 cup Quick Oats
- 2/3 cup All Purpose Flour
- 1/3 cup Dairy Free Vanilla Protein Powder
- 1/2 tsp Baking Soda
- 1/2 tsp Ground Cinnamon
- 1/4 tsp Salt
For the Cream Filling
- 1/4 cup Dairy Free Butter, Softened
- 1/2 cup Powdered Sugar
- 1/4 cup Dairy Free Vanilla Protein Powder
- 1 tsp Vanilla Extract
- 3/4 cup Marshmallow Creme
How to Make It
Step 1
Preheat the oven to 350°F and line two baking sheets with parchment paper.
Step 2
Beat the butter, brown sugar and molasses on medium speed until fluffy, about 2 minutes. Beat in the egg and vanilla until smooth.
Step 3
In a separate bowl, whisk the oats, flour, protein powder, baking soda, cinnamon and salt. Add to the wet mixture and mix on low just until no dry streaks remain, then chill the dough for 15 minutes.
Step 4
Scoop heaping tablespoons of dough onto the baking sheets, 2 inches apart, for about 24 cookies, and flatten each one slightly with your palm. Bake for 8 to 10 minutes, until the edges are set but the centers still look slightly underdone.
Pulling them early is the secret to that soft, melt-in-your-mouth texture. Let them cool on the sheets for 5 minutes, then transfer to a rack to cool completely.
Step 5
For the filling, beat the butter until creamy, then add the powdered sugar, protein powder and vanilla and beat until smooth. Add the marshmallow creme and beat for 1 to 2 minutes, until light and fluffy.
Step 6
Match the cookies into pairs of similar size. Spread or pipe a generous tablespoon of filling onto the flat side of half the cookies, then press the remaining cookies on top.
Chill for 20 minutes to set the filling, then store in an airtight container for up to 4 days.
Recipe Tips
Pick Stick Butter Over Tub Margarine
I’ve found that dairy-free stick butter gives you much better results than the spreadable butter sold in tubs.
Tub butter contains extra water, which will make your cookies spread out too thin and cause the cream filling to turn runny.
Stick with firm dairy-free baking sticks for both the cookies and the filling to keep the right structure and texture.
Stick to Quick Oats for the Best Texture
You’ll get the best results if you use quick oats rather than old-fashioned rolled oats for this dough.
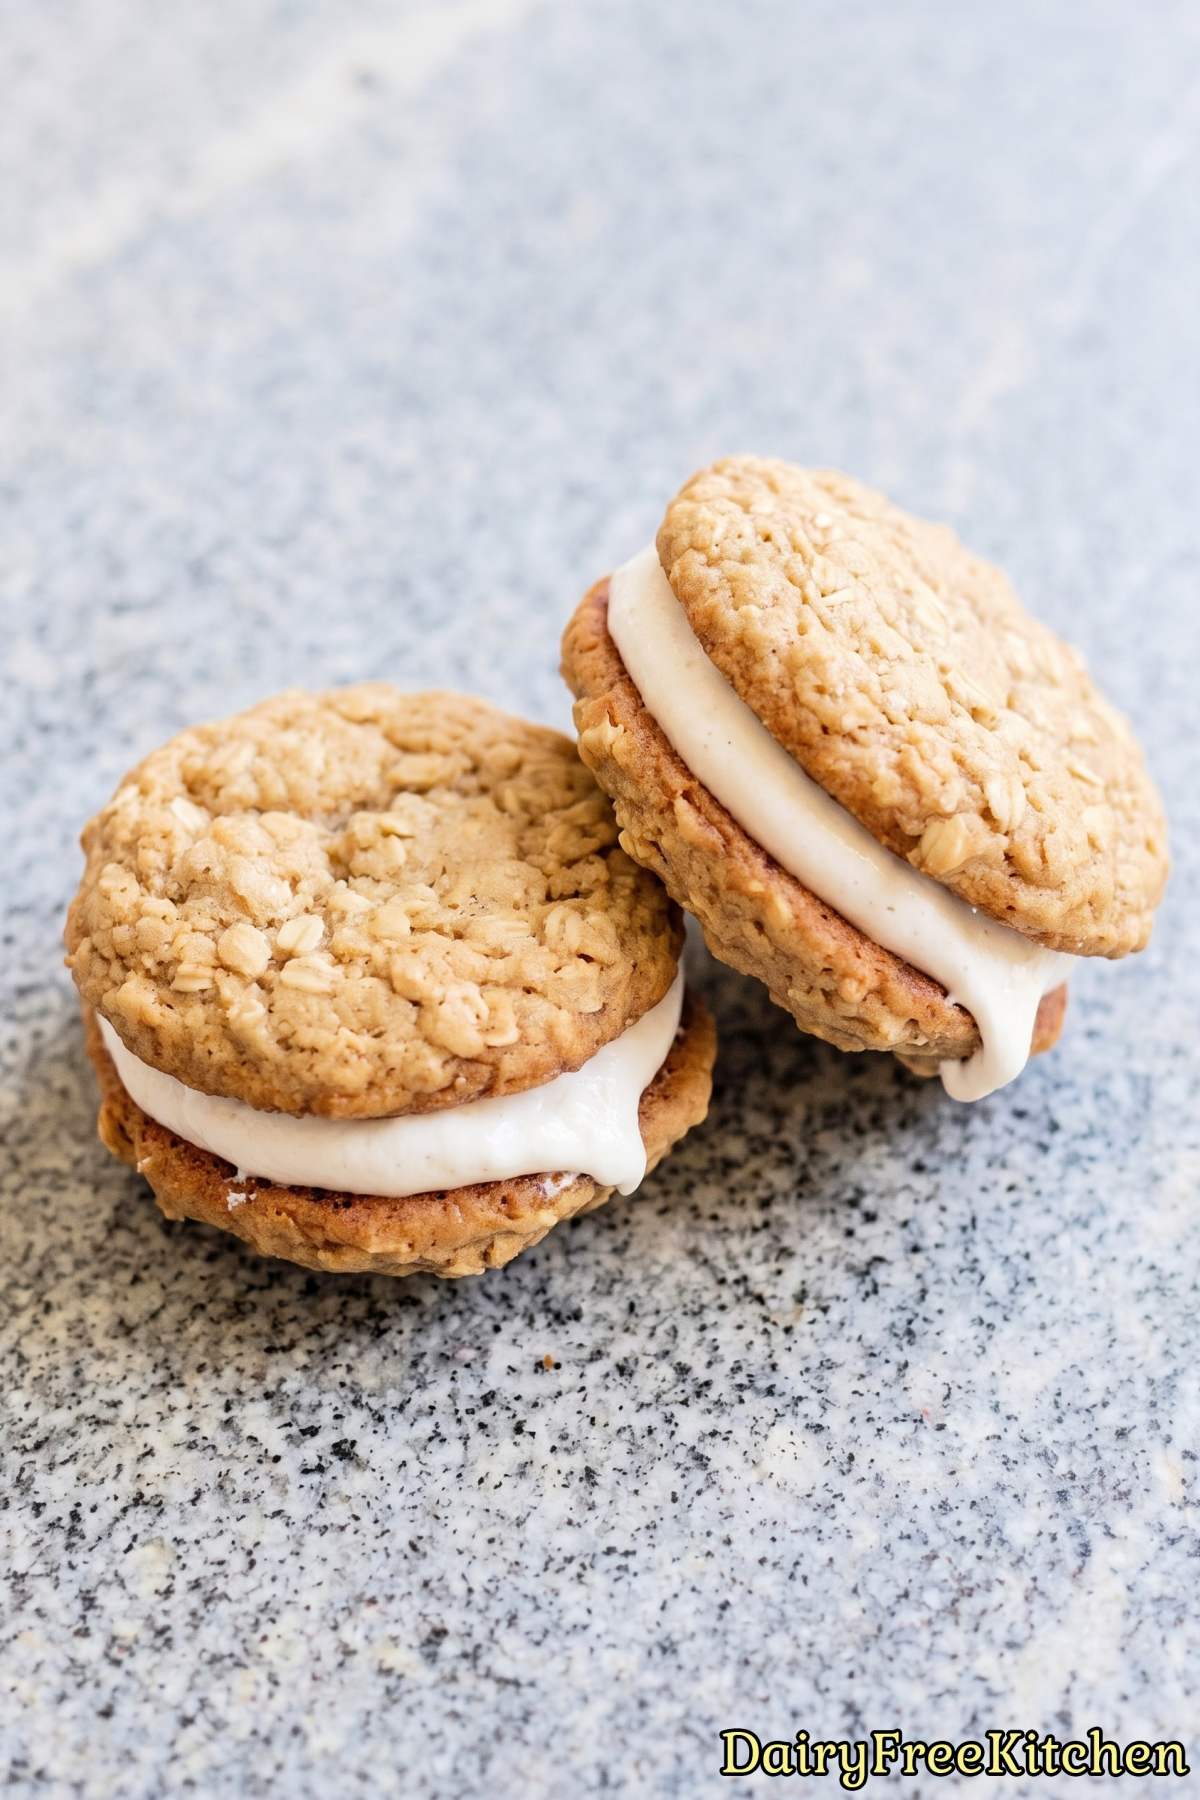
Quick oats are cut smaller, so they soak up the moisture from the dairy-free butter and molasses much faster.
Rolled oats stay too firm and chewy, which makes the sandwich fall apart when you try to take a bite.
Pull the Cookies Out While Centers Look Soft
Protein powder can easily dry out baked goods, so you need to take these out while the centers still look slightly glossy and underdone.
The cookies will keep firming up on the hot baking sheet after you take them out of the oven.
If you leave them in until the middle looks completely dry, your cookies will turn out stiff instead of soft and chewy.
What to Make Next
- Dairy Free Bakery Style Chocolate Chip Cookies
- Dairy Free Cinnamon Roll Blondies
- Dairy Free Edible Cookie Dough
- Dairy Free Magic Cookie Bars
- Dairy Free Peach Cobbler Cookies
Popular Questions
Can I use old-fashioned rolled oats instead of quick oats?
Yes, but you will want to pulse the rolled oats in a blender a few times first. Whole rolled oats will make the cookies too thick and chewy rather than soft.
Quick oats absorb the moisture much better, which gives you that classic Little Debbie style texture.

Dairy Free Protein Oatmeal Cream Pies
Equipment
- hand mixer
Ingredients
- 1/2 cup Dairy Free Butter, Softened
- 2/3 cup Packed Dark Brown Sugar
- 1 tbsp Molasses
- 1 Large Egg, Room Temperature
- 1 tsp Vanilla Extract
- 1 cup Quick Oats
- 2/3 cup All Purpose Flour
- 1/3 cup Dairy Free Vanilla Protein Powder
- 1/2 tsp Baking Soda
- 1/2 tsp Ground Cinnamon
- 1/4 tsp Salt
- 1/4 cup Dairy Free Butter, Softened
- 1/2 cup Powdered Sugar
- 1/4 cup Dairy Free Vanilla Protein Powder
- 1 tsp Vanilla Extract
- 3/4 cup Marshmallow Creme
Instructions
- Preheat the oven to 350°F and line two baking sheets with parchment paper.
- Beat the butter, brown sugar and molasses on medium speed until fluffy, about 2 minutes. Beat in the egg and vanilla until smooth.
- In a separate bowl, whisk the oats, flour, protein powder, baking soda, cinnamon and salt. Add to the wet mixture and mix on low just until no dry streaks remain, then chill the dough for 15 minutes.
- Scoop heaping tablespoons of dough onto the baking sheets, 2 inches apart, for about 24 cookies, and flatten each one slightly with your palm. Bake for 8 to 10 minutes, until the edges are set but the centers still look slightly underdone. Pulling them early is the secret to that soft, melt-in-your-mouth texture. Let them cool on the sheets for 5 minutes, then transfer to a rack to cool completely.
- For the filling, beat the butter until creamy, then add the powdered sugar, protein powder and vanilla and beat until smooth. Add the marshmallow creme and beat for 1 to 2 minutes, until light and fluffy.
- Match the cookies into pairs of similar size. Spread or pipe a generous tablespoon of filling onto the flat side of half the cookies, then press the remaining cookies on top. Chill for 20 minutes to set the filling, then store in an airtight container for up to 4 days.