Red velvet and cheesecake are one of my favorite flavor combinations, but finding good desserts that skip the dairy can be tricky.
That is why I created these soft dairy free red velvet cheesecake cookies.
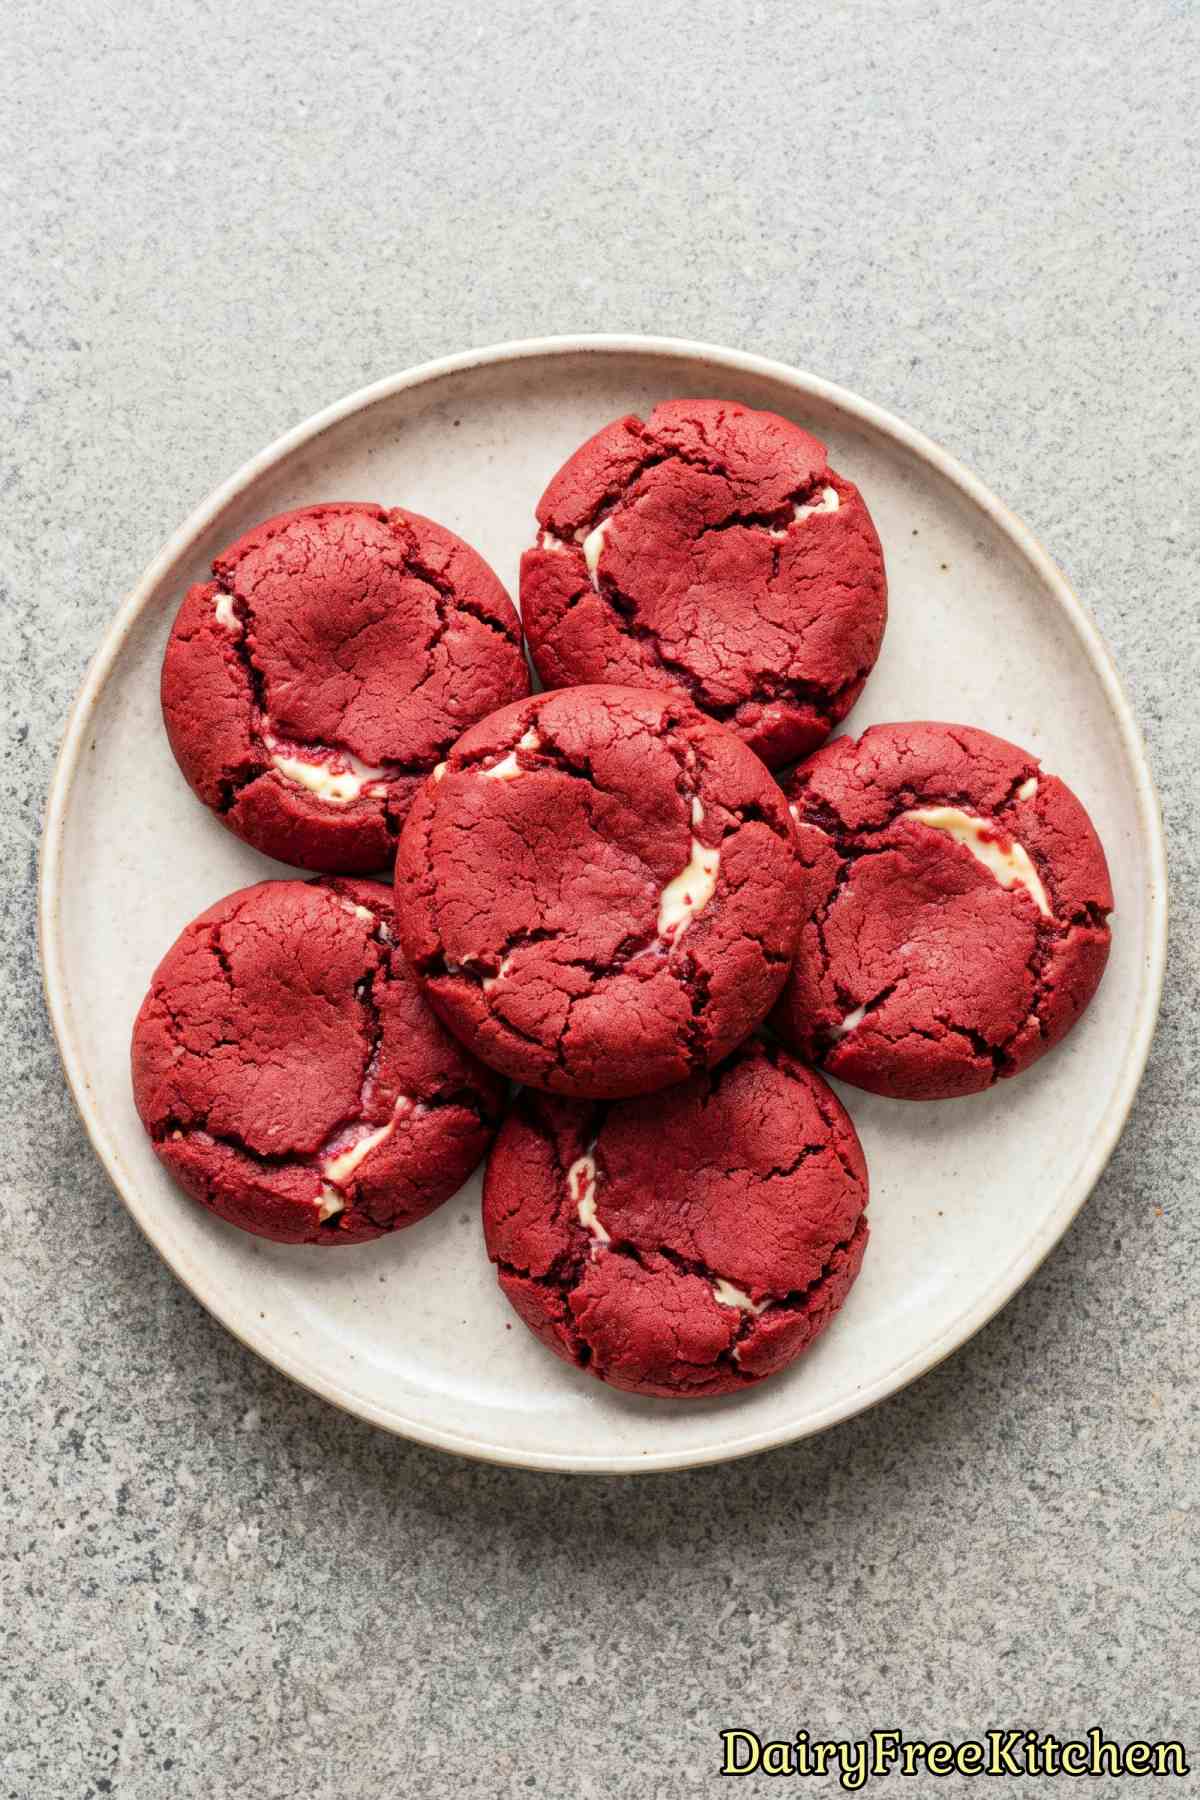
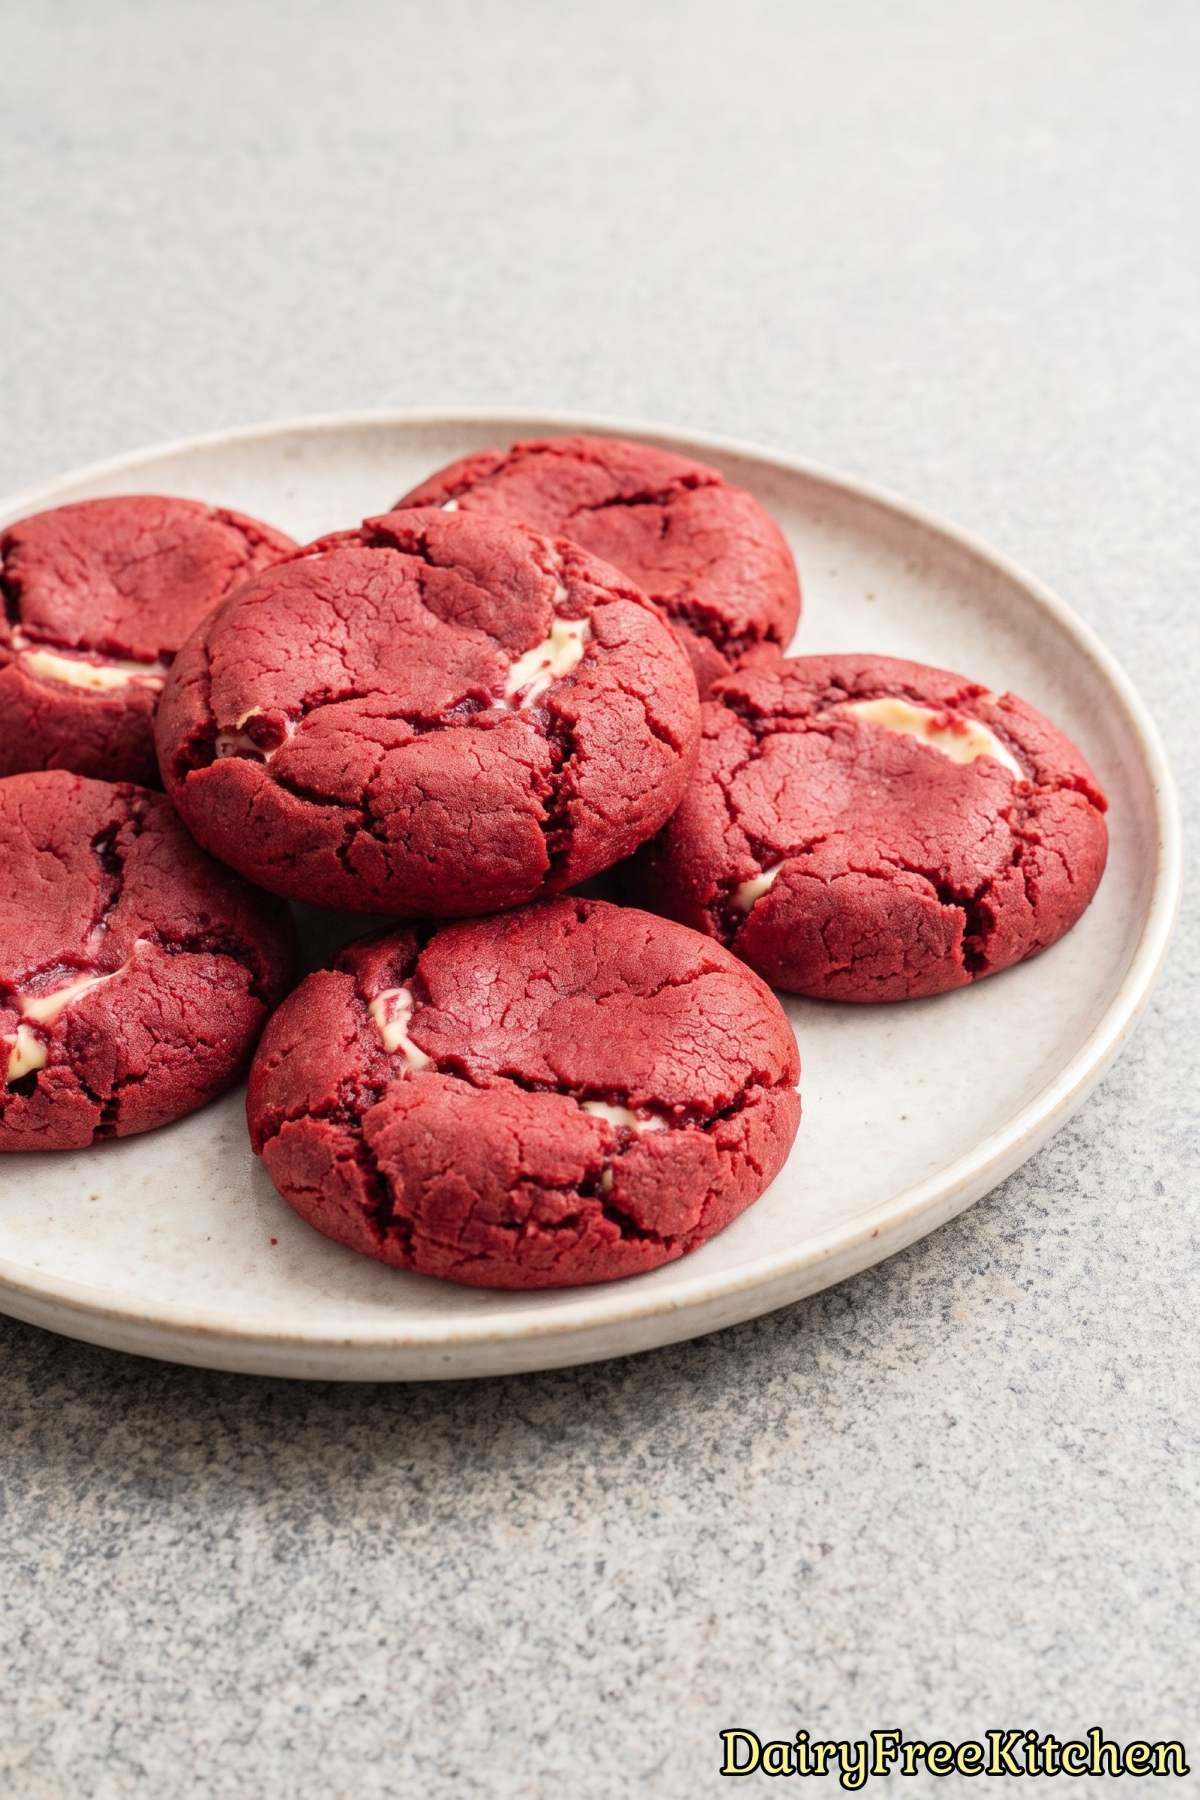
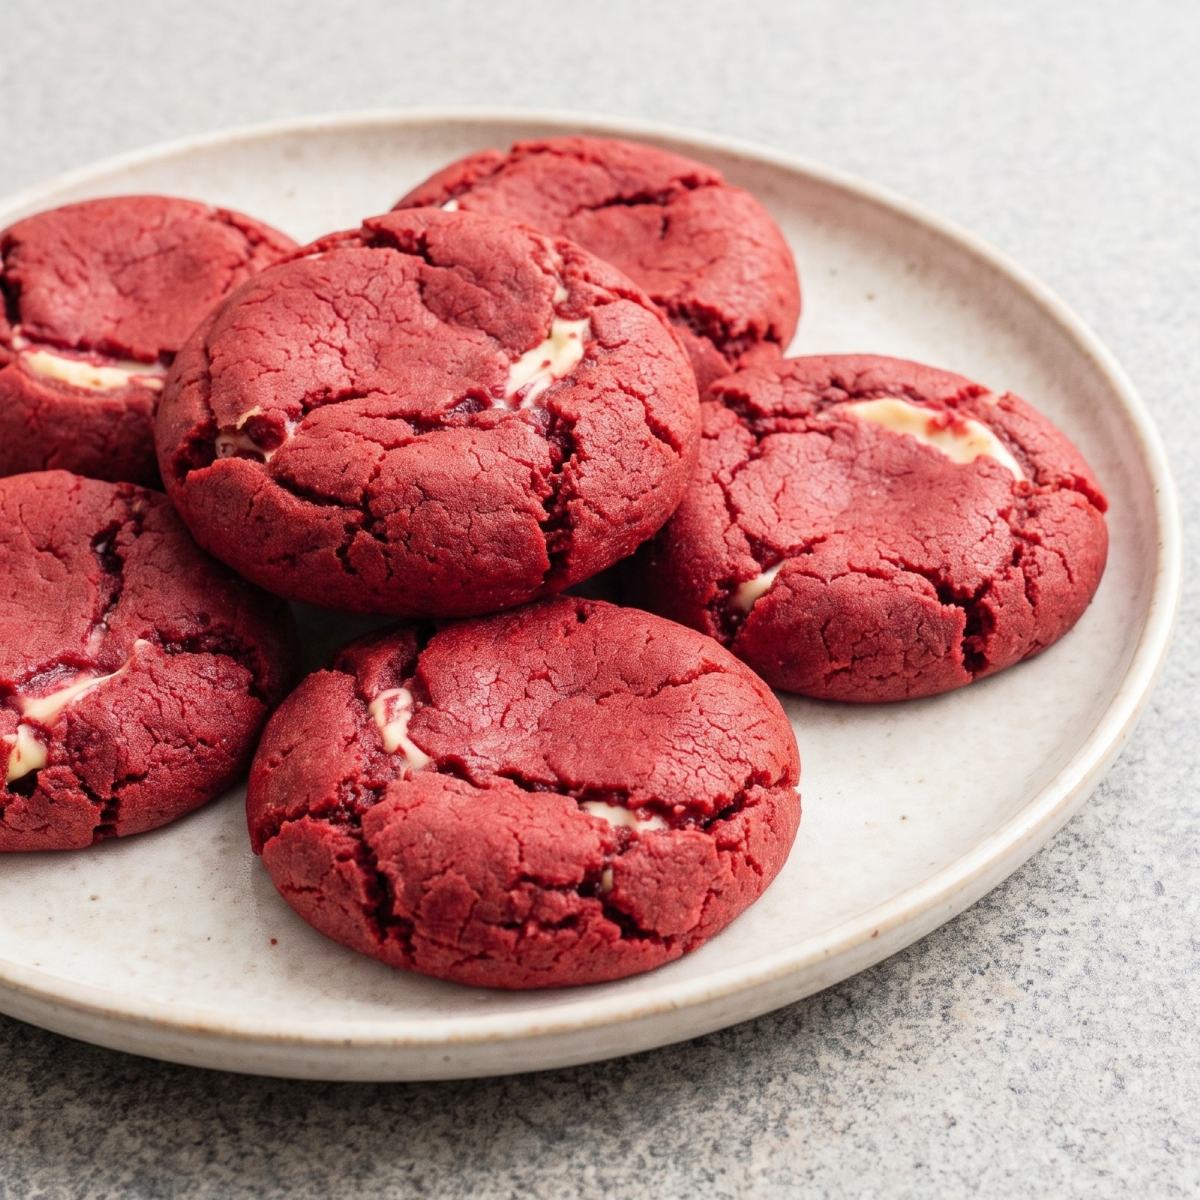
They look like regular red velvet cookies on the outside, but each one has a sweet, creamy cheesecake center tucked inside.
Eating dairy free should never mean missing out on rich treats, and these cookies prove you can still enjoy classic bakery favorites.
Let me show you how simple it is to put them together for your next baking day.
Why This Recipe Is a Keeper
Two Desserts in One – You get rich red velvet cake and creamy cheesecake together in every single bite.
Completely Dairy Free – Anyone avoiding dairy can finally enjoy a rich cream cheese stuffed bakery treat again.
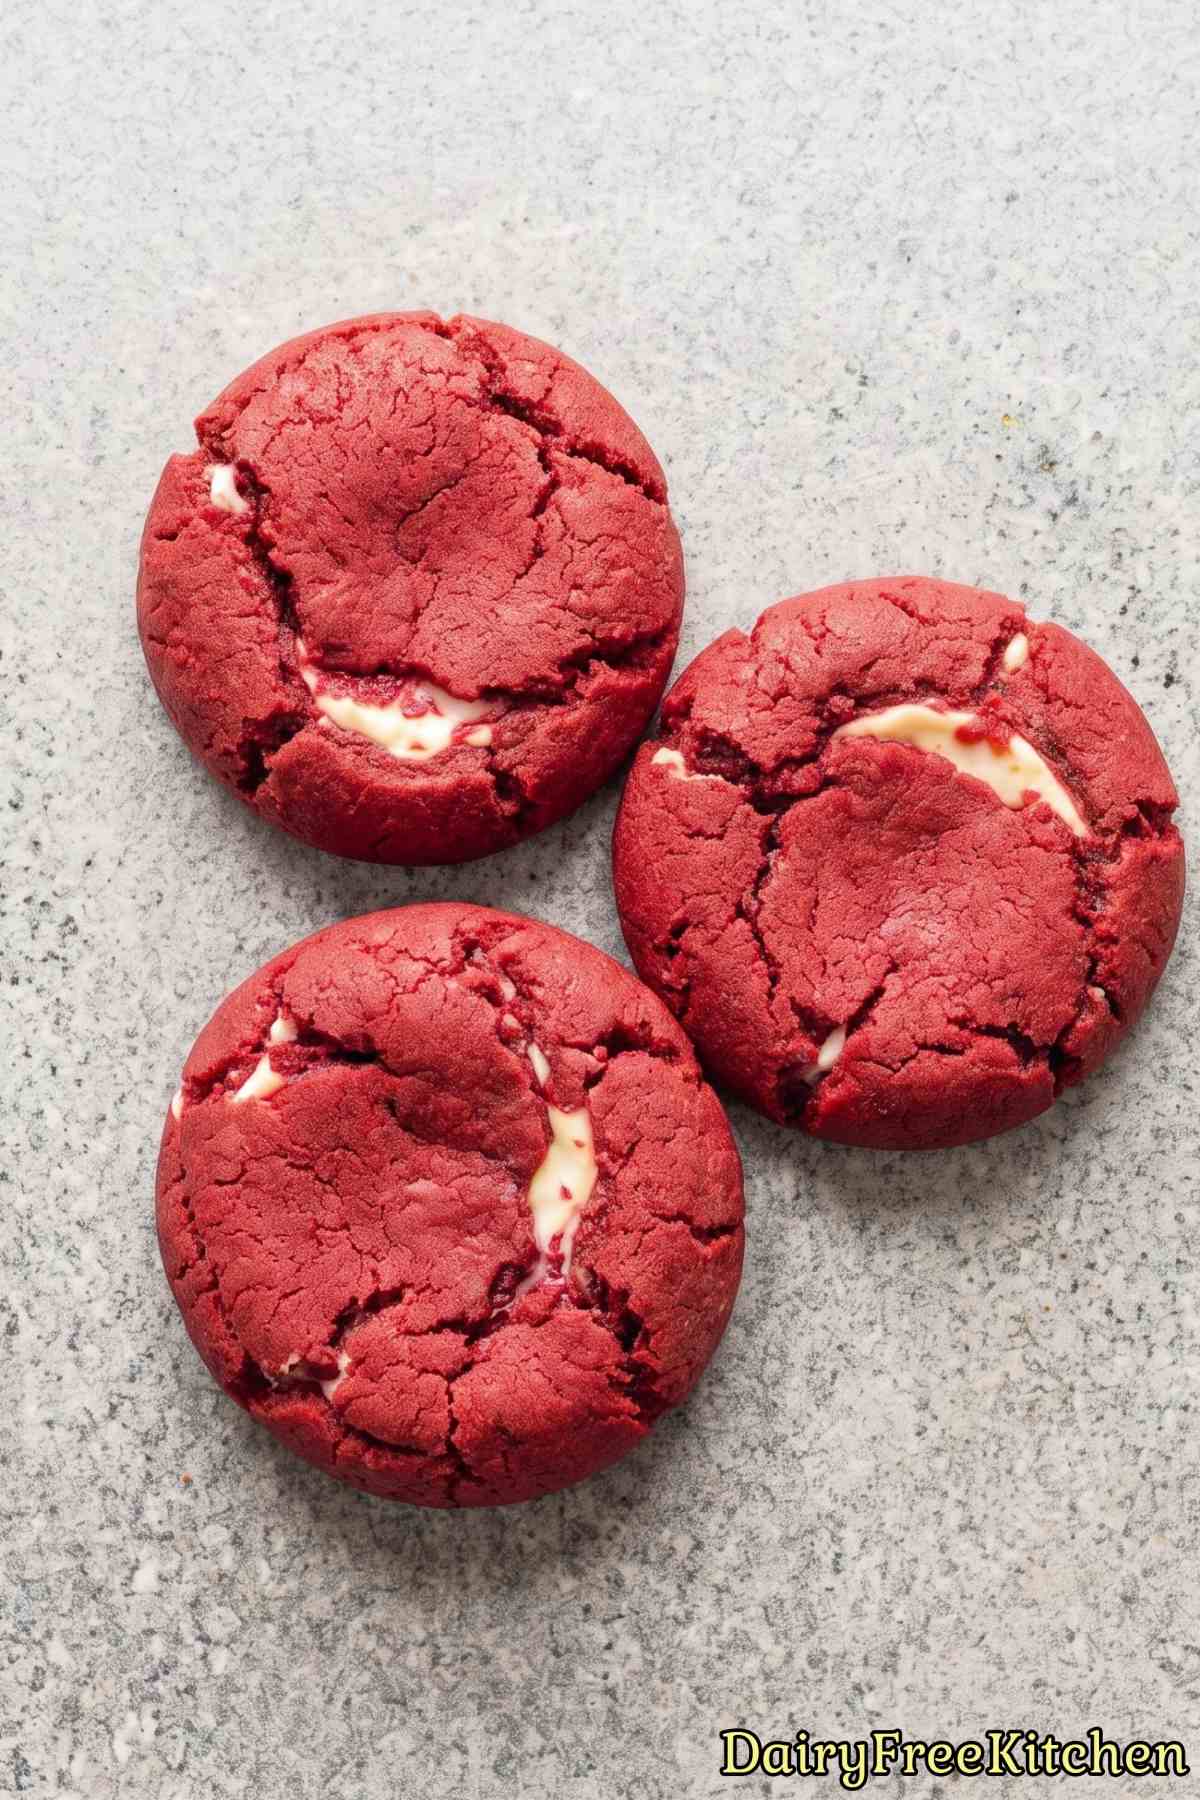
Amazing Texture Contrast – The soft, chewy cookie outside pairs wonderfully with the cool, smooth cheesecake center.
Authentic Red Velvet Flavor – A touch of cocoa and vinegar gives you that classic bakery taste you crave.
Here’s What You’ll Need
For the Cheesecake Filling
- 4 oz Dairy Free Cream Cheese, Softened
- 3 tbsp Powdered Sugar
- 1/2 tsp Vanilla Extract
For the Cookies
- 1/2 cup Dairy Free Butter, Softened
- 3/4 cup Light Brown Sugar, Packed
- 1/4 cup Granulated Sugar
- 1 Large Egg
- 1 tbsp Unsweetened Oat Milk
- 2 tsp Vanilla Extract
- 1 tsp White Vinegar
- 1 1/2 tsp Red Gel Food Coloring
- 1 3/4 cups All Purpose Flour
- 1/4 cup Unsweetened Cocoa Powder
- 1 tsp Cornstarch
- 3/4 tsp Baking Soda
- 1/4 tsp Salt
How to Make It
Step 1
For the filling, stir together the dairy free cream cheese, powdered sugar and vanilla until smooth. Scoop 14 mounds of about 2 teaspoons each onto a parchment-lined plate and freeze for 1 hour until firm.
Step 2
In a medium bowl, whisk together the flour, cocoa powder, cornstarch, baking soda and salt. Set aside.
Step 3
In a large bowl, beat the dairy free butter, brown sugar and granulated sugar for 2 minutes until fluffy. Beat in the egg, oat milk, vanilla, vinegar and red food coloring until the mixture is evenly red.
Step 4
Add the dry ingredients and mix on low speed until a thick dough forms. Cover and chill for 1 hour, which makes the dough much easier to wrap around the filling.
Step 5
Preheat the oven to 350°F and line two baking sheets with parchment paper. Scoop 3 tablespoons of dough, flatten it in your palm and set a frozen cheesecake mound in the center.
Wrap the dough up and around the filling, pinch to seal and roll into a smooth ball. Place the cookies 3 inches apart and keep the remaining filling in the freezer while you work.
Step 6
Bake for 11-13 minutes, until the edges are set and the centers still look soft. Let the cookies cool on the sheet for 10 minutes so the filling can set, then move them to a wire rack.
Store leftovers in an airtight container in the fridge.
Recipe Tips
Choose the Right Cream Cheese
From my experience, you should look for a firm, block-style dairy-free cream cheese rather than a soft tub spread.
Tub spreads usually contain extra water. That excess liquid can cause your filling to melt too fast in the oven and leak out.
If your brand still feels very soft, gently press it with a paper towel before mixing to blot away extra moisture.
Use Gel Food Coloring Instead of Liquid
I recommend using concentrated red gel food coloring rather than standard liquid food drops.
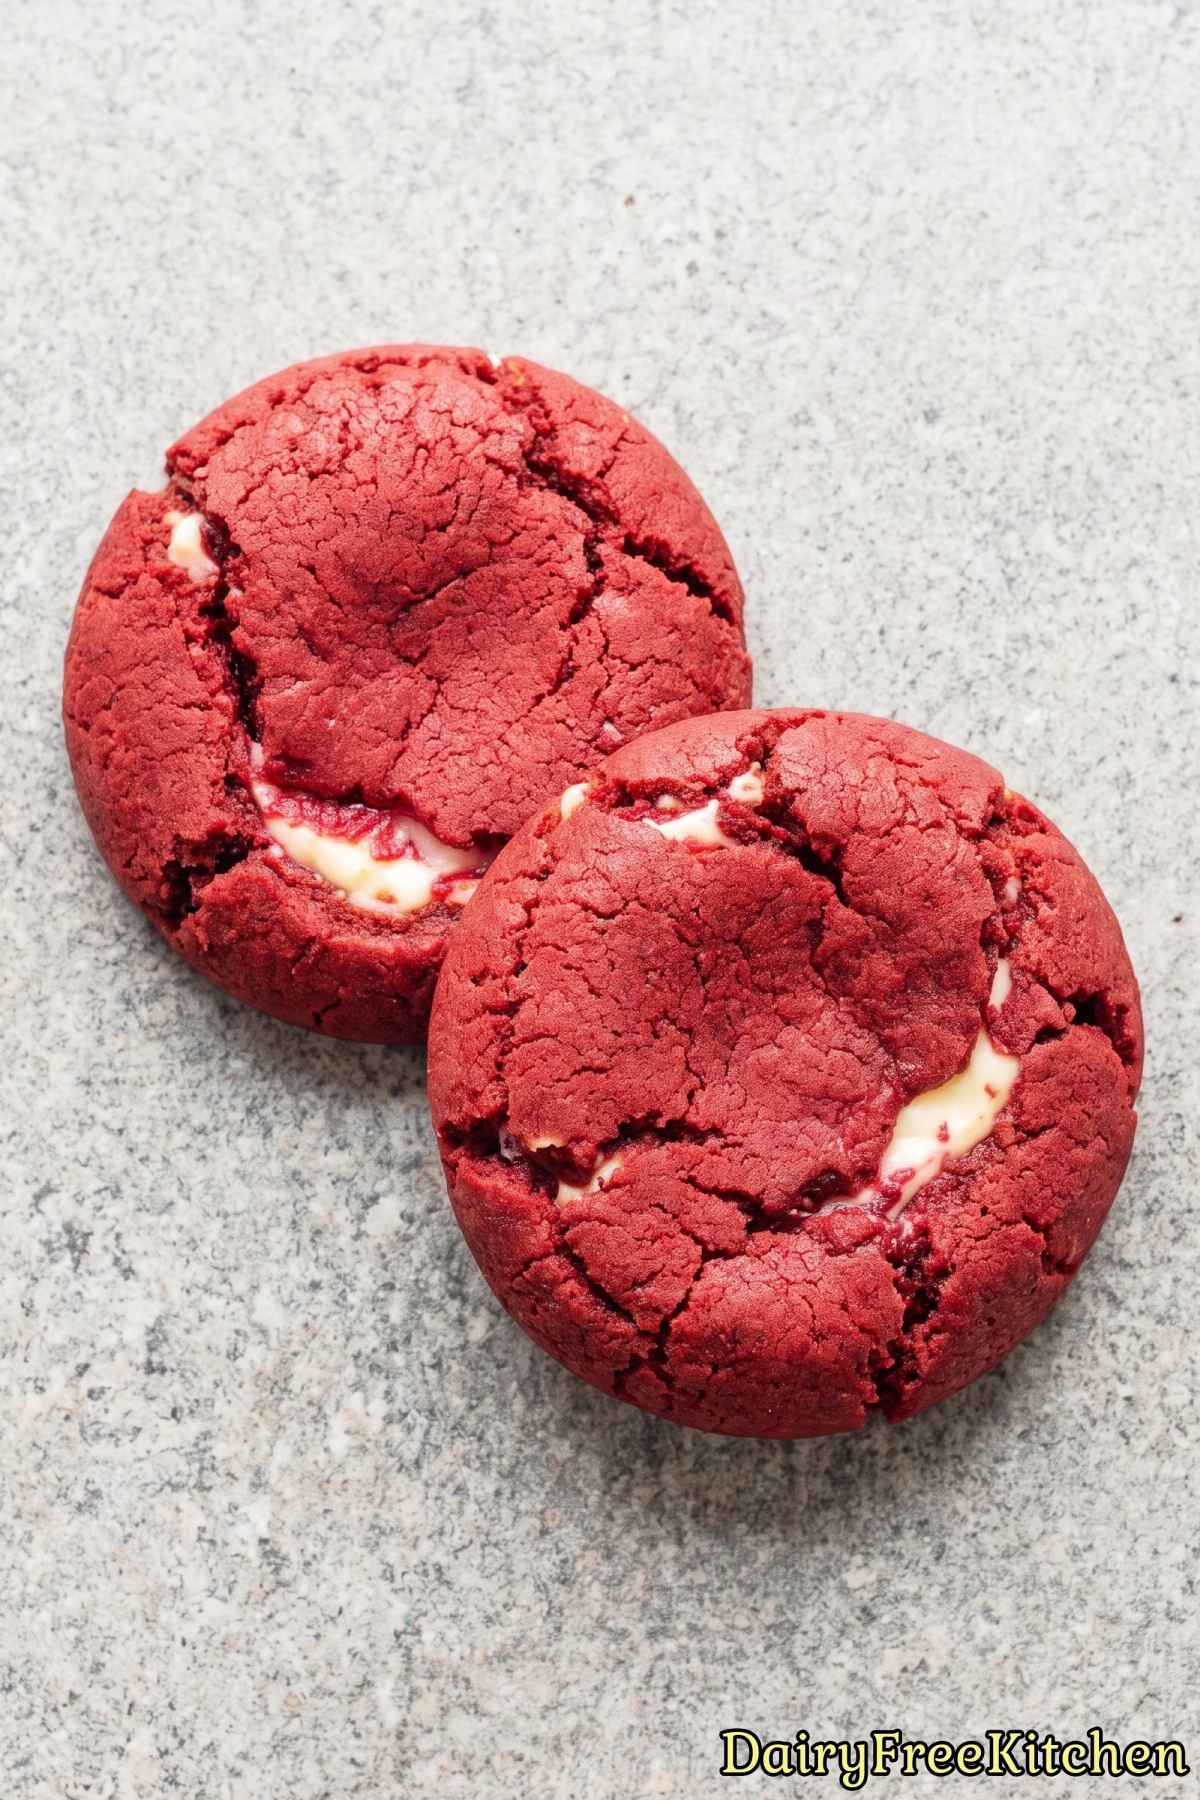
Liquid coloring adds unwanted water to the dough and often bakes into a dull, brownish color once it hits the cocoa powder.
Gel color gives you that bright, bakery-style red look without thinning out your cookie dough.
Keep the Cheesecake Centers Frozen
You’ll get the best results if you keep the cheesecake mounds in the freezer until the exact second you need them.
Dairy-free cream cheese softens much faster at room temperature than standard dairy cream cheese.
I like to pull out only two or three frozen mounds at a time so the rest stay rock solid while I shape the dough.
What to Make Next
- Dairy Free Bakery Style Chocolate Chip Cookies
- Dairy Free Churro Cheesecake Bars
- Dairy Free Peach Cobbler Cookies
- Dairy Free Red Velvet Cheesecake Ice Cream
- Dairy Free Red Velvet Layer Cake
Popular Questions
Which dairy free cream cheese works best for the filling?
Firm, block-style dairy free cream cheeses work best because they hold their shape nicely under heat.
Softer spreads that come in tubs tend to have extra water, which can cause the filling to melt too quickly and seep out.

Dairy Free Red Velvet Cheesecake Cookies
Equipment
- hand mixer
Ingredients
- 4 oz Dairy Free Cream Cheese, Softened
- 3 tbsp Powdered Sugar
- 1/2 tsp Vanilla Extract
- 1/2 cup Dairy Free Butter, Softened
- 3/4 cup Light Brown Sugar, Packed
- 1/4 cup Granulated Sugar
- 1 Large Egg
- 1 tbsp Unsweetened Oat Milk
- 2 tsp Vanilla Extract
- 1 tsp White Vinegar
- 1 1/2 tsp Red Gel Food Coloring
- 1 3/4 cups All Purpose Flour
- 1/4 cup Unsweetened Cocoa Powder
- 1 tsp Cornstarch
- 3/4 tsp Baking Soda
- 1/4 tsp Salt
Instructions
- For the filling, stir together the dairy free cream cheese, powdered sugar and vanilla until smooth. Scoop 14 mounds of about 2 teaspoons each onto a parchment-lined plate and freeze for 1 hour until firm.
- In a medium bowl, whisk together the flour, cocoa powder, cornstarch, baking soda and salt. Set aside.
- In a large bowl, beat the dairy free butter, brown sugar and granulated sugar for 2 minutes until fluffy. Beat in the egg, oat milk, vanilla, vinegar and red food coloring until the mixture is evenly red.
- Add the dry ingredients and mix on low speed until a thick dough forms. Cover and chill for 1 hour, which makes the dough much easier to wrap around the filling.
- Preheat the oven to 350°F and line two baking sheets with parchment paper. Scoop 3 tablespoons of dough, flatten it in your palm and set a frozen cheesecake mound in the center. Wrap the dough up and around the filling, pinch to seal and roll into a smooth ball. Place the cookies 3 inches apart and keep the remaining filling in the freezer while you work.
- Bake for 11-13 minutes, until the edges are set and the centers still look soft. Let the cookies cool on the sheet for 10 minutes so the filling can set, then move them to a wire rack. Store leftovers in an airtight container in the fridge.