Tiramisu has always been one of my favorite desserts, but finding a version without milk or heavy cream can be really hard.
That is why I created this dairy free tiramisu ice cream. It gives you all the classic flavors without any of the dairy that upsets your stomach.
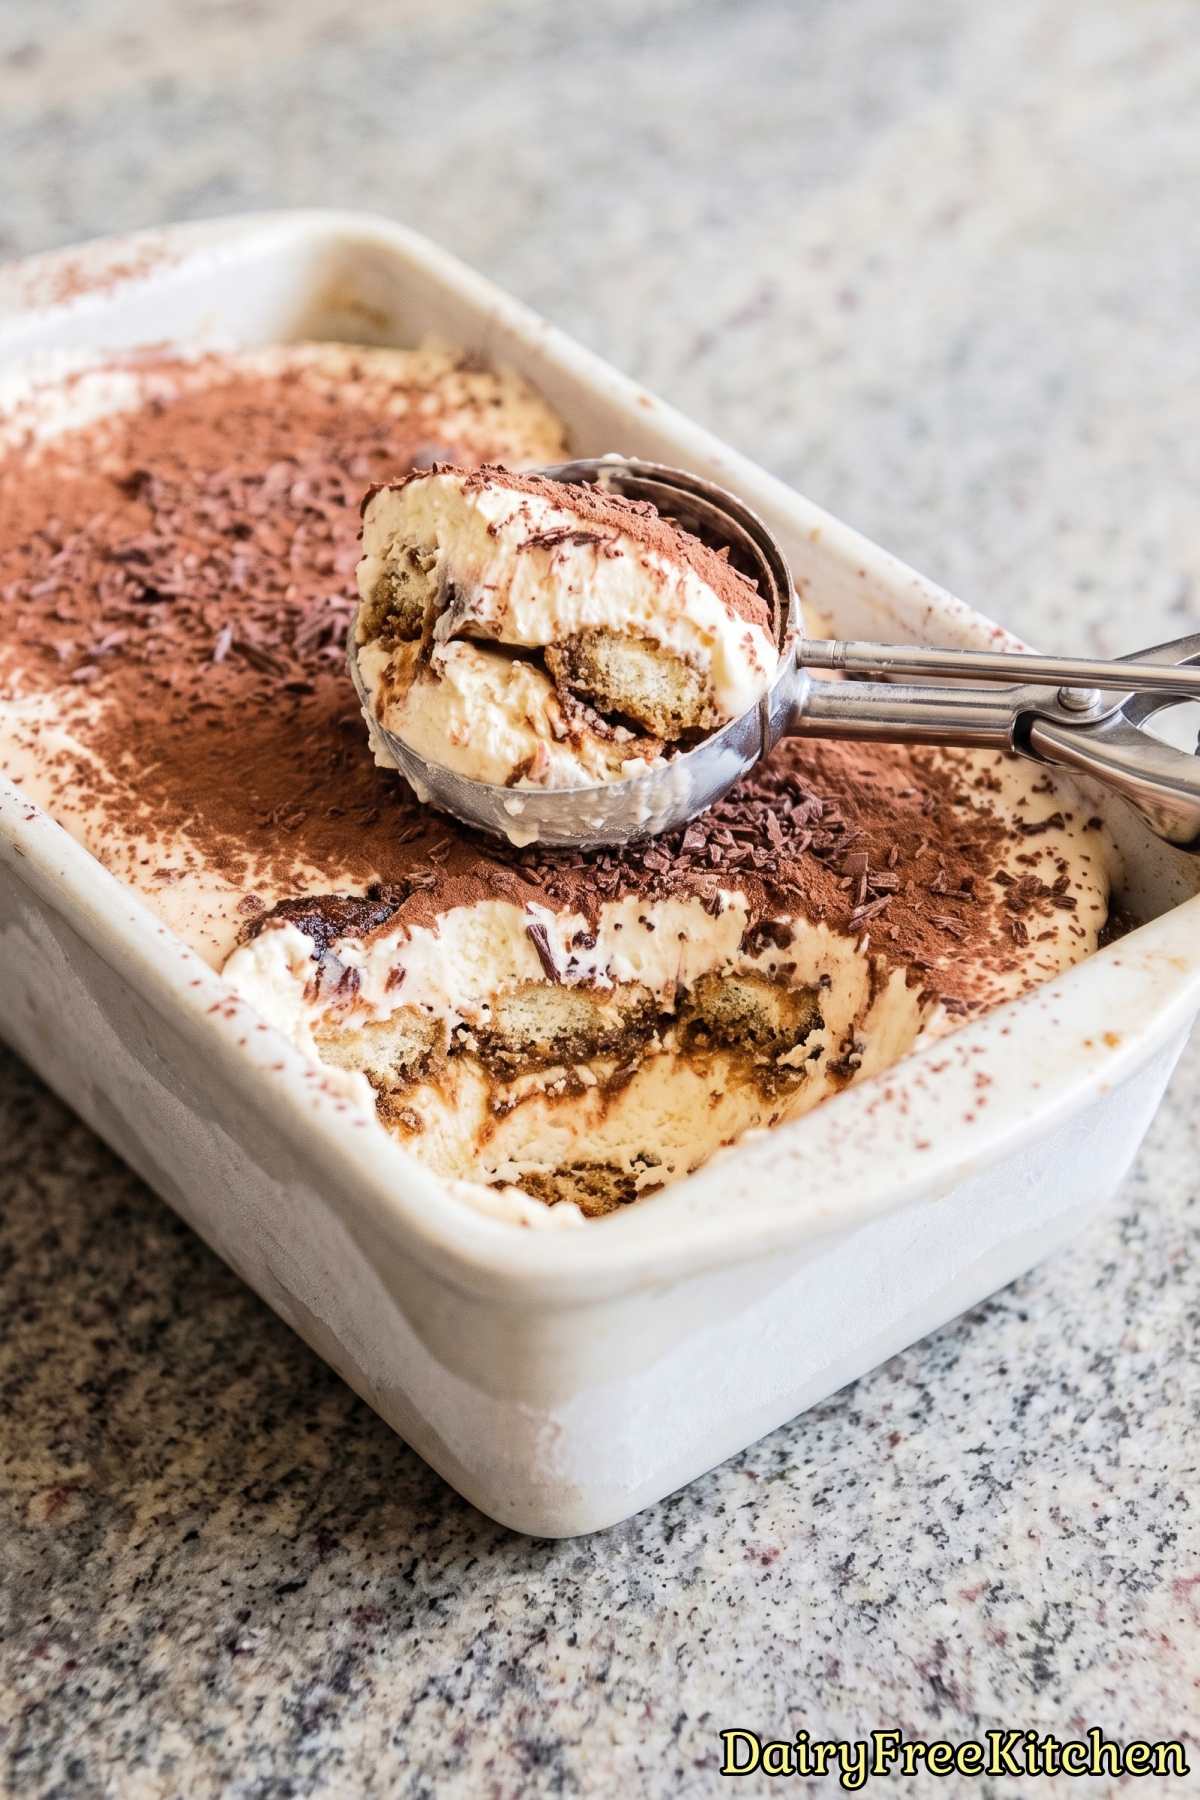
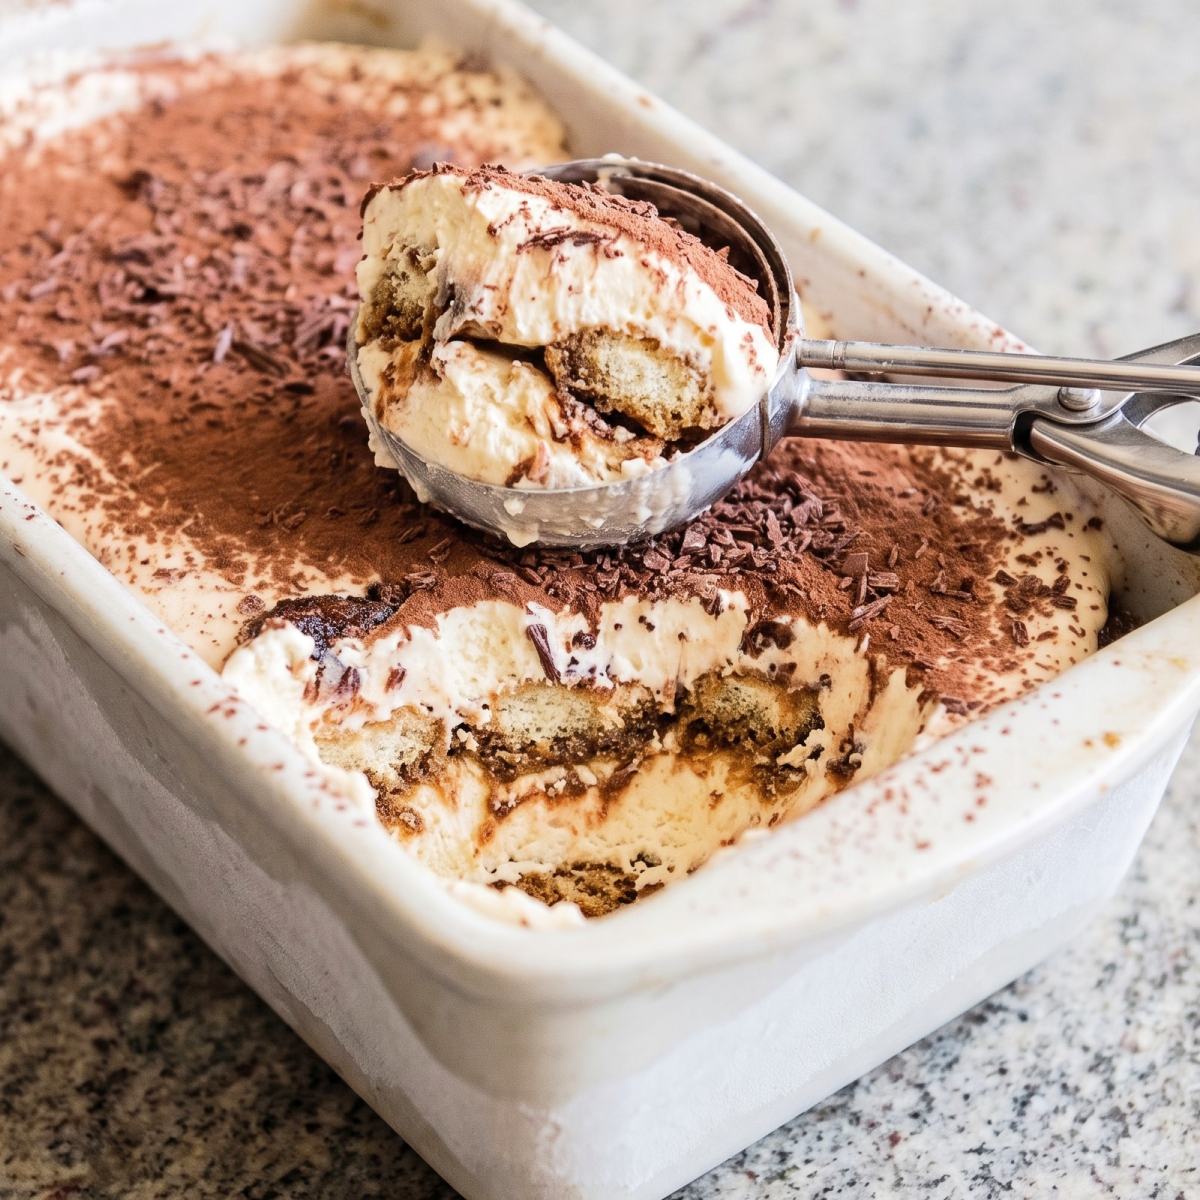
You get creamy scoops layered with coffee soaked ladyfingers and a light dusting of cocoa.
Making ice cream at home might sound tricky, but the steps are simple and totally worth the wait.
It is the perfect sweet treat to keep in your freezer whenever you want a special dessert.
Why This Recipe Is a Keeper
Authentic Italian Flavor – You get the exact rich taste of classic tiramisu without using a single drop of dairy.
Incredibly Creamy Texture – The blend of coconut and cream cheese creates a velvety scoop that never turns icy.
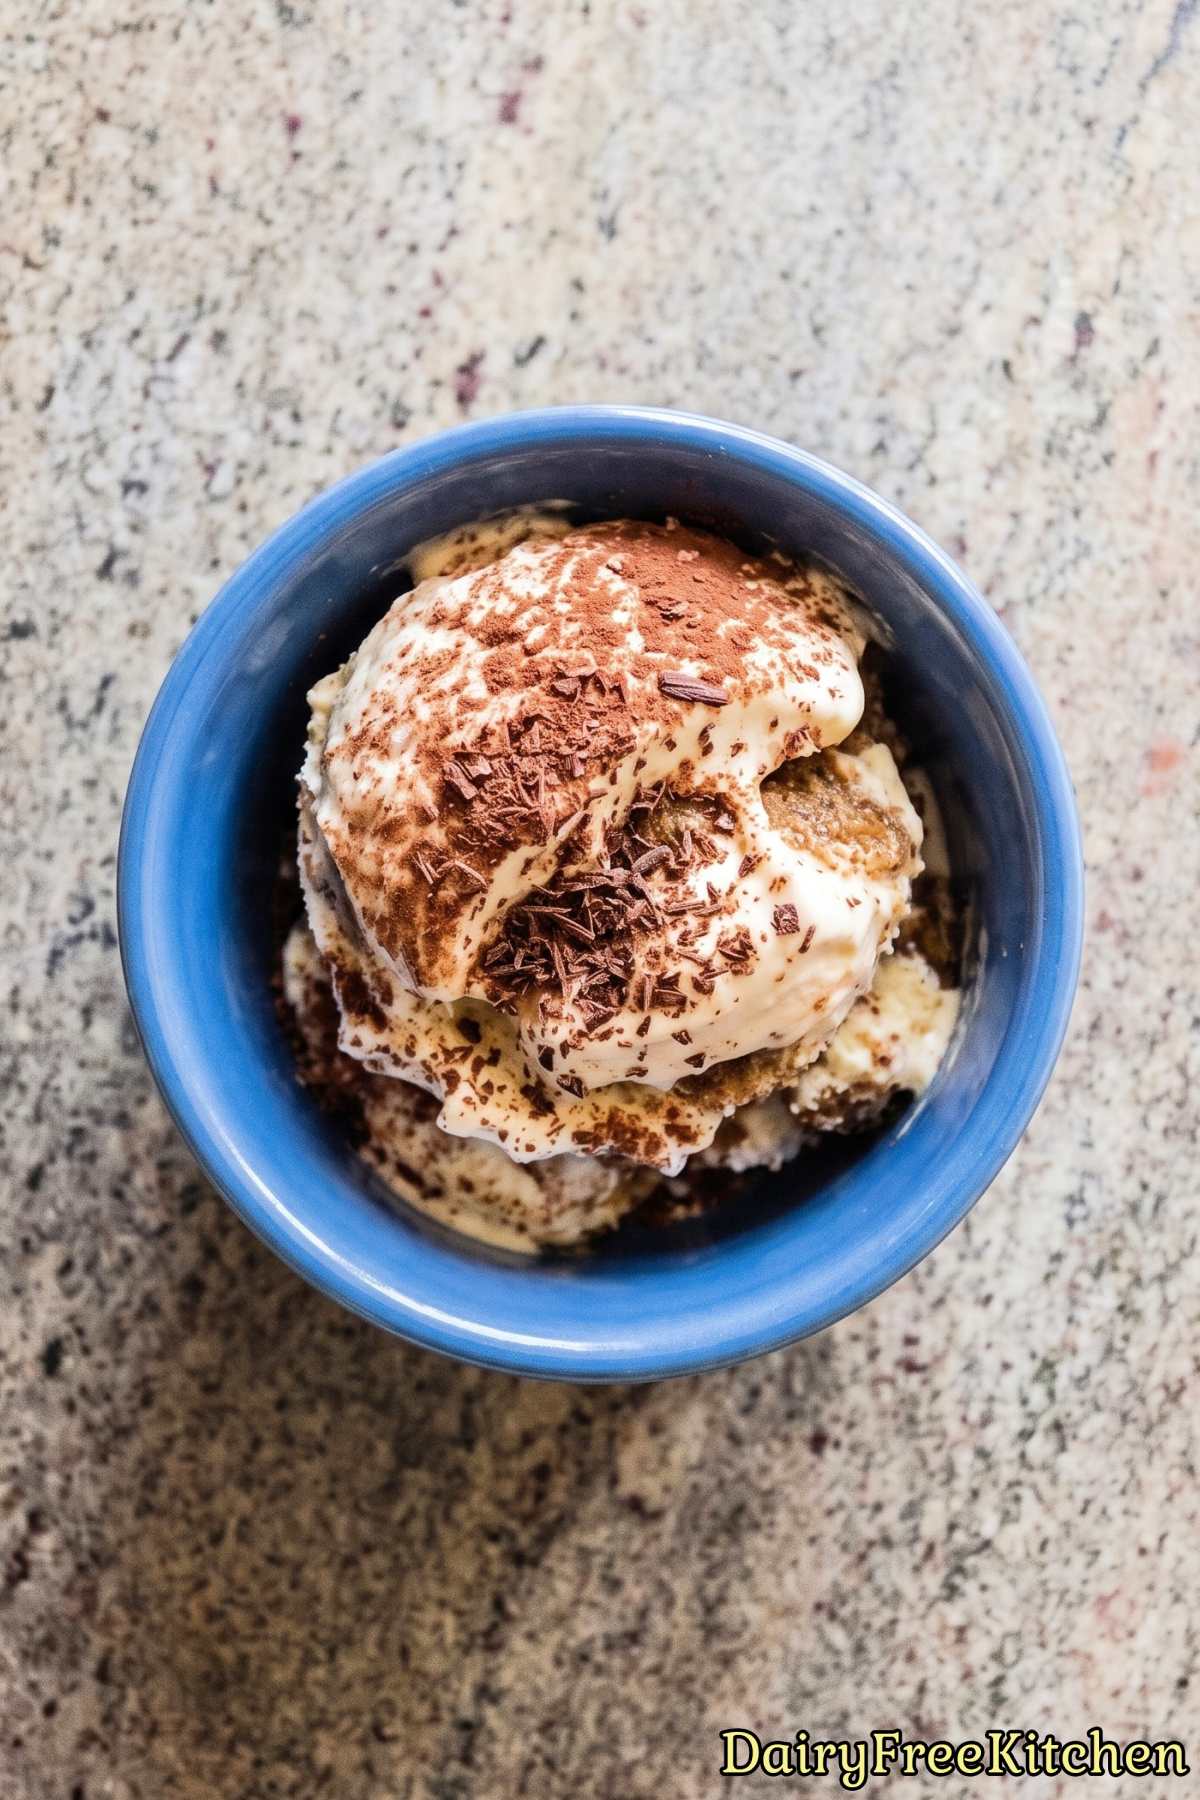
Delicious Ladyfinger Layers – Espresso-soaked cookies add a tender cake texture that makes every single bite feel luxurious.
Rich Espresso Kick – Real brewed coffee balances the sweet cream to give you bold coffeehouse flavor at home.
Here’s What You’ll Need
For the Mascarpone Style Base
- 1 can (13.5 oz) Full-Fat Coconut Milk
- 3/4 cup Unsweetened Oat Milk
- 2/3 cup Granulated Sugar
- 2 tbsp Light Corn Syrup
- 1 tbsp Cornstarch
- 1/4 tsp Salt
- 6 oz Dairy Free Cream Cheese, Softened
- 2 tsp Vanilla Extract
- 1 tbsp Marsala Wine Or Dark Rum (Optional)
For the Espresso Layers
- 10 Dairy Free Ladyfingers (Savoiardi), Broken Into 1-Inch Pieces
- 1/2 cup Strong Brewed Espresso, Cooled
- 1 tbsp Granulated Sugar
- 2 tbsp Unsweetened Cocoa Powder, Plus More For Dusting
- 2 oz Dairy Free Dark Chocolate, Finely Grated
How to Make It
Step 1
In a medium saucepan, whisk the sugar, cornstarch, and salt together, then slowly whisk in the coconut milk, oat milk, and corn syrup. Cook over medium heat, whisking constantly, for 5 to 7 minutes, until the mixture simmers and thickens slightly.
Step 2
Pour the hot base into a blender with the cream cheese, vanilla, and marsala, if using. Remove the center cap from the lid, cover the opening with a kitchen towel, and blend until silky smooth.
Transfer to a bowl, press plastic wrap onto the surface, and refrigerate for at least 6 hours or overnight.
Step 3
Stir the sugar into the cooled espresso until dissolved. Quickly dip each ladyfinger piece into the espresso for about 1 second per side, arrange them on a parchment-lined plate, and freeze for 30 minutes so they hold their shape.
Step 4
Pour the chilled base into an ice cream maker bowl that has been frozen for at least 24 hours. Churn for 20 to 25 minutes, until thick and creamy like soft serve.
Step 5
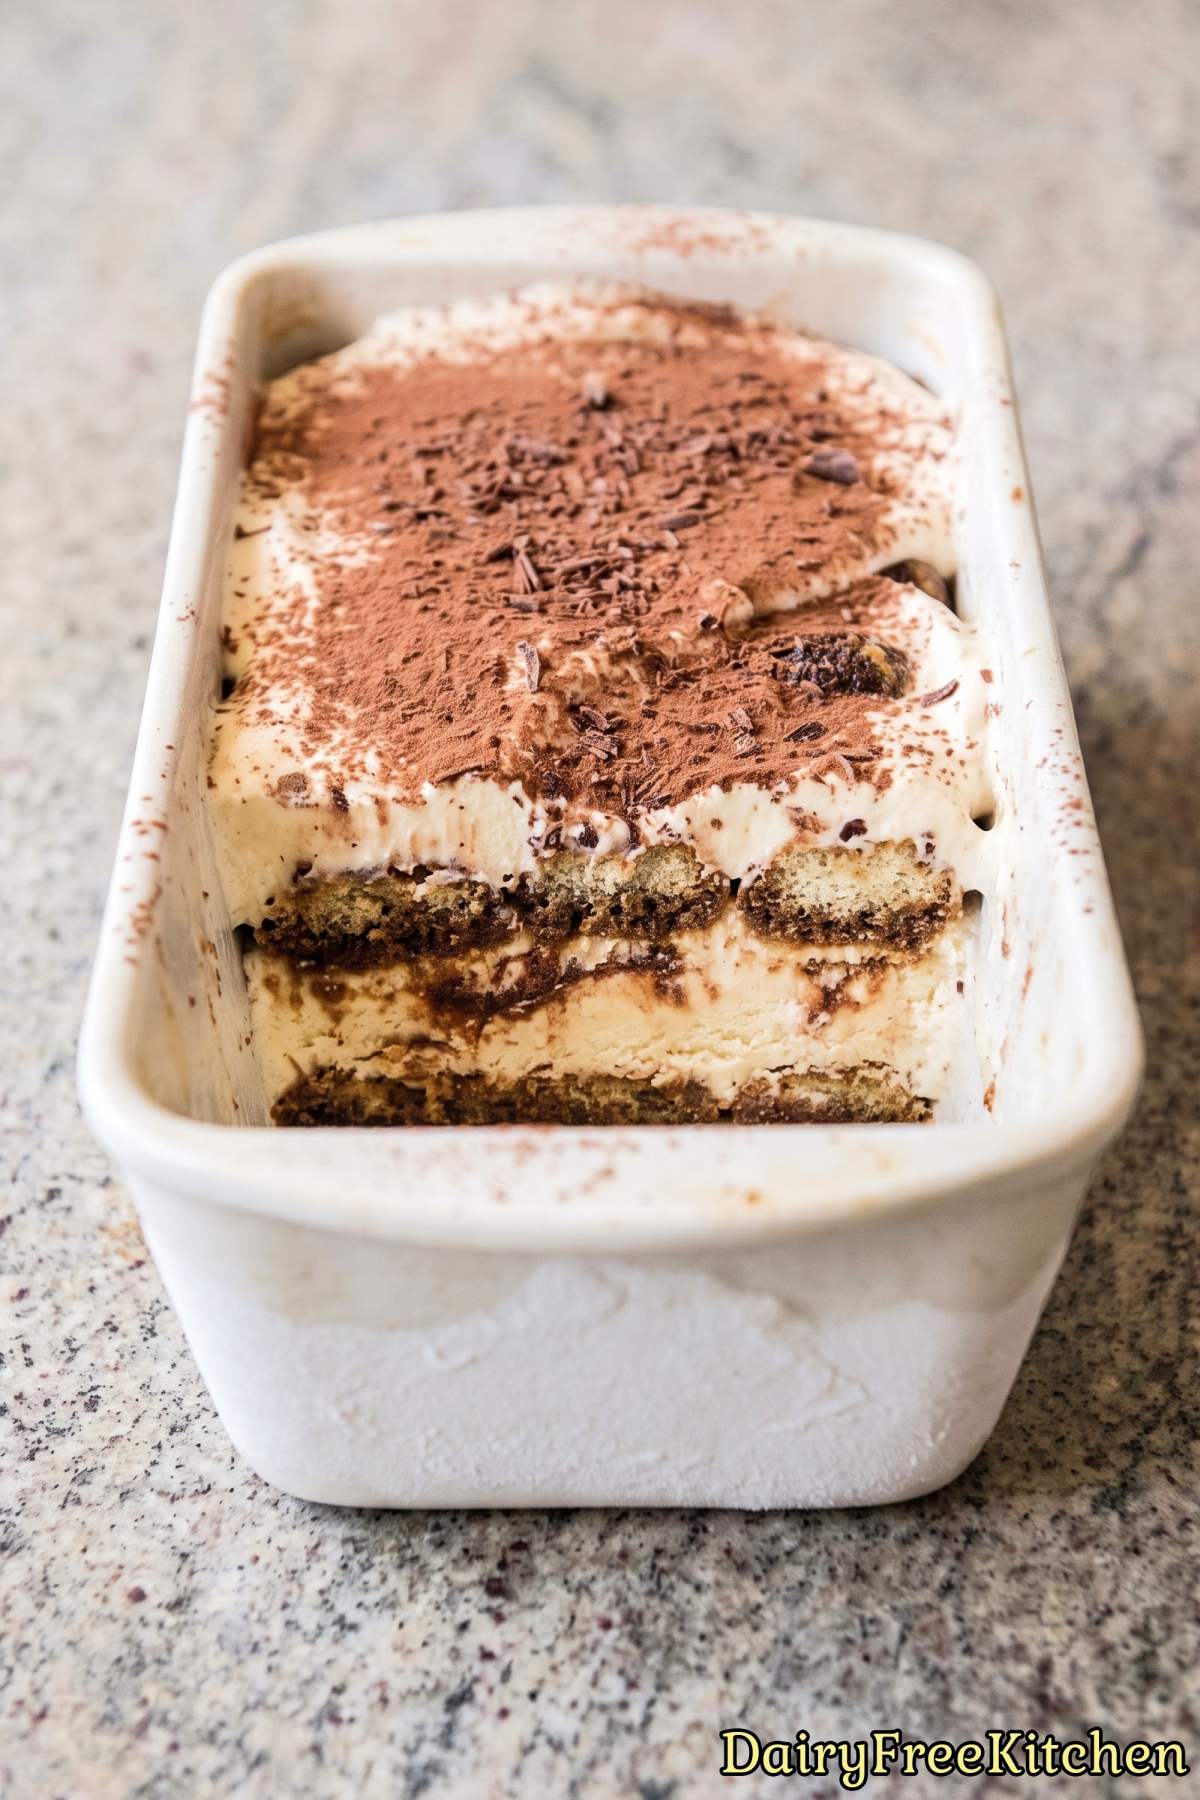
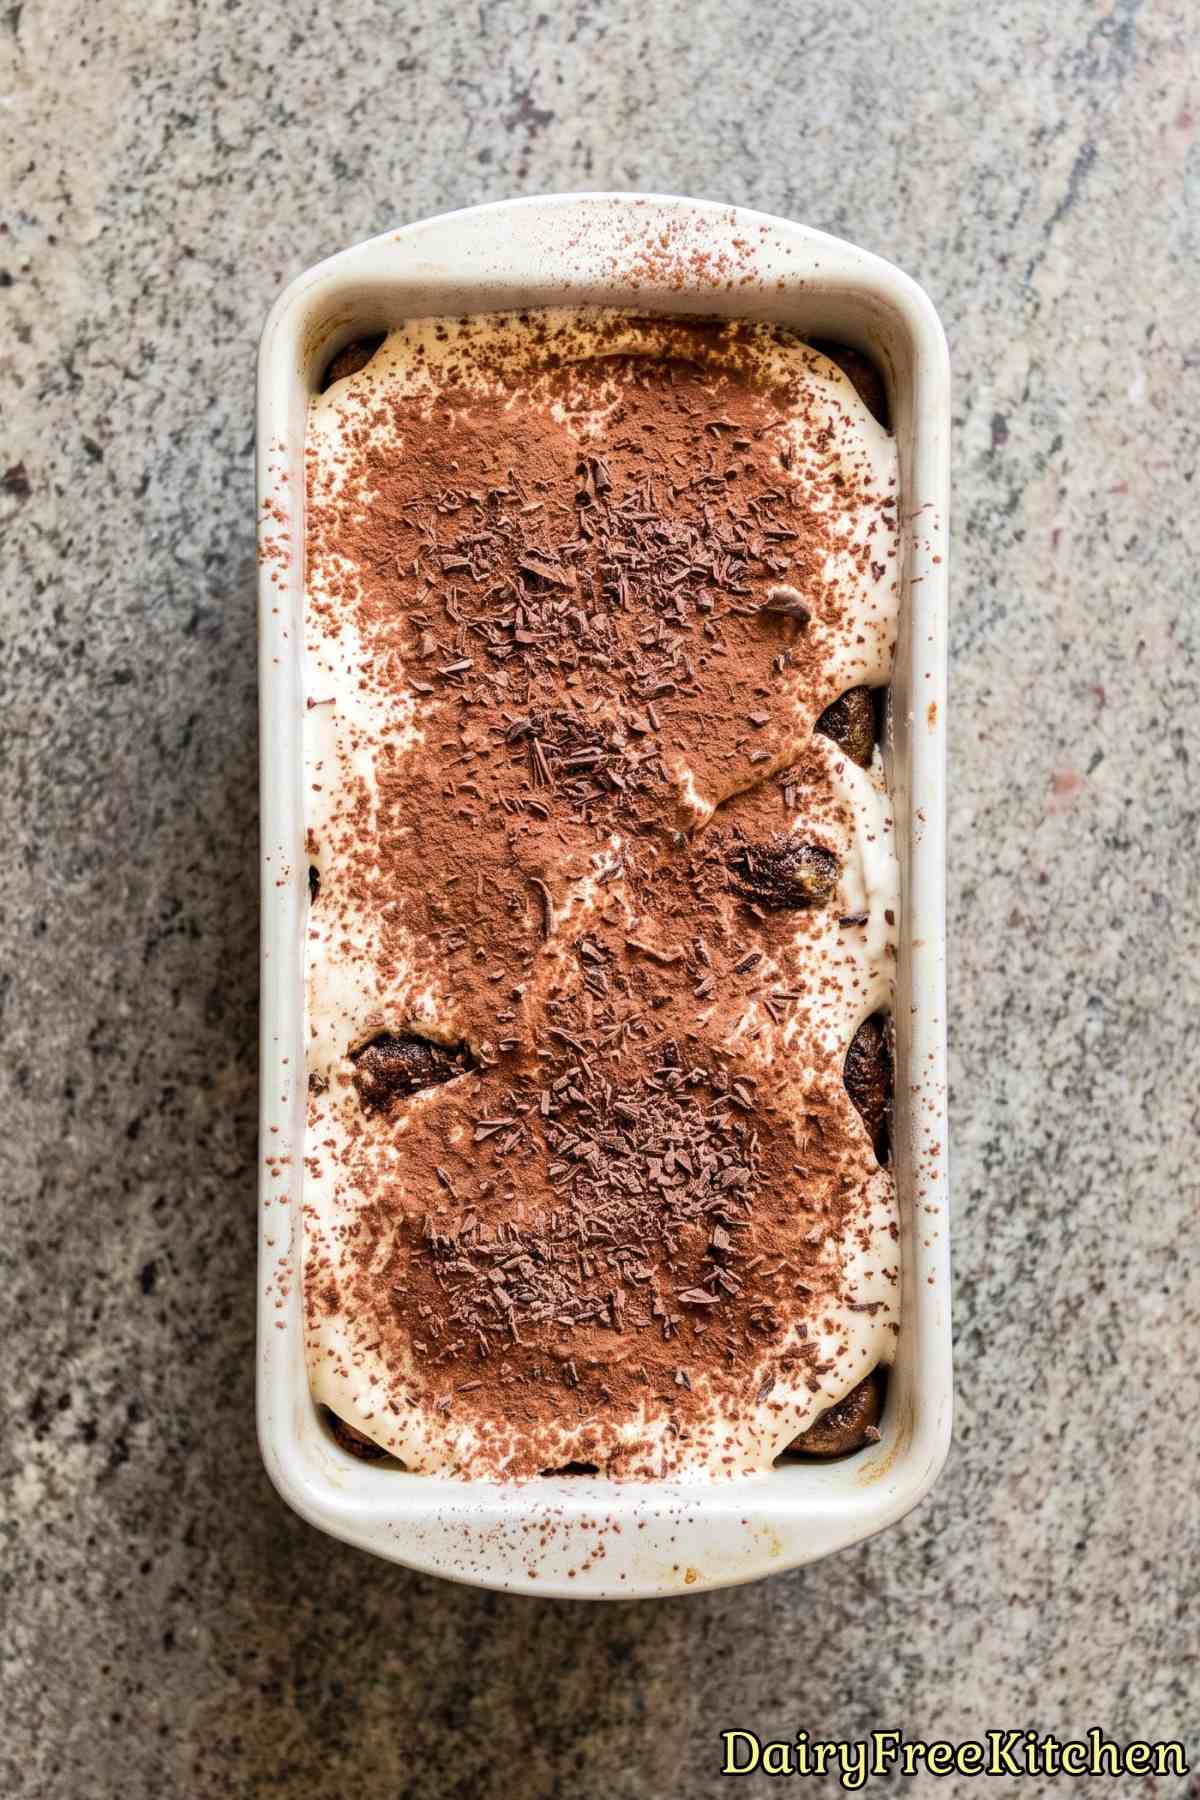
Spread one third of the ice cream into a 9×5-inch loaf pan, top with half of the soaked ladyfingers, then dust with 1 tbsp cocoa powder and a sprinkle of grated chocolate. Repeat once more, then finish with the remaining ice cream and the rest of the grated chocolate.
Step 6
Cover tightly and freeze for 4 to 6 hours, until firm. Let sit at room temperature for 10 minutes, then dust with extra cocoa powder before scooping.
Recipe Tips
Keep the Corn Syrup for Soft Scoops
You will get the best results if you keep the light corn syrup in the mixture. It helps keep your dairy-free ice cream soft and easy to scoop after a few days in the freezer.
Without it, the water in the oat milk and coconut milk can freeze into hard ice crystals.
Blend the Warm Base Safely
From my experience, blending the warm milk base with the cream cheese creates the smoothest texture. Dairy-free cream cheese will often leave small lumps if you try to mix it cold.
Always take out the middle cap of your blender lid and cover it with a folded kitchen towel. This lets the trapped steam escape easily so the lid stays securely in place.
Chill the Base Thoroughly Before Churning
I recommend letting the base rest in the fridge overnight before you churn it. Six hours is the minimum, but overnight gives you the best texture.
If the mixture has any warmth left in it, your ice cream machine bowl will melt too quickly. The base will stay soupy instead of churning into thick soft serve.
What to Make Next
- Dairy Free Cannoli Ice Cream
- Dairy Free Espresso Tiramisu
- Dairy Free Mocha Almond Fudge Ice Cream
- Dairy Free Peaches & Cream Semifreddo
- Dairy Free Pistachio Ice Cream
Popular Questions
Does the ice cream have a strong coconut flavor?
Not at all, because the dairy-free cream cheese, vanilla, and rich espresso easily mask the coconut taste.
The full-fat coconut milk is mainly there to provide the creamy richness that traditional heavy cream usually offers.

Dairy Free Tiramisu Ice Cream
Equipment
- blender
- ice cream maker
- loaf pan
Ingredients
- 1 can (13.5 oz) Full-Fat Coconut Milk
- 3/4 cup Unsweetened Oat Milk
- 2/3 cup Granulated Sugar
- 2 tbsp Light Corn Syrup
- 1 tbsp Cornstarch
- 1/4 tsp Salt
- 6 oz Dairy Free Cream Cheese, Softened
- 2 tsp Vanilla Extract
- 1 tbsp Marsala Wine Or Dark Rum (Optional)
- 10 Dairy Free Ladyfingers (Savoiardi), Broken Into 1-Inch Pieces
- 1/2 cup Strong Brewed Espresso, Cooled
- 1 tbsp Granulated Sugar
- 2 tbsp Unsweetened Cocoa Powder, Plus More For Dusting
- 2 oz Dairy Free Dark Chocolate, Finely Grated
Instructions
- In a medium saucepan, whisk the sugar, cornstarch, and salt together, then slowly whisk in the coconut milk, oat milk, and corn syrup. Cook over medium heat, whisking constantly, for 5 to 7 minutes, until the mixture simmers and thickens slightly.
- Pour the hot base into a blender with the cream cheese, vanilla, and marsala, if using. Remove the center cap from the lid, cover the opening with a kitchen towel, and blend until silky smooth. Transfer to a bowl, press plastic wrap onto the surface, and refrigerate for at least 6 hours or overnight.
- Stir the sugar into the cooled espresso until dissolved. Quickly dip each ladyfinger piece into the espresso for about 1 second per side, arrange them on a parchment-lined plate, and freeze for 30 minutes so they hold their shape.
- Pour the chilled base into an ice cream maker bowl that has been frozen for at least 24 hours. Churn for 20 to 25 minutes, until thick and creamy like soft serve.
- Spread one third of the ice cream into a 9x5-inch loaf pan, top with half of the soaked ladyfingers, then dust with 1 tbsp cocoa powder and a sprinkle of grated chocolate. Repeat once more, then finish with the remaining ice cream and the rest of the grated chocolate.
- Cover tightly and freeze for 4 to 6 hours, until firm. Let sit at room temperature for 10 minutes, then dust with extra cocoa powder before scooping.